


September 25, 2015
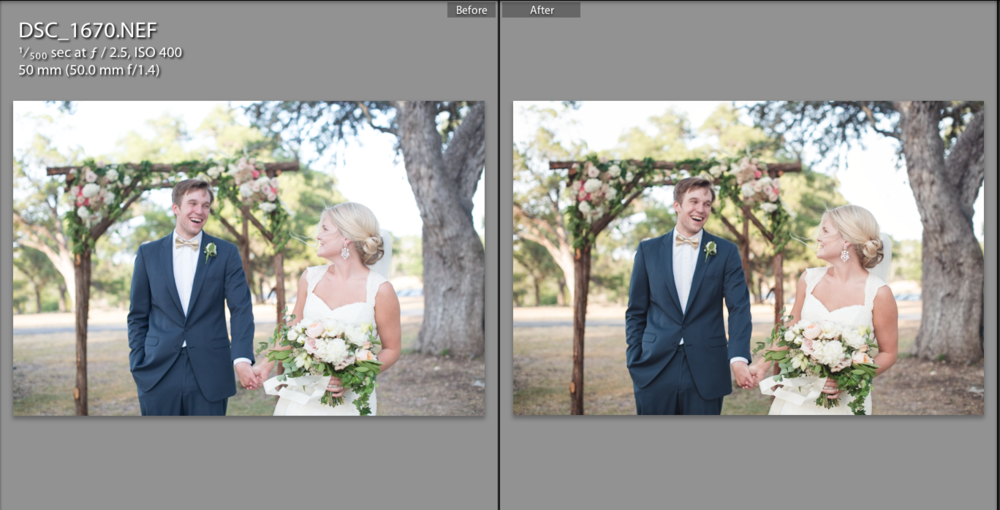
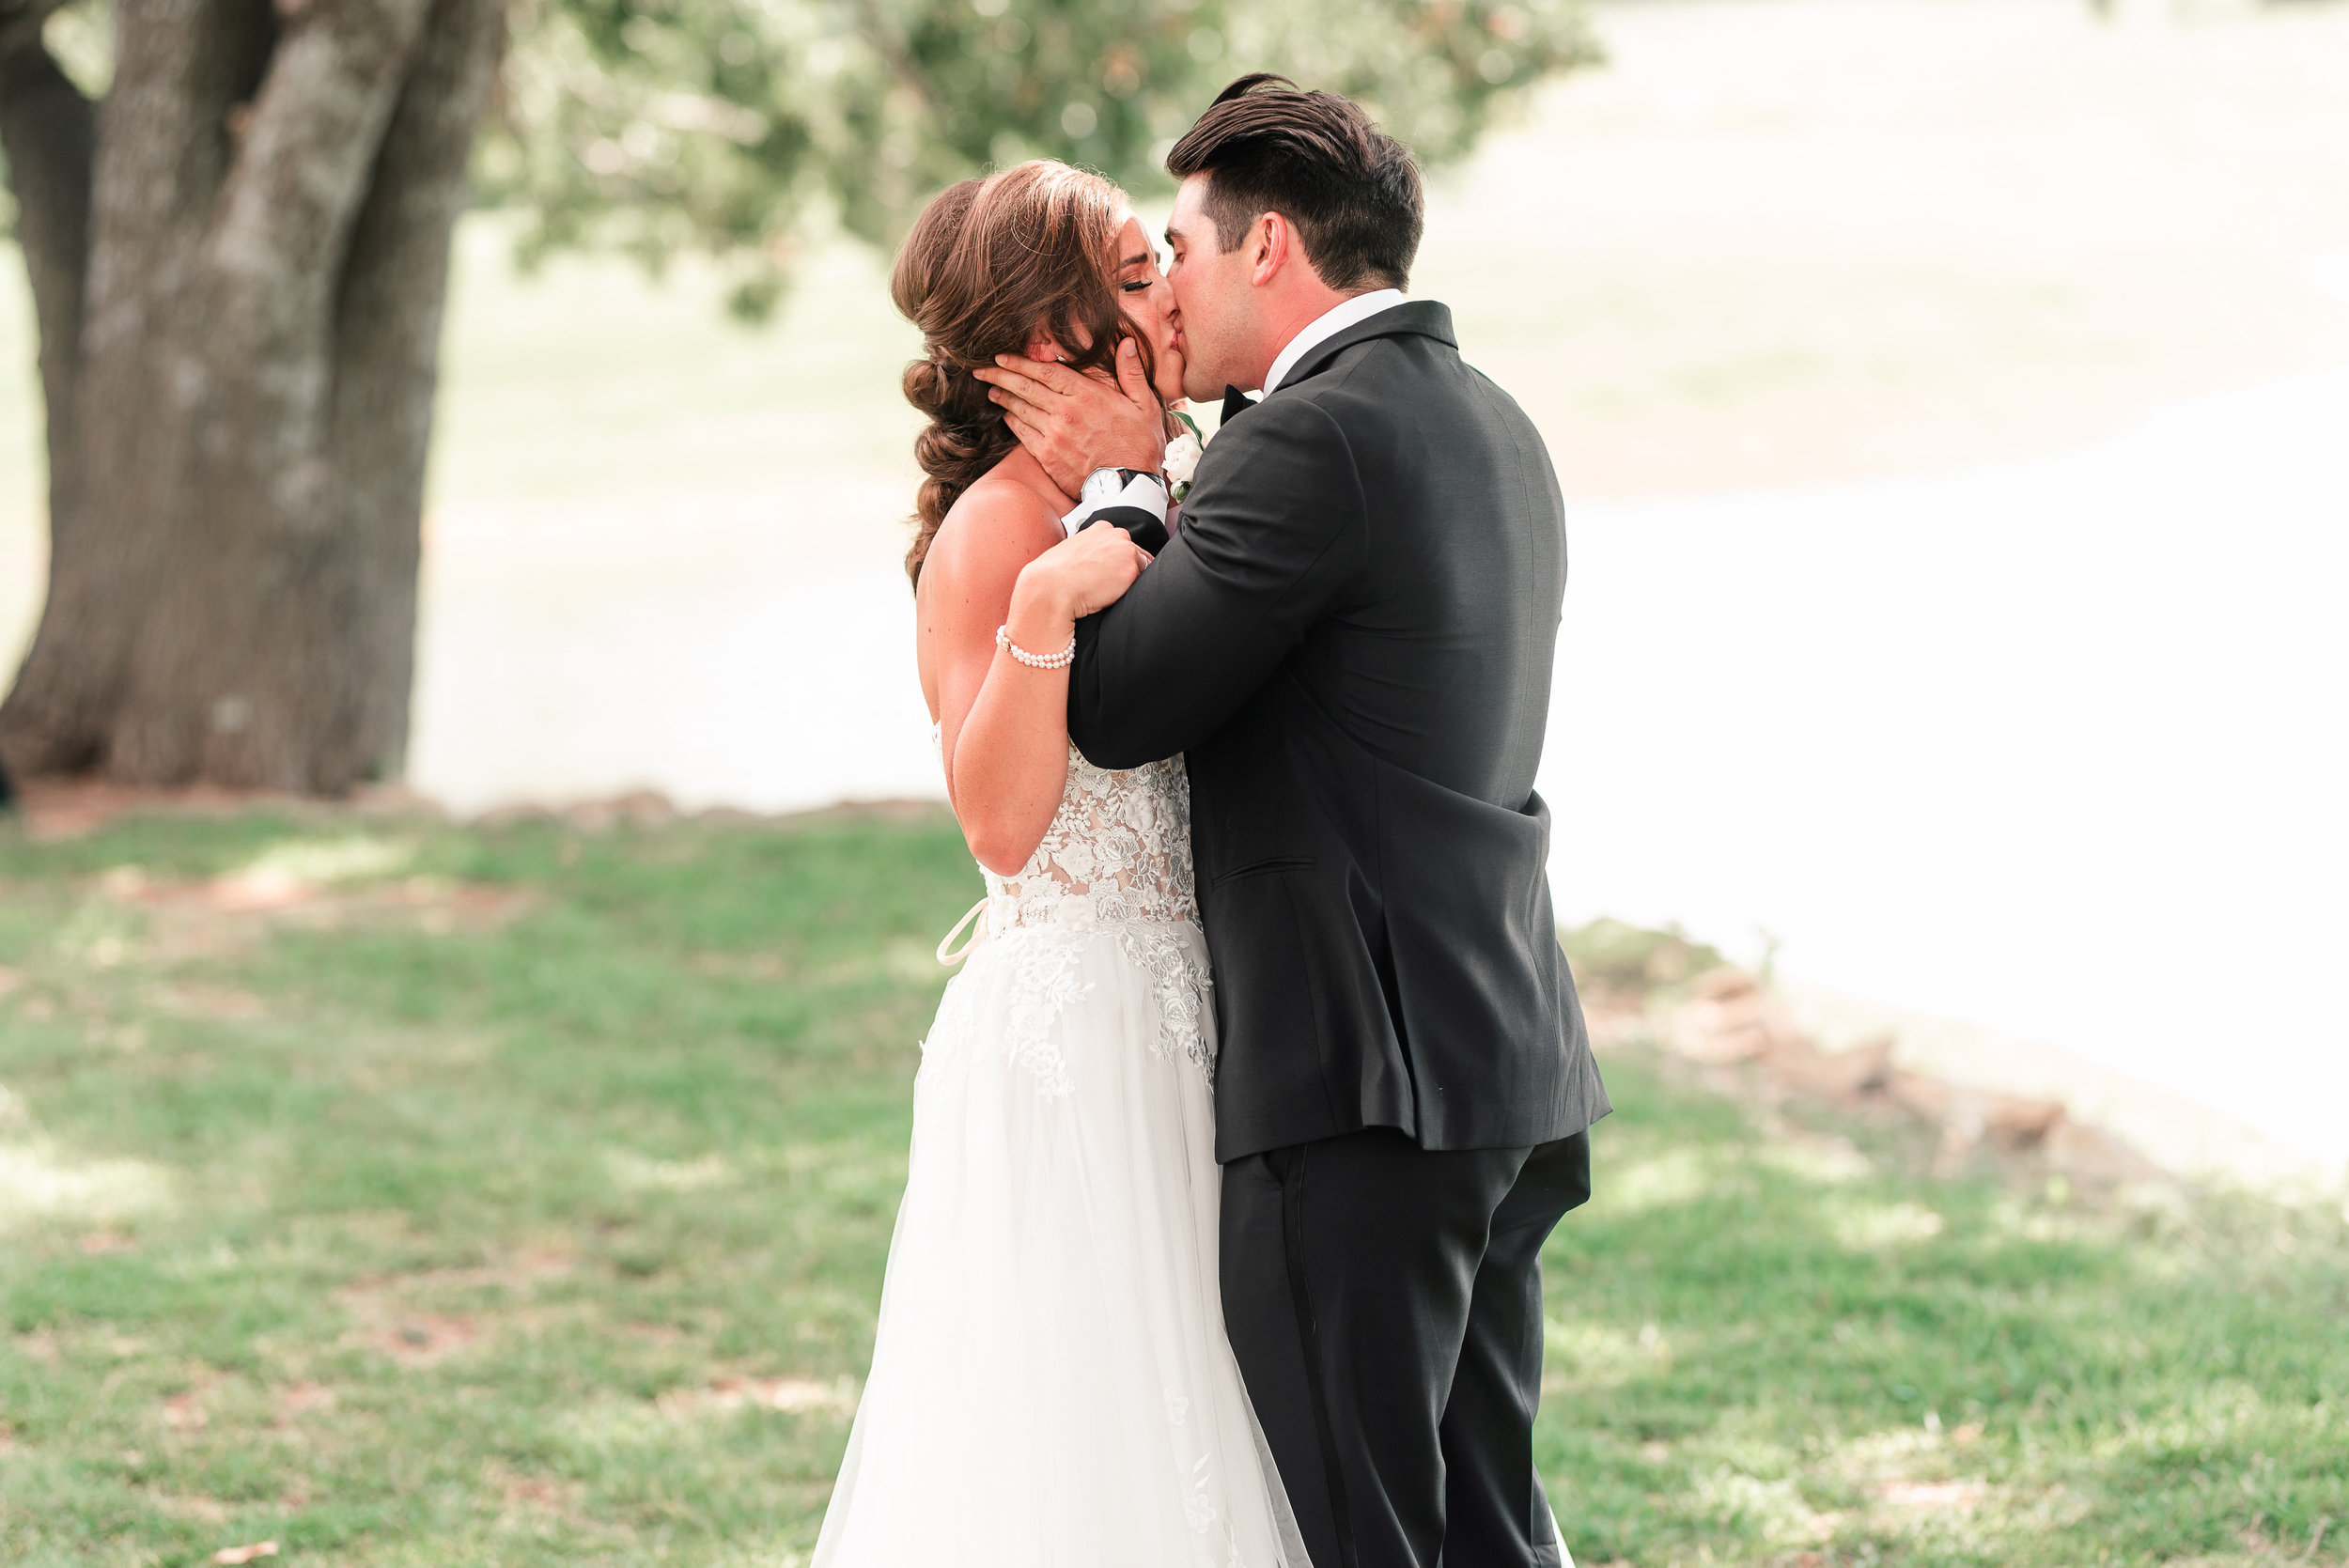
There are few things worse than setting up a candid group shot, finding the best light and discovering in post processing that you tilted the camera. Your image is off-centered. Shoot! This is one mistake I found myself making during group photos or photos where there are prominent lines in the image, like church pews, a building or a horizon line. Take this image below for example. If I had carelessly tilted my camera to the right or left, the image would not be attractive. Your eyes would not be immediately drawn to the focus of the photo, the bride. They most likely would be distracted by uneven lines from the pillars, the windows or the parallel stairs.
Have no fear. I still kick myself for doing this every now and then! Once I got tired of having to look at uneven images in post-processing, I learned how to nip this mistake in the bud. I aim to fix this “in camera”. This tip will save you so much time in the long run from having to manually adjust every image in Lightroom.
I will share with you two pieces of advice: 1) how to manually adjust the images in Lightroom and 2) how to avoid having to do this in post processing and mindfully adjusting your camera when shooting.
First thing is first. Let’s slooow down. I find myself making this mistake most often when I’m using my wide 35mm or 24-70mm lens. It’s easier to snap an off-centered photo with a wider lens than it is with a tighter one. With that being said, be on guard when using your wide lenses and when you are, slow down.
1. Adjust your shot in your camera’s viewfinder.
Slow down and take a test shot. You will kick yourself if you pose the whole wedding party to find that the majority of your images are slanted. You’ve left yourself a lot of work during post processing and you’ve possibly eliminated some potentially great photos for the bride and groom.
Shoot for the background.
What do I mean by this? Well, there are two reasons that will require you to adjust your images:
a) the background is already level, and you need to make sure your camera is. Both your subjects and the background should be parallel.
b) the background is not level, and you need to compensate with your camera for that. When you do so, you’ll tilt your camera one direction and essentially create a level photo.
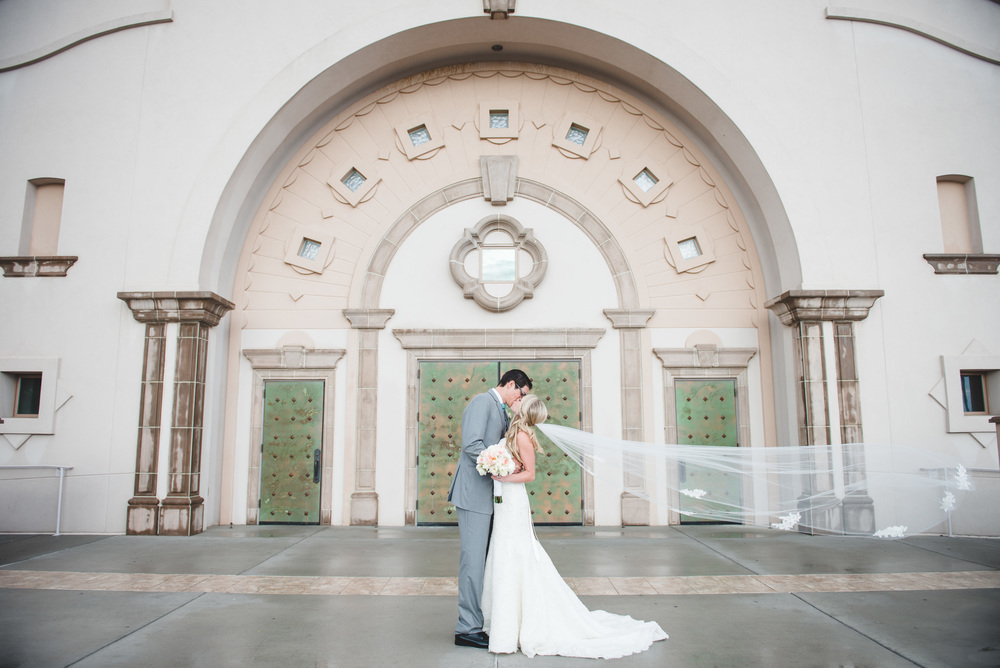
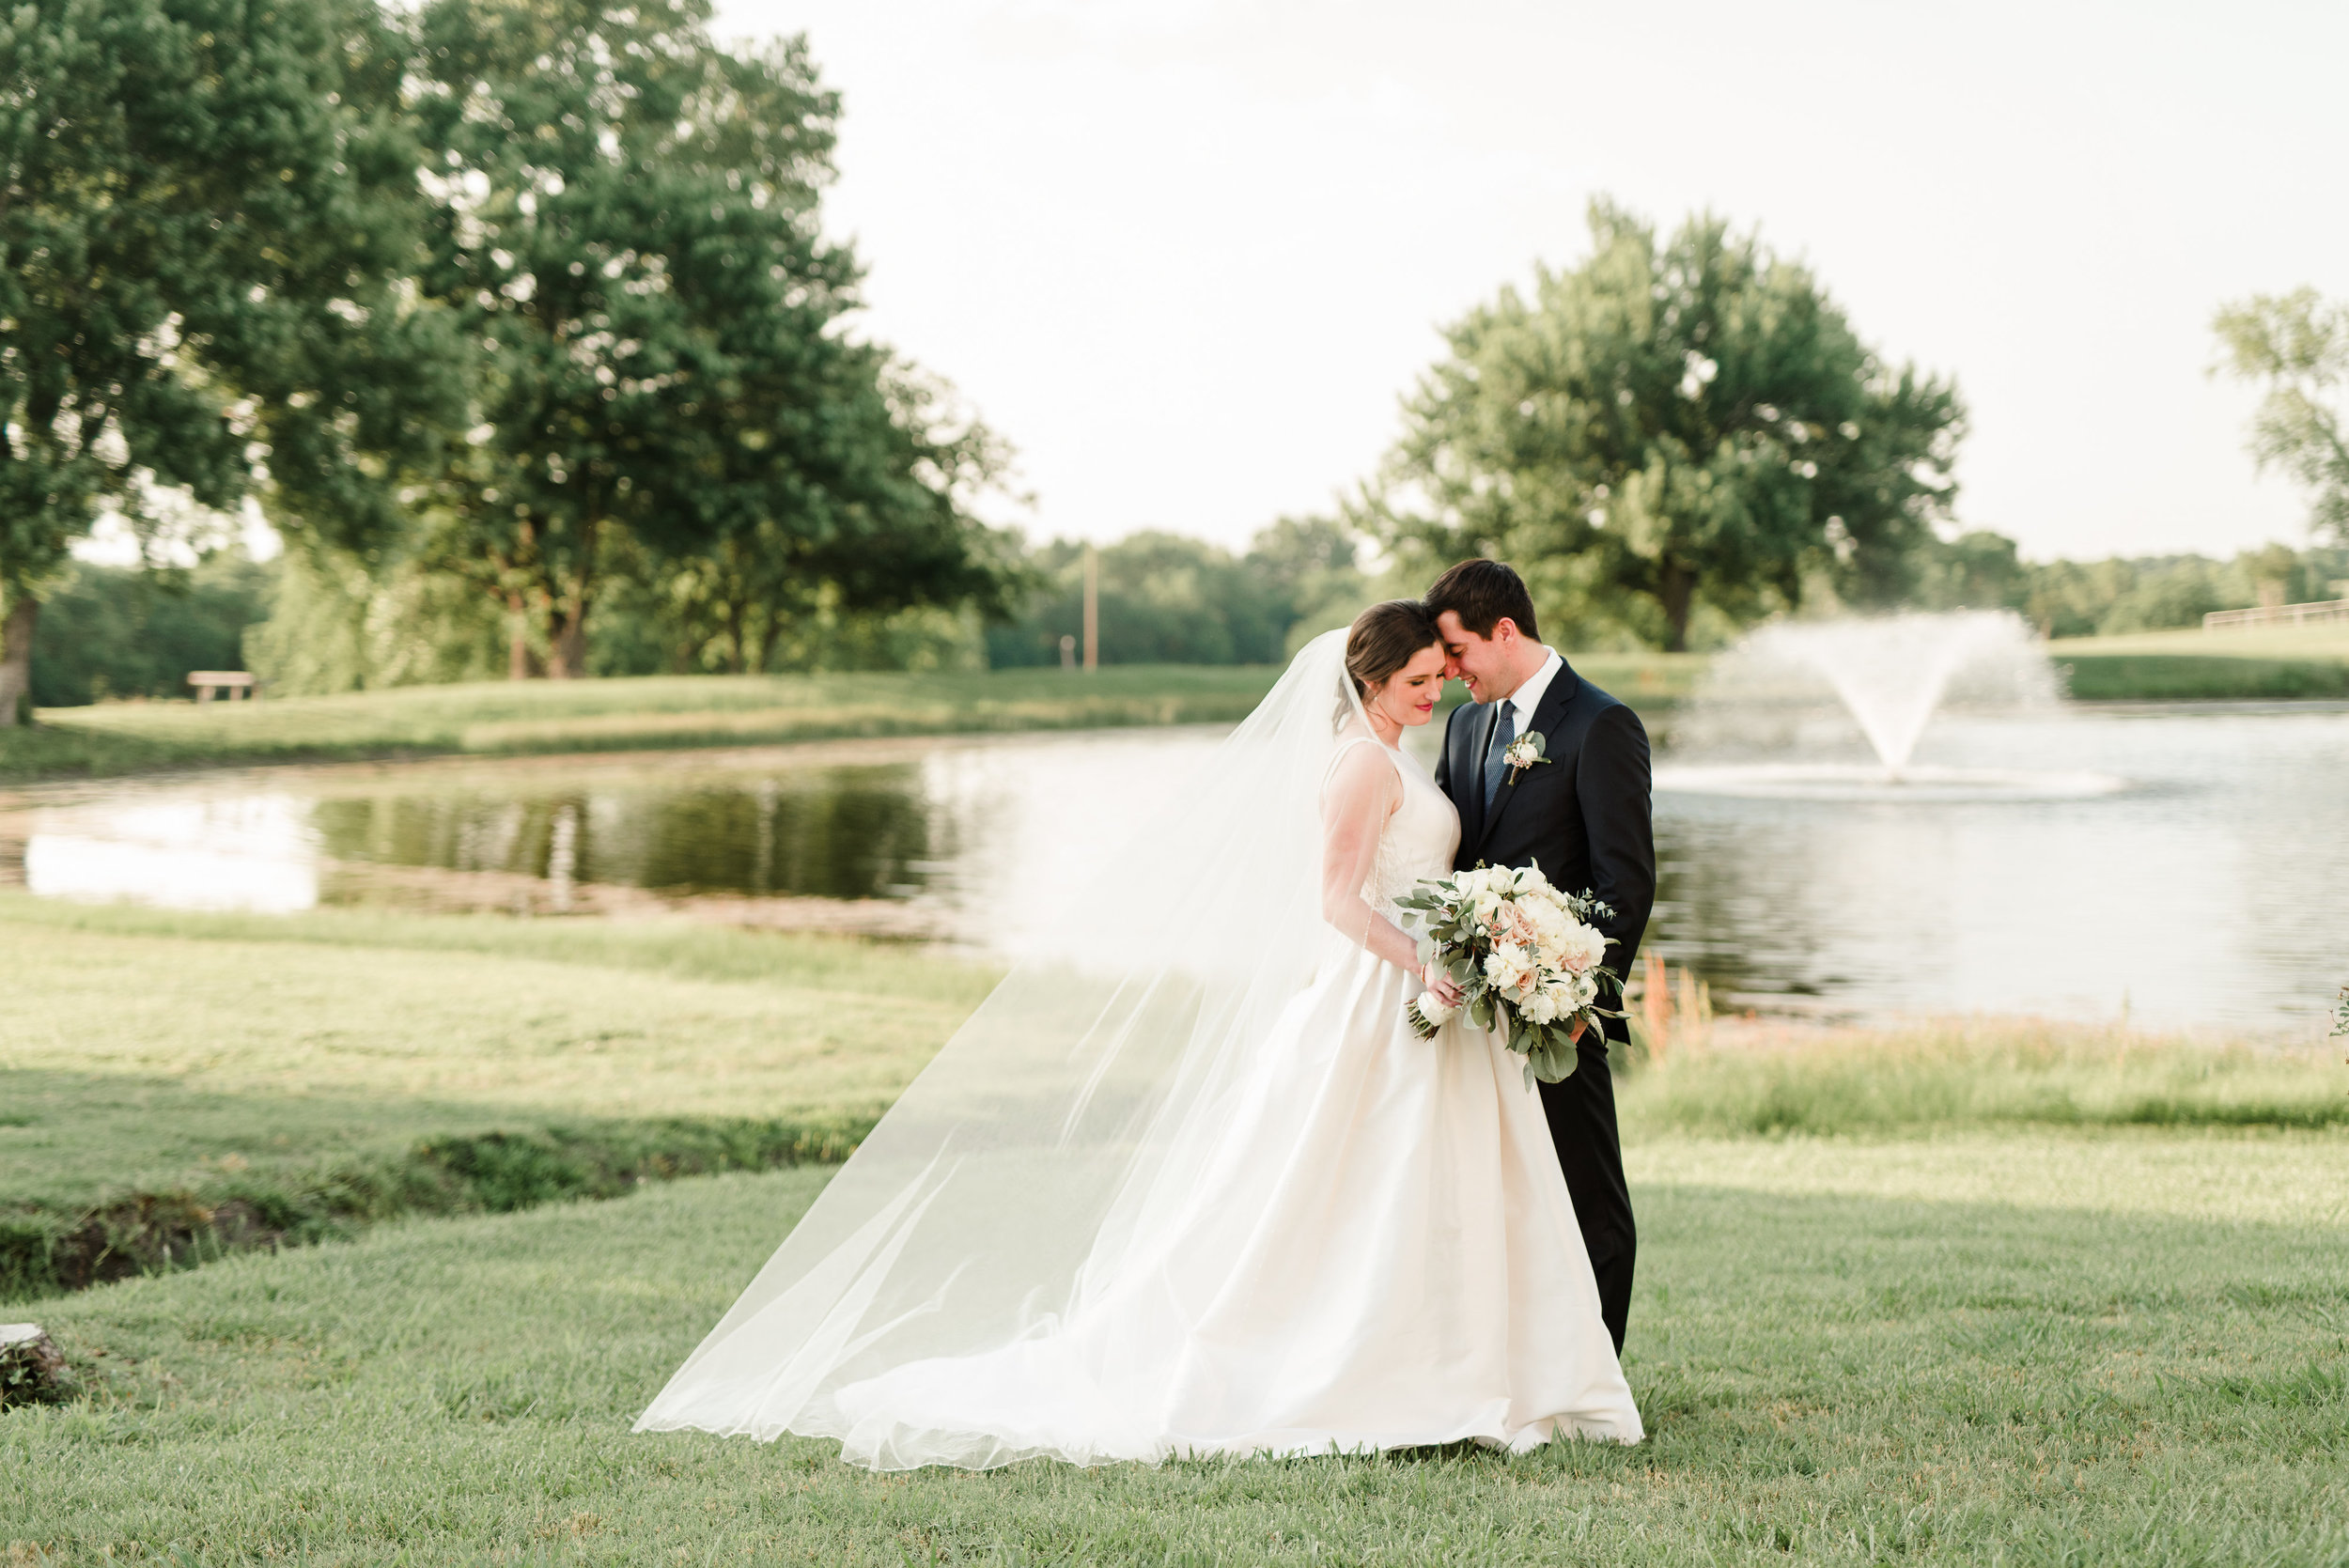
Lately, I’ve tried to be aware when I’m shooting against a horizon, line of trees or building. Larger groups are typically shot with wider lenses and for me, they are more susceptible to falling into this slanted category. When I shoot, I try to slow down and make sure the image I shoot won’t be tilted. This might mean that I have to compensate for the location I’m shooting. For example, in the image below, I had to tilt my camera to the right to make sure the line would be parallel to the bottom of the photo. If you can’t initially tell when looking through your viewfinder, then take a test shot and examine it. You’ll save yourself the time in the long run and be able to catch that extra episode of Fixer Upper because of that! 😉
2. Adjust your image in Lightroom.
Let’s face it. We will probably still need to adjust an image or two in Lightroom. I’m raising my hand here, because I’m just not perfect! Firstly, let’s really try to be mindful of how level are photos are in-camera to save us this step, but if it comes down to it, we need to know this easy life-saving (that’s drastic) tip!
However, the negative of this tip is that you run the risk of cropping out a portion of the image when you do rotate it.
This quick video tutorial below will save your tail, but it won’t save you much time! Try your best to adjust your camera versus having to rotate every image you upload! 😉
Once again, Lightroom to the rescue!
I find this tool helping me most in images where there are horizons, buildings or large wedding parties that need to be parallel to the top and bottom of the image. I’ll share examples of each below. Look for the lines that are parallel with the top, bottom, left and right sides of the photo.

How are you going to adjust your leveled lines??
Happy Friday!


Comments