


October 20, 2017
1. Look for blurry images, and learn how to fix it.
Did you miss Tip #1? Tip #3? #5? #7? Or the intro to the series?

Oftentimes I notice new photographers posting images that actually aren’t in focus. Hey, I’m raising my hand! I was one of them! Basically, everything that is within this series, is in it, because I’ve had an unfortunate “ah ha!” moment! 🙂
But I’m realizing that when you’re first starting out with photography, you almost don’t know what a “good” image is (I know this is subjective in ways) until your eye becomes more and more refined. So let this me an eye-opener for many!
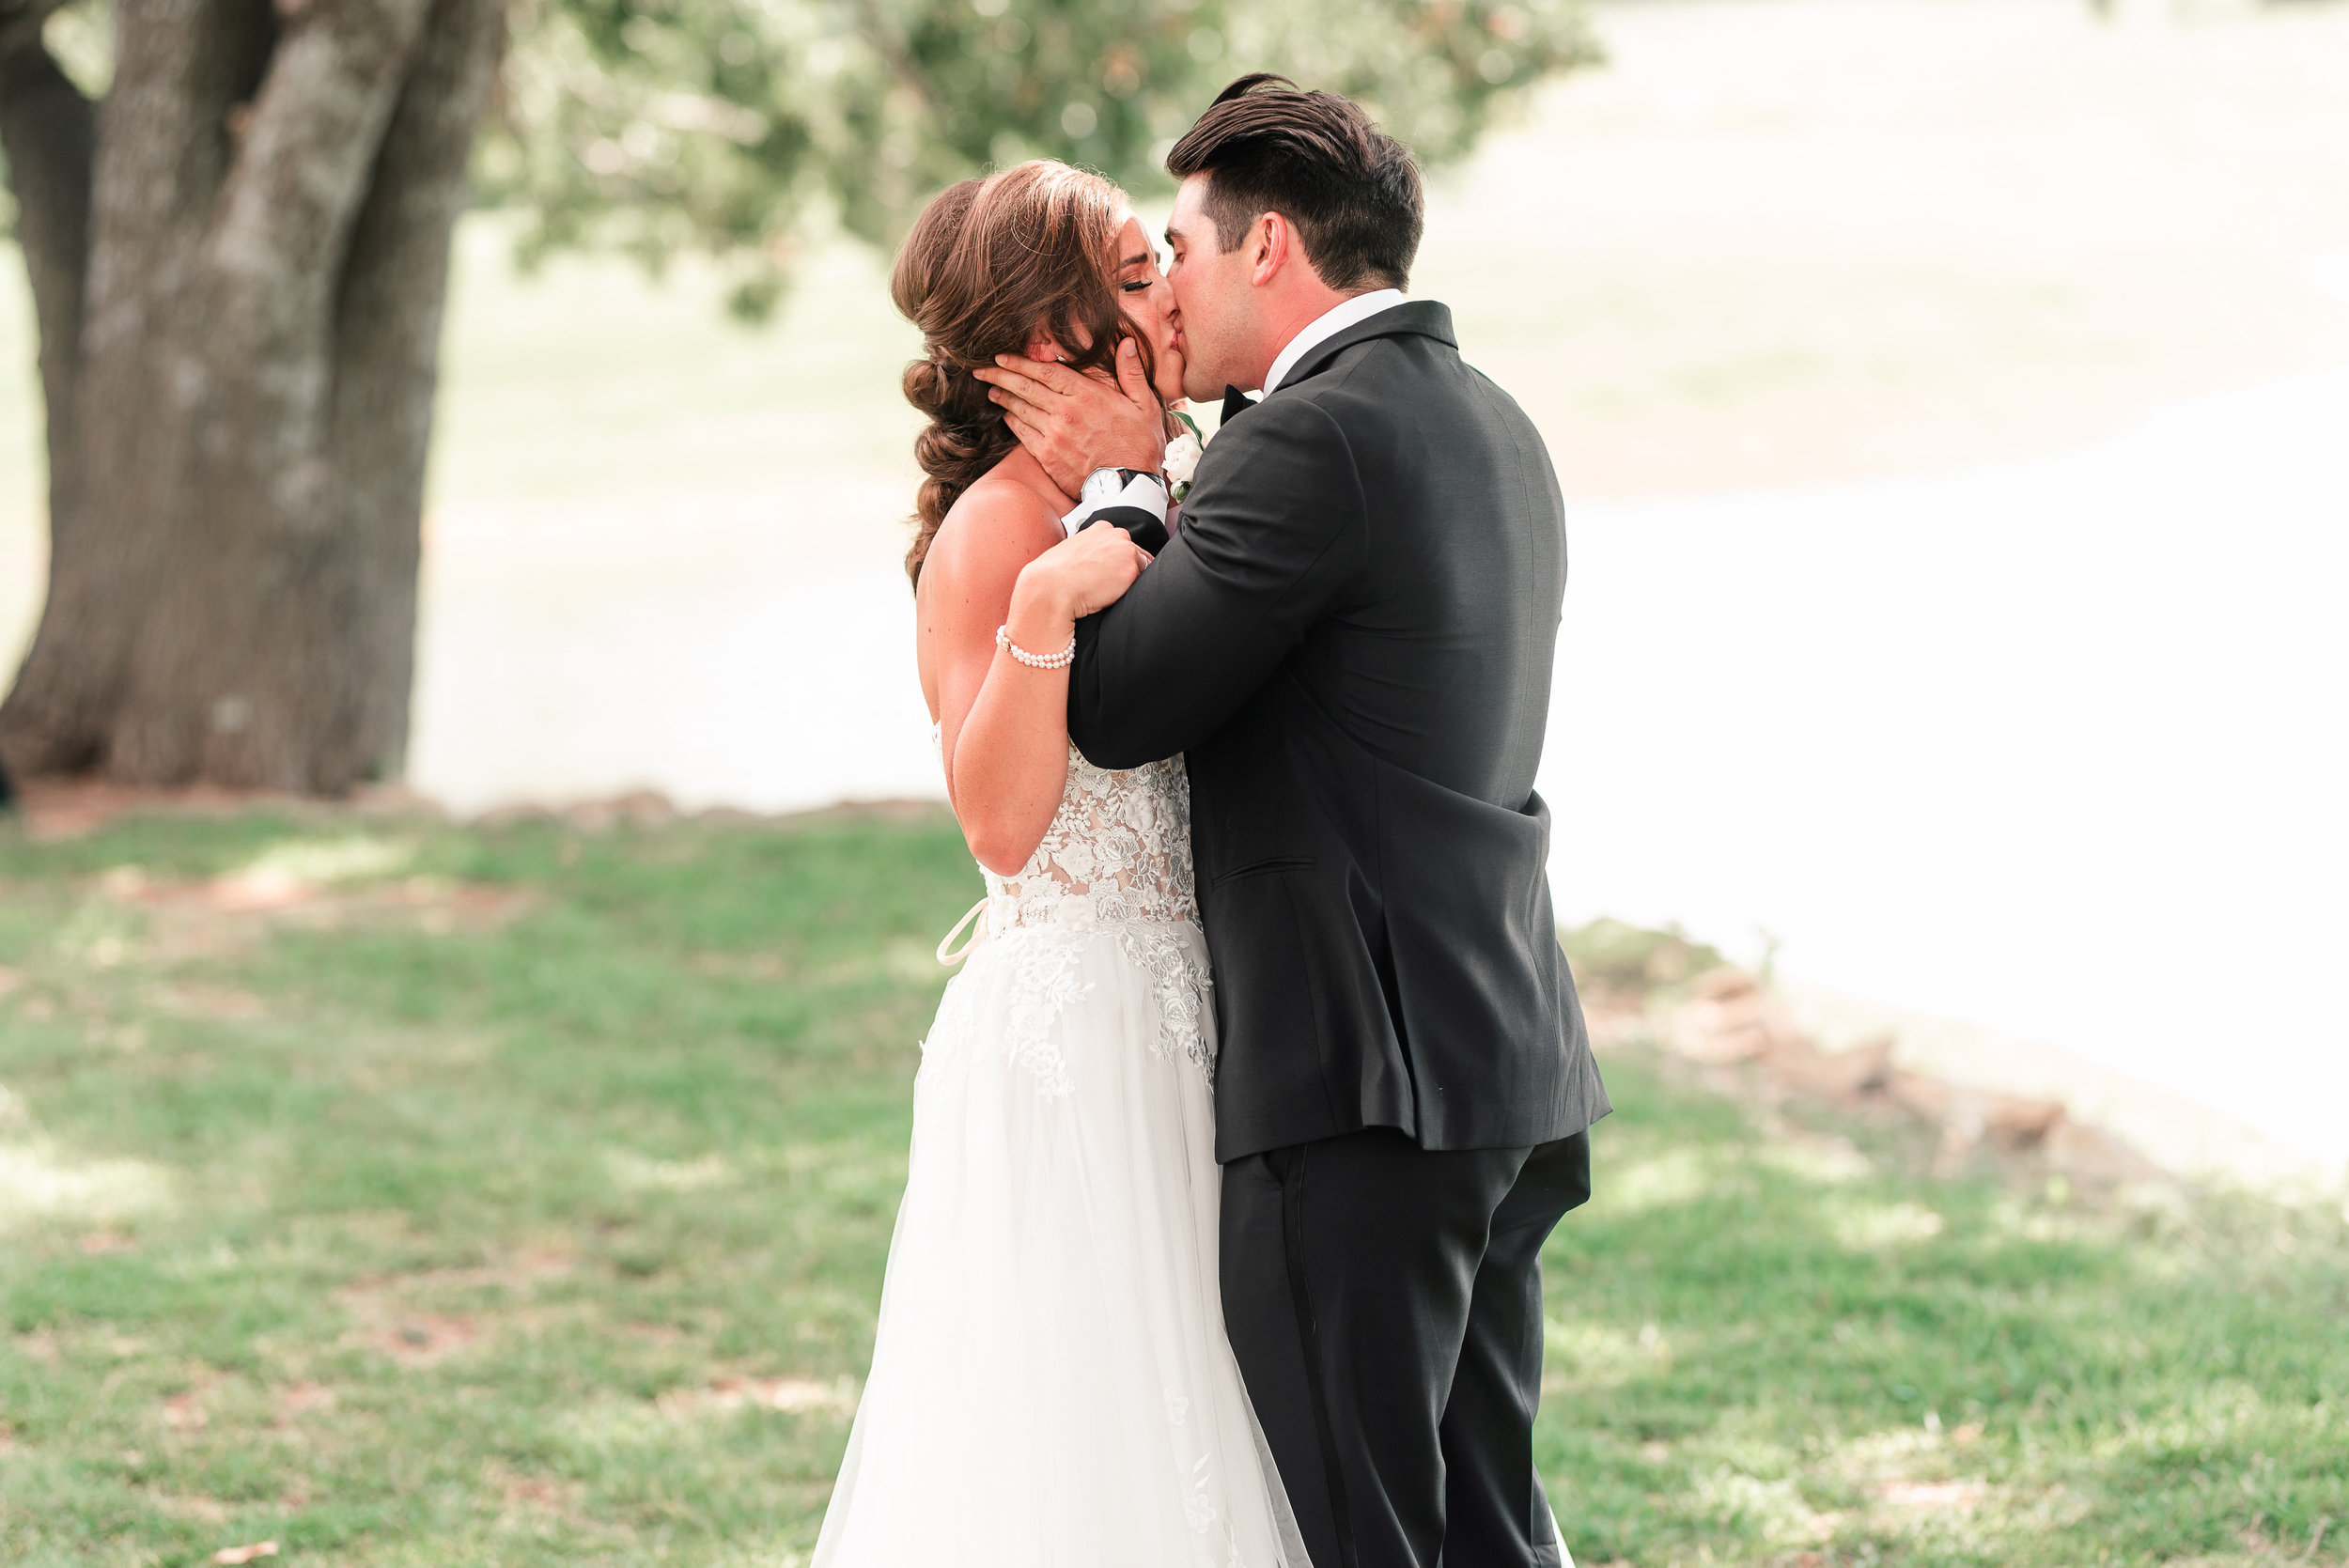
Embarrassed to show this, but I want you to know where I’m teaching from…! I have many images like this in my portfolio from years ago. And I was honestly proud of this, because I truly didn’t know WHAT to look for!
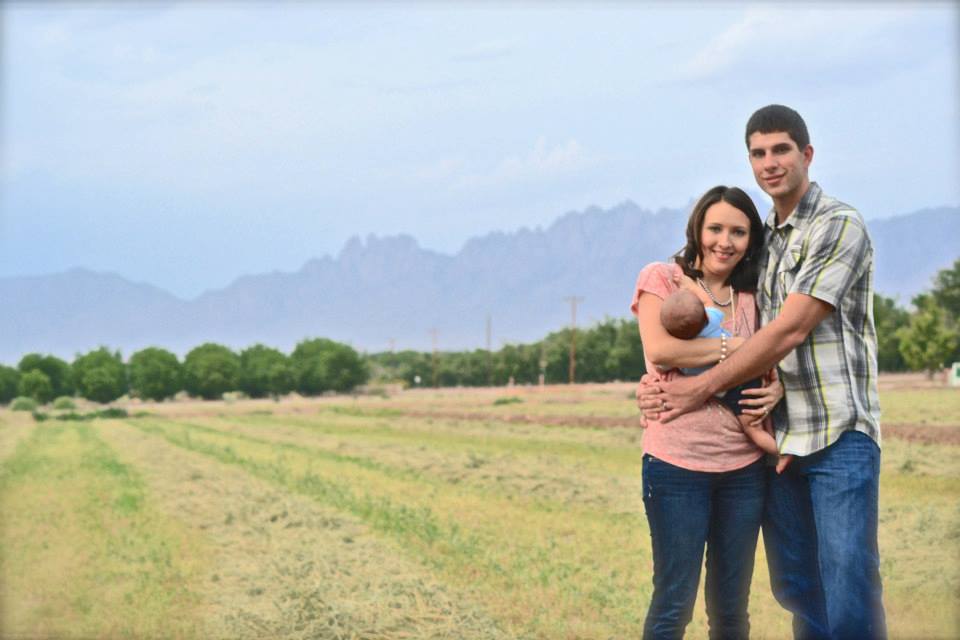
If you look closely (or don’t even have to), this is an image I took where my subject isn’t actually in focus. They’re soft and blurred. There’s also grain in the image, which probably means I was losing light and shot at an ISO too high for my camera capabilities.
So when you’re taking photos, one huge piece of advice I can give anybody starting out is to SLOW DOWN. Zoom in on your images to make sure your subject’s eyes are in focus (or whatever you’re focusing on). I was so nervous when I was first starting out and had clients in front of my camera–so nervous that I wouldn’t want to check the settings on my camera for fear that my clients wouldn’t trust me. Oh, it was bad! Or I would be so flustered that I’d forget. Honesty is welcome here! 😉
1. What I was missing was that I would sometimes allow my shutter speed to go below 1/160 or 1/200, which is out of my comfort zone. Side note, this is a personal preference here! If my shutter stays at or above these, I typically always have a crisp image without “camera shake” unless other factors are involved. So this is one way you can do to fix blurry images.
2. Secondly, check your aperture. Did you properly choose the right aperture for what you were photographing? Remember, larger groups or groups with front, middle and back rows require a smaller aperture like 3.5, 4, 4.5 to allow everyone is in focus in their field. If you’re only photographing 1-2 people, then sticking with an aperture that’s within 2.0-2.8 is a safe bet. You can find me typically always hanging around 2.0-2.5 for engagement sessions.
3. Thirdly, slow down enough to know what your camera is focusing on. When you push your shutter button halfway down, you’re telling it to autofocus on whatever your toggle is focusing on in your viewfinder. Notice a little red dot toward the right of your viewfinder but you’re intending to focus on the middle? That red dot needs to move to the center, so that when you press halfway down, you’re telling your camera to autofocus on your subject in the middle. Yes, this of course is different if you’re wanting to frame your subject using “rule of thirds” OR use “back button focusing”, or “focus and recompose”. This is more in depth for this post, and I touch on more in The Capture Course!
But please, do not feel as though you simply cannot STOP. Look at your camera. Look at your settings. Zoom in on a photo to be extra sure that their faces are in focus, and then move on. Even if you have to reassure your client that you are “checking for eyes to be open”, it’s better than coming home with blurry images!
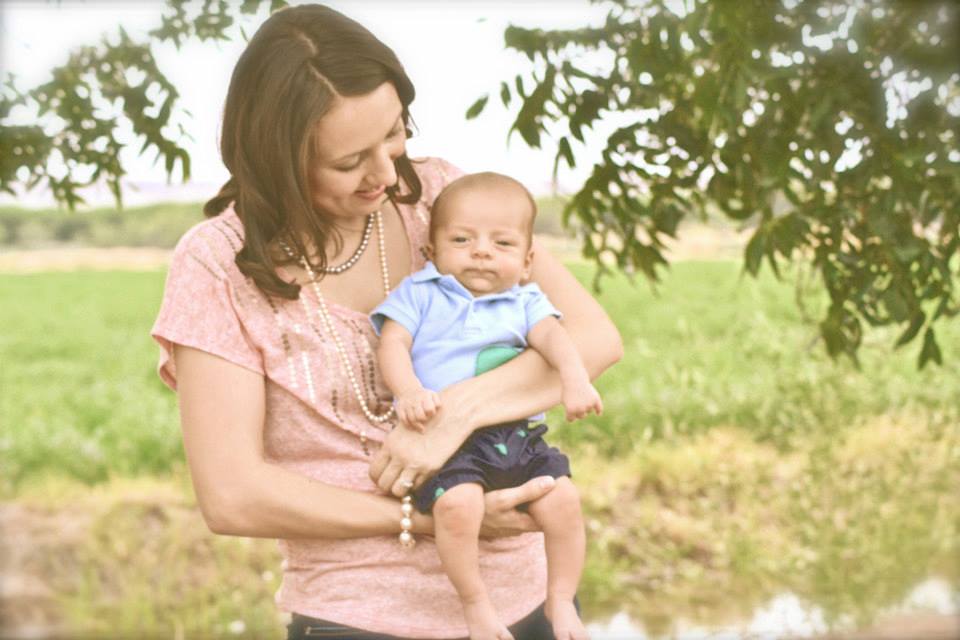
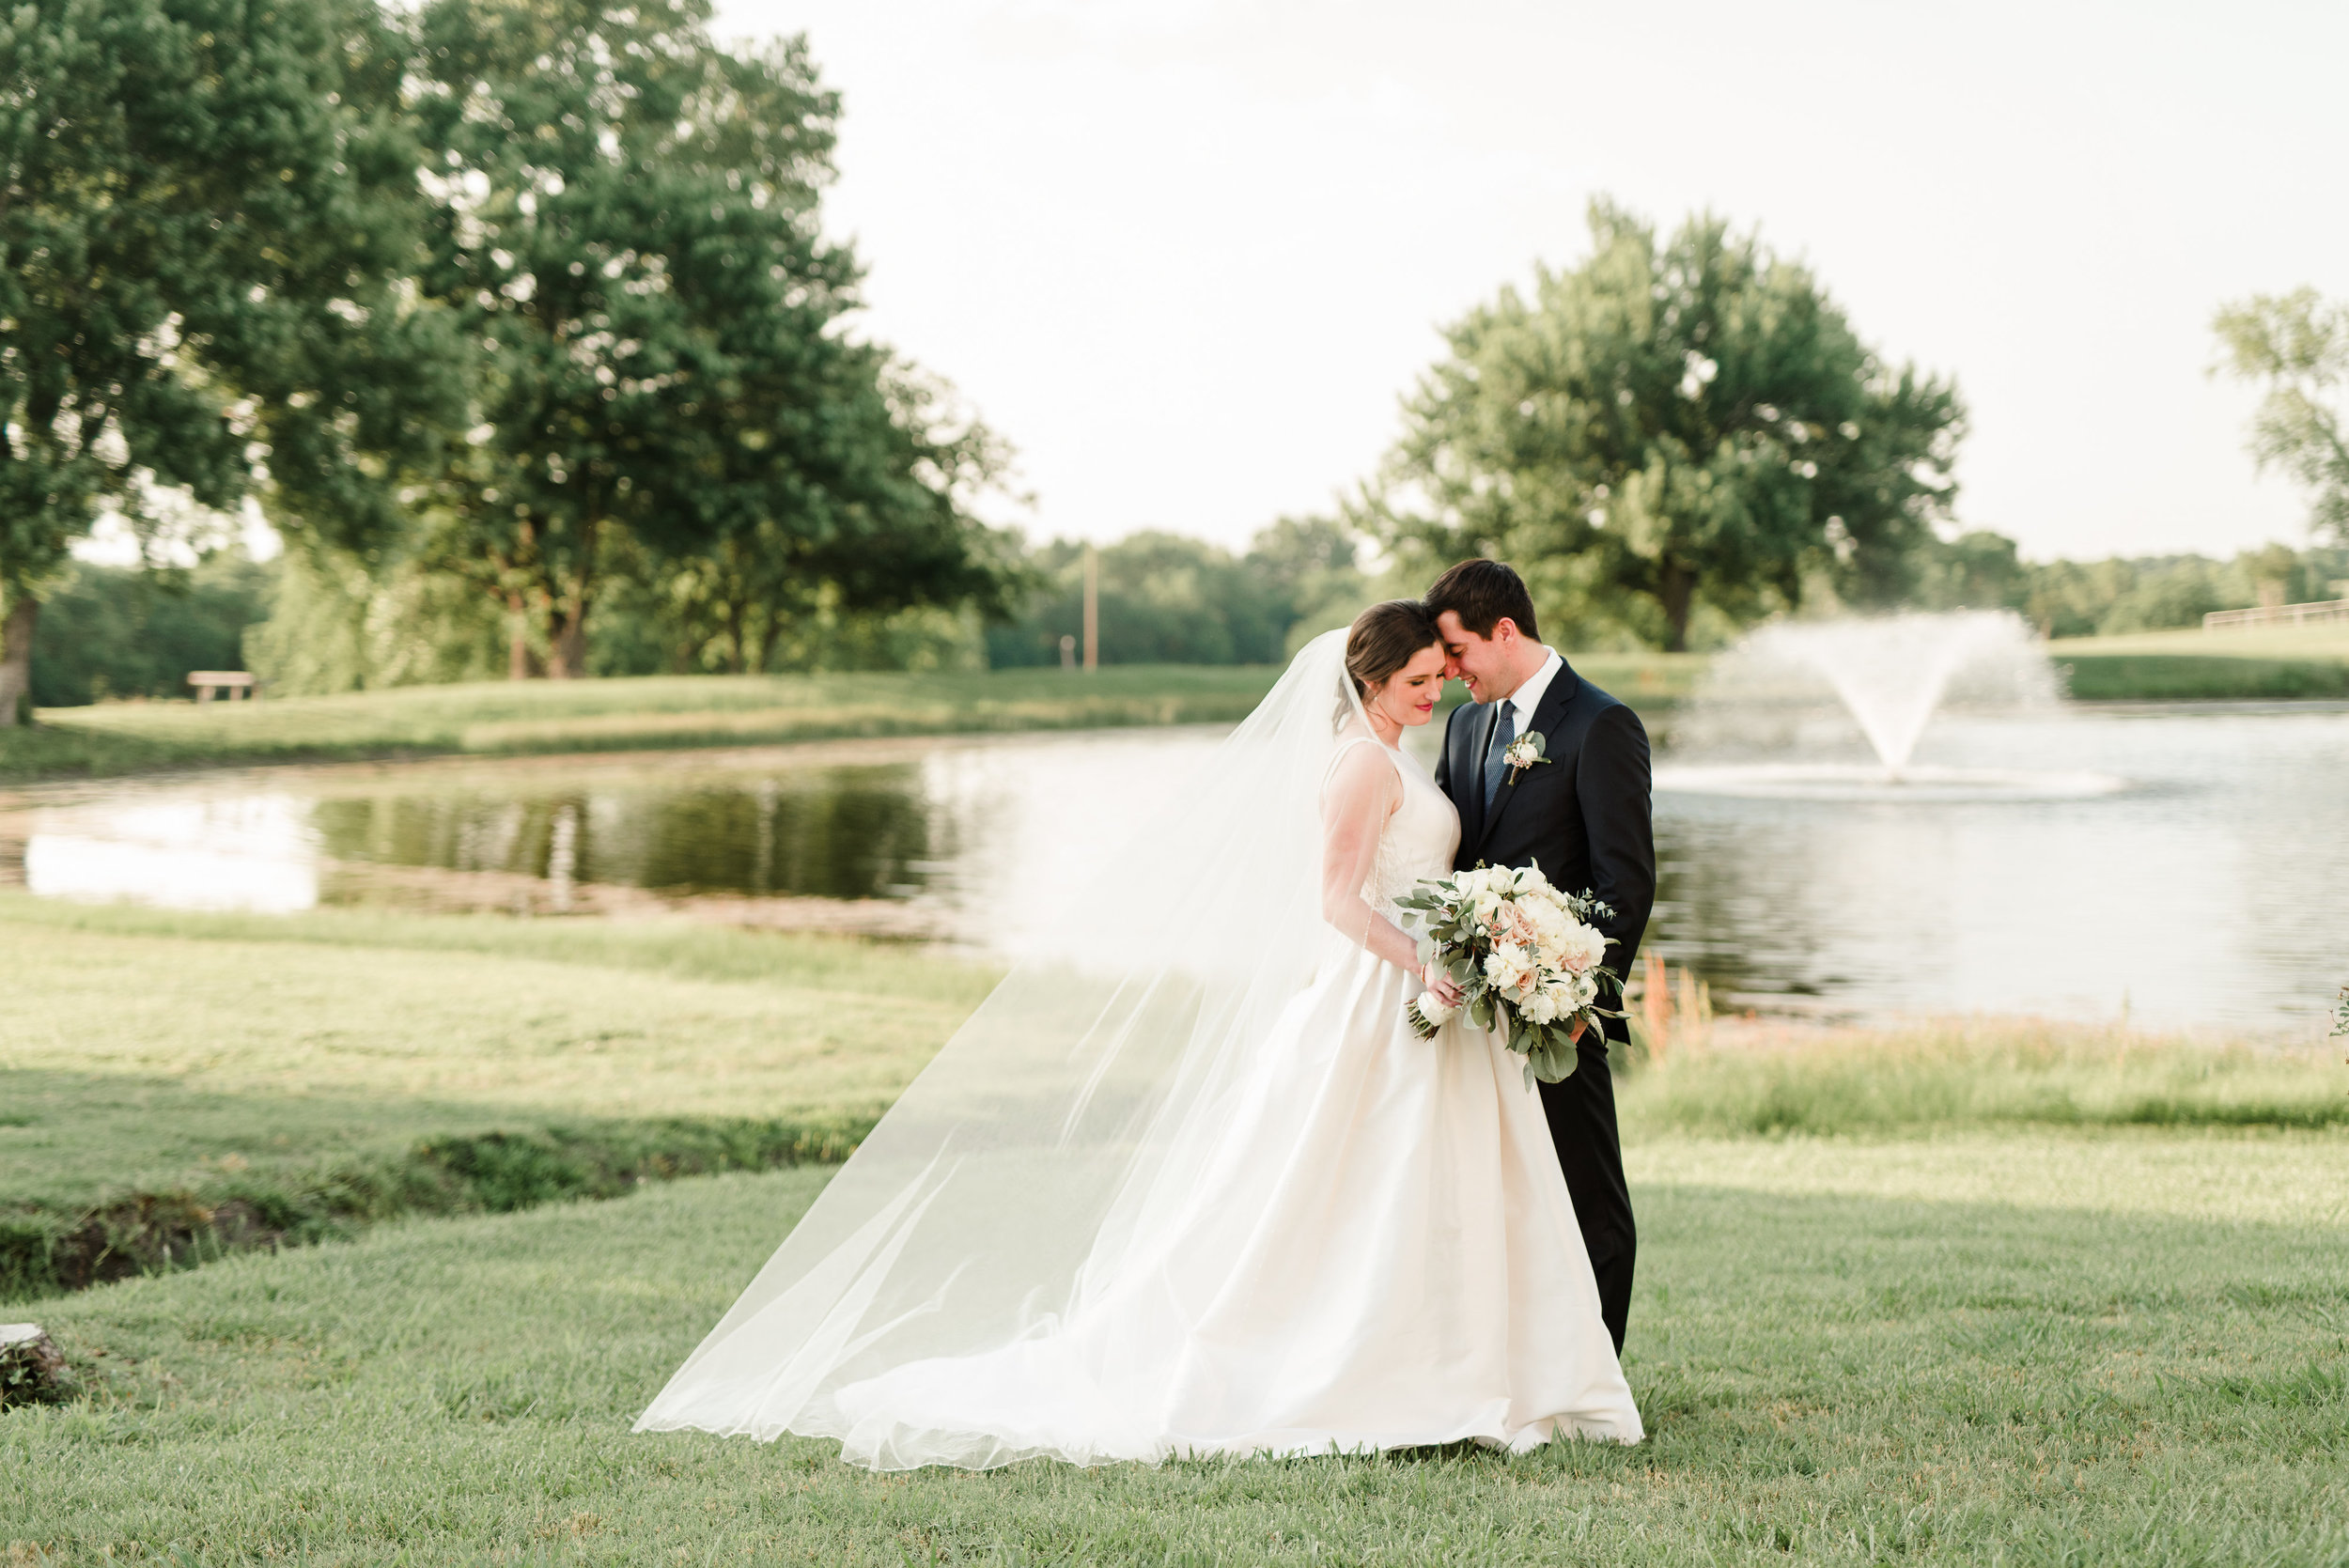
My toggle was in the middle of the frame (where your camera is able to read and focus best) for this image.
You got this. Take a breather, and your images will have the best chance at coming out crisp!
Don’t forget that making sure you have the best light for your subject helps this, as well.
Can you notice a blurred, soft image from a crisp one? Challenge yourself and look through some of your old images!


Comments