


February 6, 2015
Last Monday I began a series called Finding the Light (part 1), where I talked about the right time to schedule your sessions if you’re a natural light photographer. We call this time the “golden hour”, which is 1-2 hours before the sun sets. This Monday, I’m going to touch on how to find the light when you’re in complete shade. Which…is easy. It’s, in my opinion, the easiest lighting you can shoot in. You can look forward to these posts every Monday. In today’s, I’m going to bring up just a few ideas to keep in mind when you’re looking for this shade. Personally, these are things I tend to look for when shooting in the shade.
1. Hot spots
2. Blown out background
3. Look up and see sky
Let me start off by saying, once you’re a photographer, you will gain a new set of eyes. You know what you’re looking for, what not to look for and what can work in a pinch if you’re a wedding photographer! When in search for shade, think: trees or buildings. You can find complete shade behind a tree, a building, under a canopy/walkway, or anywhere where there’s an obstruction between the sun and your clients, giving you shade. As a photographer, knowing what time the sun is setting is important but so is the direction it’s setting. For example, if there’s an incredible wall covered in vines you want to use as your background, but the sun is setting in front of it, it will cause your clients to squint, as it’s in their faces. However- remember we’re thinking SHADE here- if it’s setting behind the wall, you’ve got complete shade for your clients and a great background.
I touched on this a little in my previous post, but I’ll go deeper this time. Basically, in my genesis, I scheduled a client for 9:00 in the morning. Such a random and interesting time where the sun is not low enough to the horizon to give off sweet light yet not quite right overhead at noon. I quickly learned: never again. With all the hotspots, shadows on my client’s faces and misunderstood lighting probe, I decided never again to shoot at that time. After this point, I then began to place all of my clients in the shade. It just made sense to me. But I did this out of fear. I knew it was wrong to do this out of fear and without an understanding of lighting. But until I gained the knowledge and experience to place my clients in anything other than shade, it’s what I overused. Side note, don’t get me wrong! Shooting in the shade is still an option I choose at weddings when lighting is fickle. Heck, I use it often during my sessions, because it can still produce incredible shots. BUT personally, it was wrong of me to shoot in the shade for the complete reason that I was scared of the light. So find the shade, and rock it- with full confidence! 😉
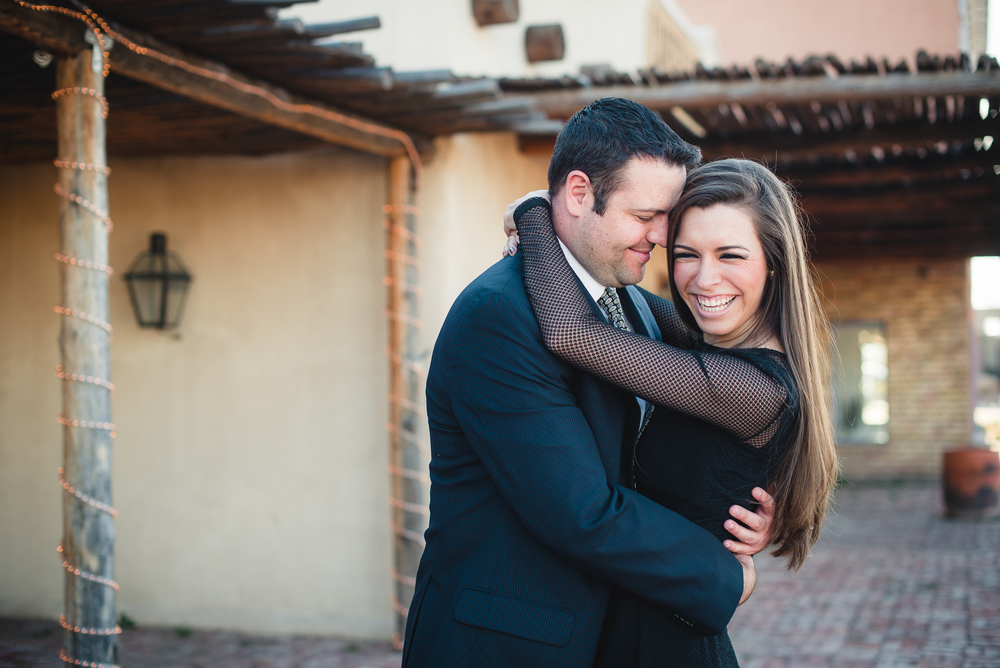
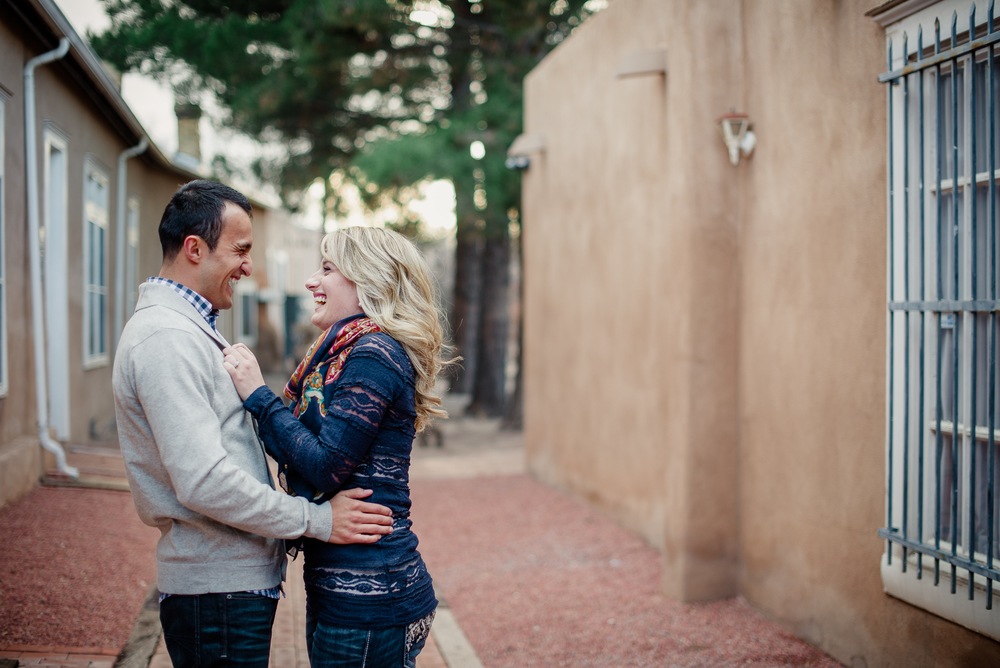
Then you should continue on to learn more about light. Practice makes super experience. Stick with me; I’ll share more about that next Monday! In the picture below, Courtney and Kevin were completely shaded by a building, giving us completely even light. I avoided hot spots, was aware of my background and looked up to see sky. Check, check and check! Read further to understand what I mean by that.
When do you shoot in the shade? Personally, I shoot in the shade anytime I feel like the sun is too harsh to distribute across/behind my clients. OR when there’s a gorgeous background I can put my clients against.
When to avoid shade? When it’s yummy golden hour, and you have the perfect opportunity to backlight your subject! Duh. It’s only gorgeous. But it was hard for me to learn just how to do this. I’ll touch more on this lighting later in my series!
A few points to think about when you do shoot in the shade:
1. Hot Spots
Do: shoot in evenly distributed shade.
Don’t: find blotchy shade (specially under thin trees) that gives your clients “hot spots” across their bodies, especially their faces. Hot spots are bright spots you see in pictures where the light isn’t evenly distributed. They can be across your client’s face, on the ground or anywhere in your picture. You might find this type of lighting on their face when you shoot at noon. But we don’t mention that, right? 😉
If You Have To: place your clients in blotchy shade, use a reflector. An assistant can hold a reflector to bounce sunlight onto your subject to distribute an even light source across their bodies.
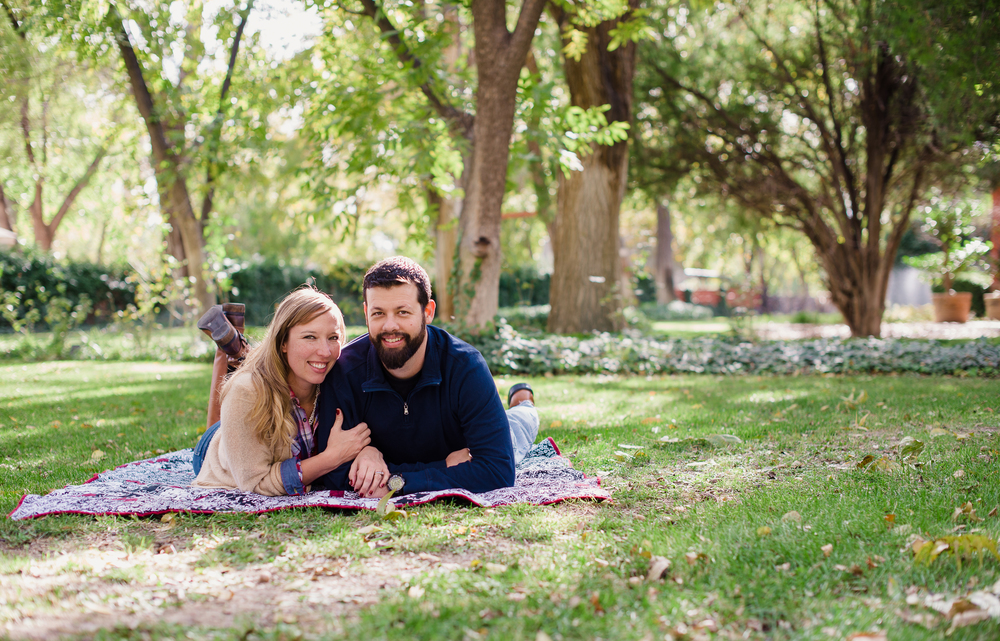
The photo below was taken early afternoon. Where you can see hot spots behind and next to the subjects, their faces/bodies are evenly distributed. I chose to put them in the shade (under trees), due to the time the picture was taken.
2. Blown Out Background
Do: shoot in even shade and be mindful of what your background is.
Don’t: put your clients in the shade while your background is bright. This might be terrible advice, because there are sometimes where you have to do this in order to get those rockin’ mountains in then background. I’ve just learned that when you expose for your subject, the background is blown out white, which isn’t always the prettiest. If you use OFC, this would be covered in another blog post, but I do not. Which is why I’ve discovered something I now look for…
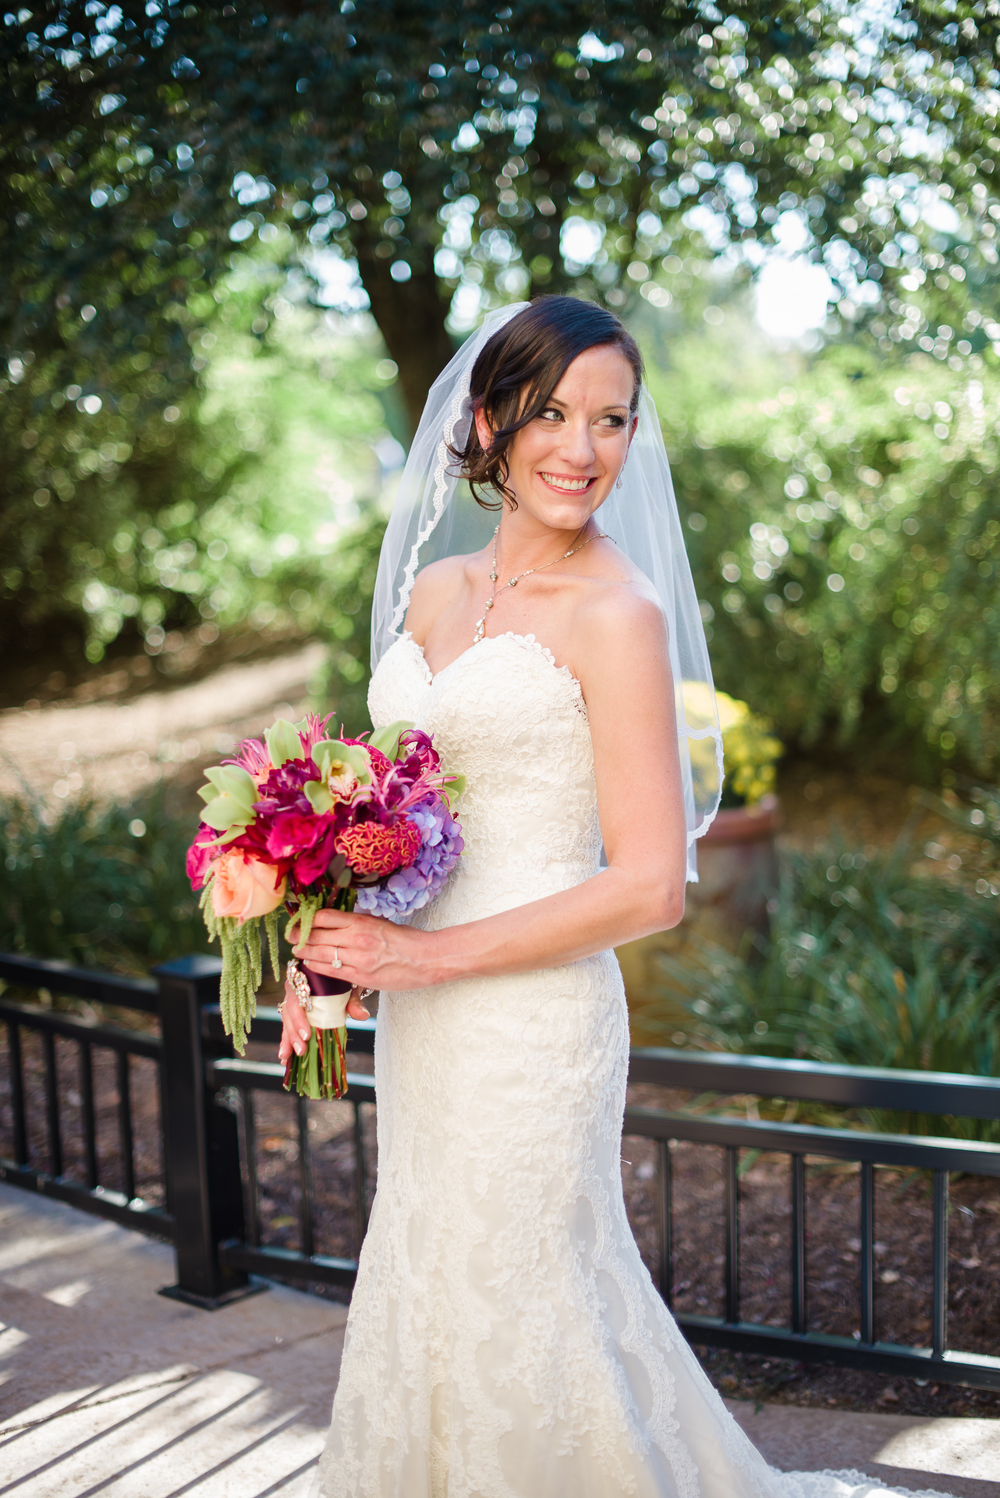
If You Have To: then find a background full of trees and textures. Take this picture below, for example. It was not golden hour when we took these, because I scheduled multiple sessions back-to-back during the day. However, I knew the sun was at least behind them. She was standing in the shade. Had the trees not been breaking up the sunlight behind her, it would look like a bright white, blowout photo. Instead, I got this creamy, bokeh background with my lovely bride in front! You might not always have this option, but if you must shoot your subject in the shade with your background bright, details are something to look for!
3. Look Up And See Sky
Do: shoot in the shade with an open sky above you.
Don’t: shoot your clients if you can’t see the sky above your head. I say this, because I once heard it, and it made sense to me. Previously, I hadn’t heard this concept and shot a couple during golden hour (already less light) in a yard with gorgeous, large trees. Needless to say, there was not enough light. Now, whenever I shoot under trees during golden hour, I try to make sure either 1) there’s still enough light or 2) I can see a breakthrough of sky where I’m shooting.
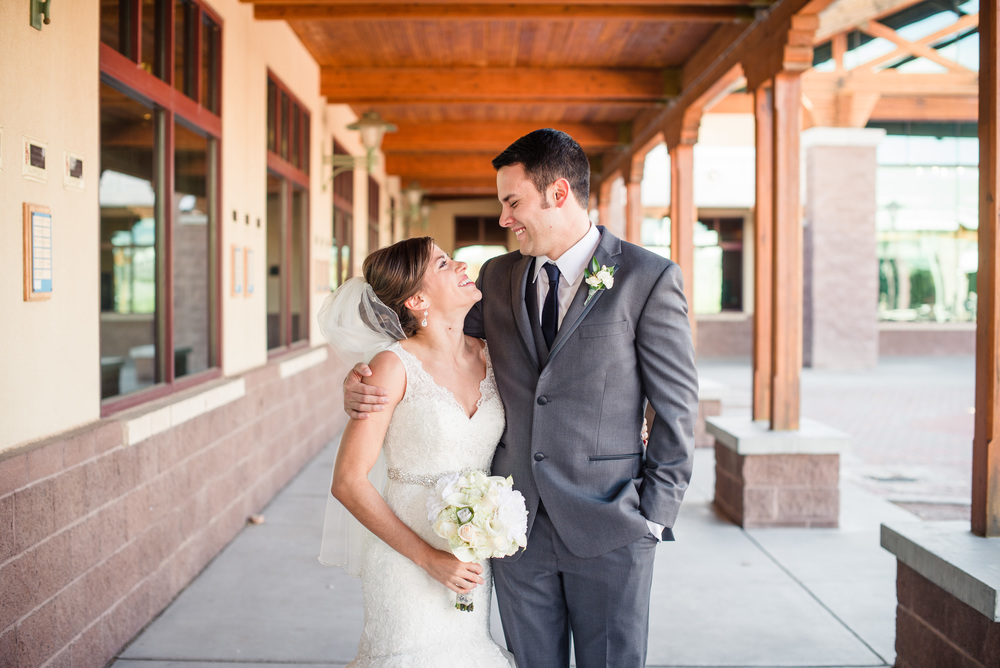
If You Have To: then crank your ISO or shoot wide open. An OCF could come in handy, but we are looking at other options. Sometimes choosing to shoot under a roof, where the sides bring in light, is okay- when you’re not shooting during golden hour. The picture below was taken smack-dab in the middle of the afternoon when lighting is harsh. However, there was enough light to creep in the sides and bouncy off of the sidewalk to perfectly distribute amongst my beautiful clients. Needless to say, this suggestion of looking up, is to be considered with other factors, because it can be a lifesaver at times!
Whew, we covered a lot, didn’t we? The main point I think you can take away is that shade is your friend. Look for it always in a pinch, but when the opportunity arises, I personally think backlit subjects are gorgeous. Shade is obviously the easiest to find, because you simply 1) determine where the sun is setting 2) find a building/tree/object to block that sun 3) use that shade! It’s simple and the easiest form of light you can find. Use it, rock it, build your confidence with it and come back next week for the next part in our series: how to find the light to backlight your clients when they’re still in the shade.And then stick with us until the end! Feel free to ask questions that I didn’t fully answer in this post. I’m all ears!
Remember, I’m just a photographer learning right along side you. I’ve just learned from some trial and error, a video here and there, and am open to sharing!
Joys to you all!
Lindsay
* When to schedule your session.
1. How to find the light in complete shade
2. How to find the light to backlight your clients when they’re still in the shade
3. How to find the light when you’re in an open field of sunlight
4. How to find the light on a cloudy day
5. How to find the light when you’re inside

Comments