


February 6, 2015
Hello again! If you’re here for the first time in the series, welcome! I hope that you find these blogs helpful as you continue your journey through photography and finding that light! If you’re hanging with me in the series, please know that I’m totally stoked about it. Jordan asked me if I enjoyed writing, and I answered him saying that I like teaching. I like teaching in a way that I need to hear it. So hopefully, you’re able to pick up what I’m putting down.
And I’d honestly love it if you shared any “a-ha” moments you experience when shooting because of these posts! Last week we touched on a few things to be aware of when you shoot in the shade. I mentioned that shade is probably the easiest form of light you can place your subjects in, because it evenly exposes them. It’s very difficult to mess up (unless you aren’t aware of what we talked about last week!). Well, we’re moving up in the world and are going to talk this week about placing your subjects in the shade yet still allowing for a beautiful backlit effect.
I’m truly excited to share this light today, because I feel like it’s something I’ve just recently found and understood.
1. Slow down.
Basically, the first step in nailing this type of lighting is to: slow down. Slow down, look at the ground you’re shooting on, and find the shade. This is what you’ll be shooting in. When I first started, I had a million things on my mind: shutter speed, aperture, posing, making my client’s feel comfortable, being confident…how could I possibly find the light to backlight them!? After some time, I was able to gain confidence in myself and simply slow down. I think slowing down plus a little dose of confidence helped me to find this incredible lighting, which I believe today is probably my favorite. I get excited to find it.
. Find the shade & put your clients there.
Find the shade and put your subject in it. Like I mentioned in the post before, placing them in the shade will evenly expose them. Whether you backlight them or not is now the question.
3. Move your clients around in that shade to find the light hitting their head.
This is where confidence and being comfortable comes in. While you’re walking around your location and making small talk with them, catch a glimpse of where the sun is hitting their head. Ask your client to stop where they are or take a couple steps this way or that way, depending on where the sun hits their head ever-so-perfectly to light up their hair. Sometimes I even let my clients know what I’m doing to let them feel confident that what I ask is for the best and will be AWESOME.
Make sure the sun is behind your client.
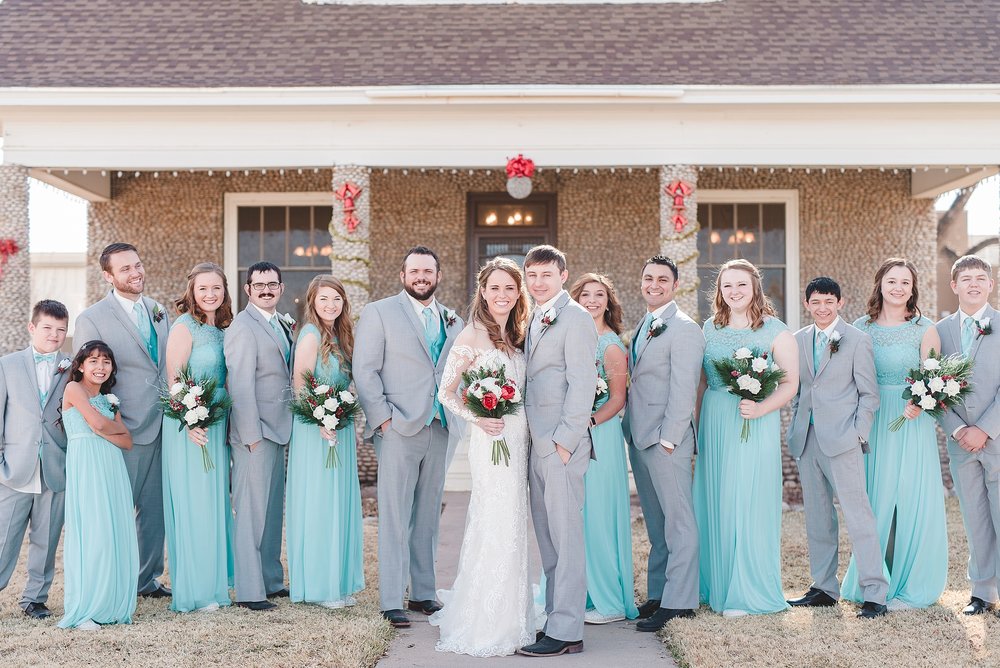
For this backlighting to happen, make sure the sun is behind your client’s head while they are facing you (see picture above). If it’s golden hour without clouds, the sun will be shining on the back of their heads at some point. Keep in mind that if there’s a building or a tree in between the sun and their hair, this effect is not possible.

This lighting is my favorite, because I know that my clients are evenly exposed, due to the fact that they’re standing in the shade. Like I said, shade is my go-to! However, when you add that twist of allowing the sun to find the back of their heads instead of it being flat in the shade, it just adds so much beauty, in my opinion! I love seeing those hairs on fire!
Step by step:
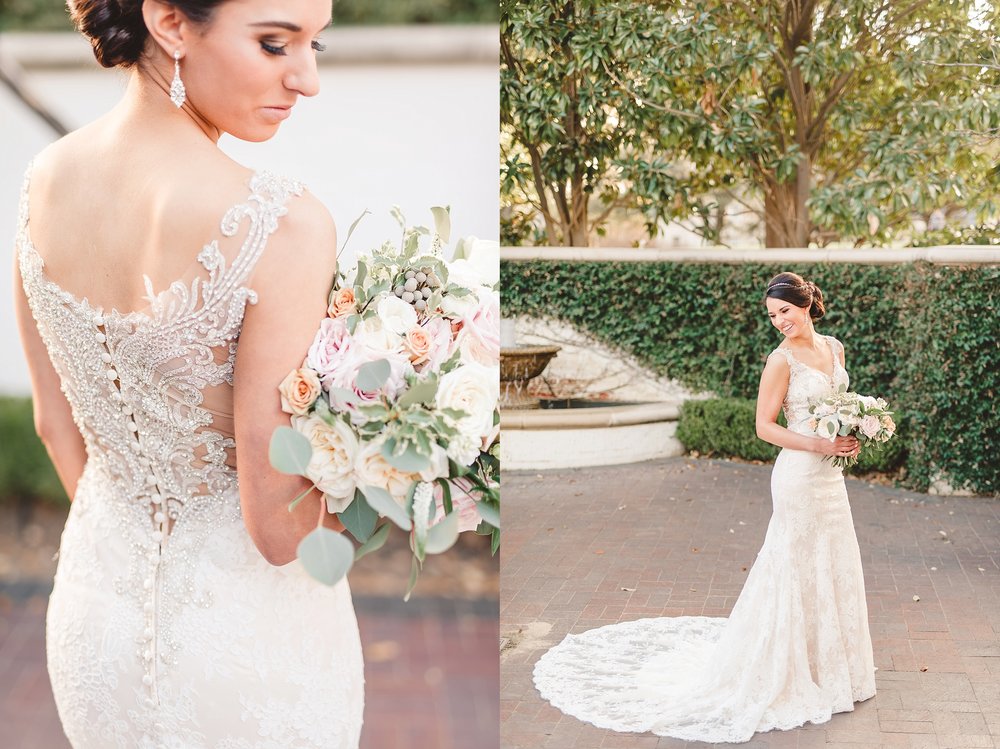
In the picture above of Macy, I placed her 100% in the shade. The sun was about an hour away from setting, so it was lower in the sky behind her. While her body was in the shade, the setting sun shone on the back of her head, lighting it beautifully. This exactly my aim in backlit subjects in the shade. If she had taken a couple steps forward, we would have lost this sunlight, just because of factors within this location. That’s why being comfortable and vocal with your clients is important when you’re aiming for this effect.
I promise that once you find this light for the first time, you’re going to see it often. When I found this light during a session, it was a genuine “a-ha” moment for me. It made me realize that I want to utilize that beauty whenever I can. Keep in mind that your ability to backlight is limited when you’re in a wooded area as opposed to an open field. The sun will be lost behind trees in the wooded area versus it fully setting in the open field.
Now go play!
My biggest advice is to go outside TODAY, and have your friend, boyfriend, husband, whoever stand in the shade during golden hour. Make sure the sun is able to reach the back of their head and have them move around..A LOT. Get a good idea of how it can change in just a few steps. It’s amazing and such a beautiful twist to put on a client in the shade. I’m excited for you all and hoping to hear some “a-ha” moments coming from YOU!
SO…
Do: slow down and be confident when looking for the light and asking your clients to move around for you to nail that backlit lighting on their heads.
Don’t: lose confidence and move too quickly to where you’re missing an opportune time to backlight your subjects while they’re evenly exposed in the shade.
If You Have To: …..THEN GO PRACTICE BEFORE YOUR NEXT SESSION! 😉
Stick with us as we cover how to find the light in an open field NEXT MONDAY! I’ll share some more examples below! Enjoy!
Joys,
Lindsay
*When to schedule your clients: shoot during golden hour.
1. How to find the light in complete shade
2. How to find the light to backlit your clients when they’re still in the shade
3. How to find the light when you’re in an open field of sunlight
4. How to find the light on a cloudy day
5. How to find the light when you’re inside.

Comments