


July 23, 2015
This second post in our lens series is our suggestion to your first lens. If you missed our first post in the series where we shared a little of our journey purchasing lenses, saving and choosing which to purchase, catch up here.
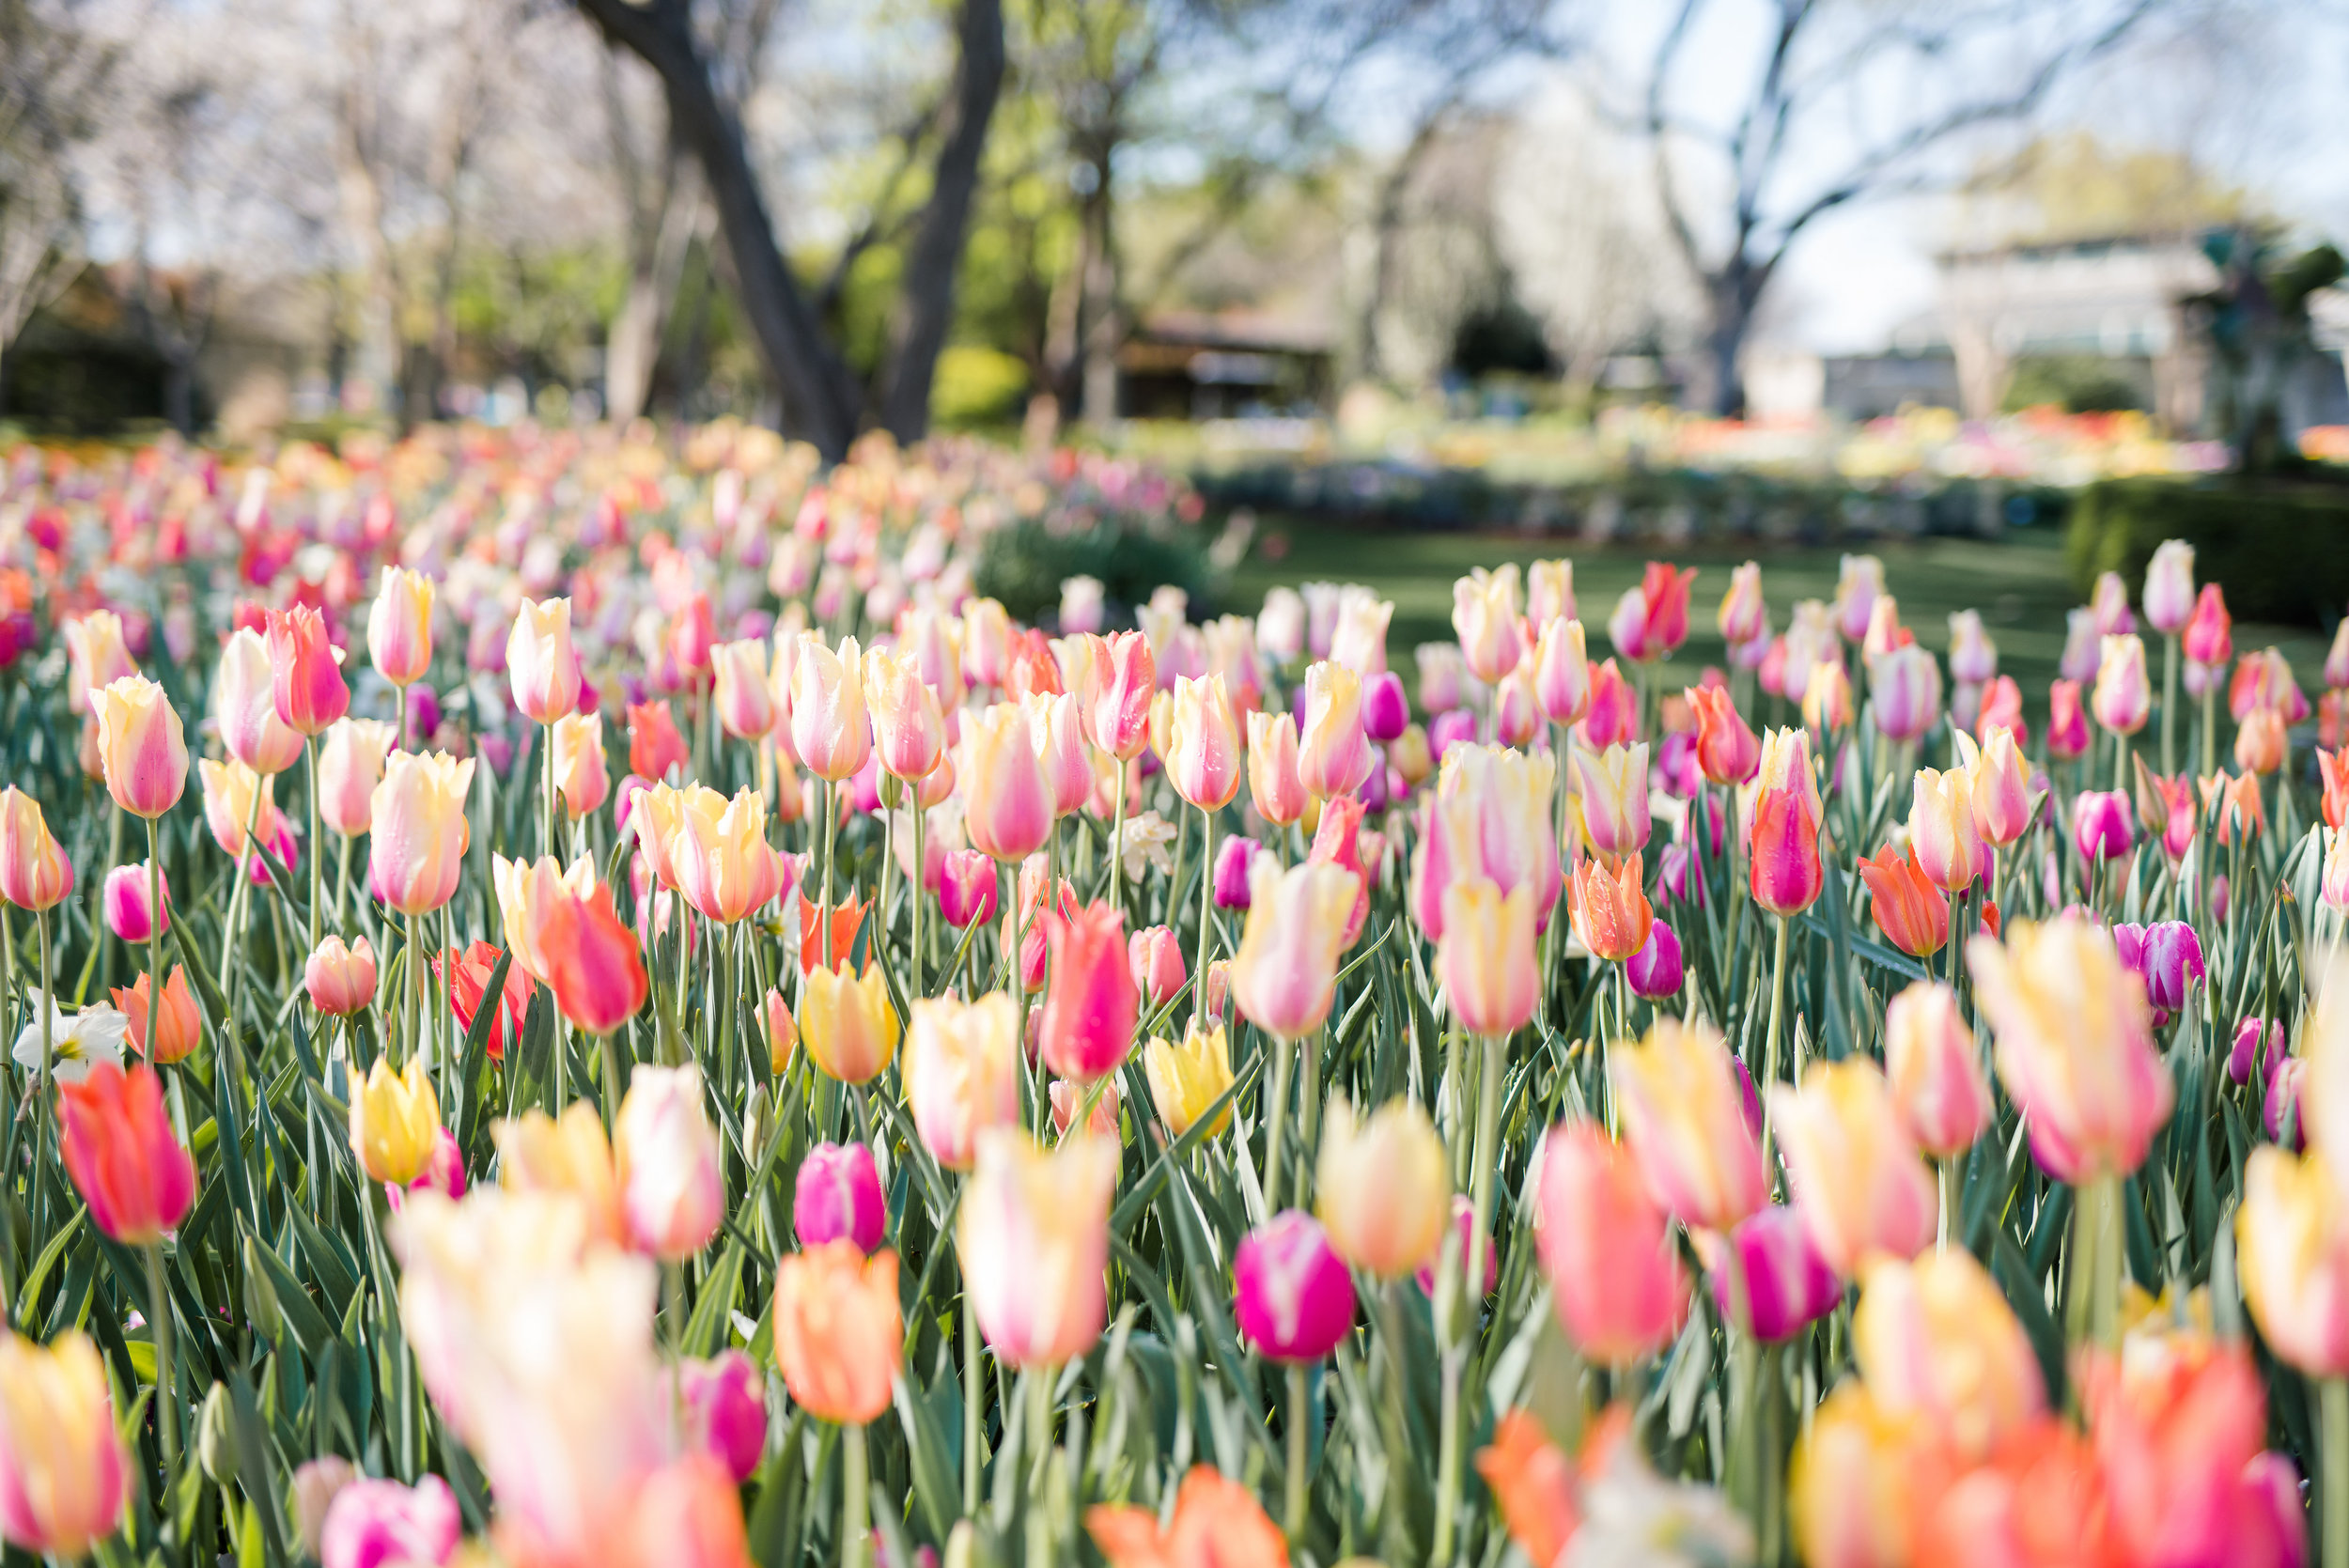
I learned early on that lenses are…so much fun. Glass is truly the most valuable aspect of professional photography equipment. Don’t get me wrong, the photographer using the glass is key too, but I noticed an incredible difference when I switched from my 18-55mm kit lens to my first “nifty fifty” 1.8. The biggest and most obvious can be seen in the bokeh, or the compressed or “bubbly” looking background—the way it can make your subject noticeably pop out against their background. THIS is what I think makes a professional lens stick out from amateur glass, and you can only achieve this if you are willing to invest some money in quality equipment.
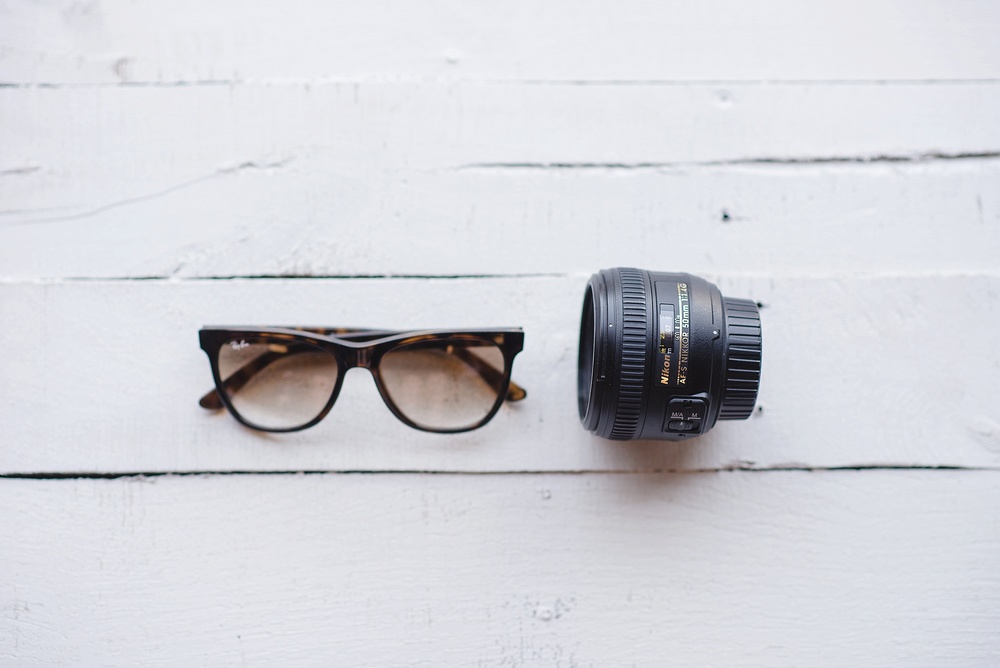
In this series, I’m going to share our journey of buying our lenses and what we would recommend to photographers who are just starting out with this rather daunting journey. Hey, lenses can be pricey! This is the same information we shared with our workshop attendees, and when they clicked on their first prime lens with a wide aperture to their cameras, their expressions were priceless. It had clicked. Literally. This is the best first investment you can make in your photography journey. And by this, I mean investing in an inexpensive 50mm 1.8 lens that is terrific in low-light situations and versatile enough to be nick-named the “nifty fifty”. It’s small and lightweight as can be seen in the image below.
The difference
This was the first lens we invested in after a month or two of shooting sessions with my 18-55mm kit lens and setting aside bit by bit in our “lens envelope”. My kit lens’ aperture was not desirable for portrait sessions, because like I mentioned above, it was not very good at making my subjects pop out in the image. The background was not as blurred as if it would be with an aperture that’s lower, such as 1.8, 2.0, 2.5, etc. The 3.5-5.6 aperture on my kit lens just wasn’t optimal for the photography I was wanting to dive into.
The research
After much research, Jordan was only beginning to take the shape of one of his crucial roles in our business: the research side. I’ll be honest, I’m not much for research when it comes to glass. In the beginning, I was all about researching everything else related to photography, but the technical aspects of our cameras and lenses is where Jordan wins the gold.
The nifty fifty
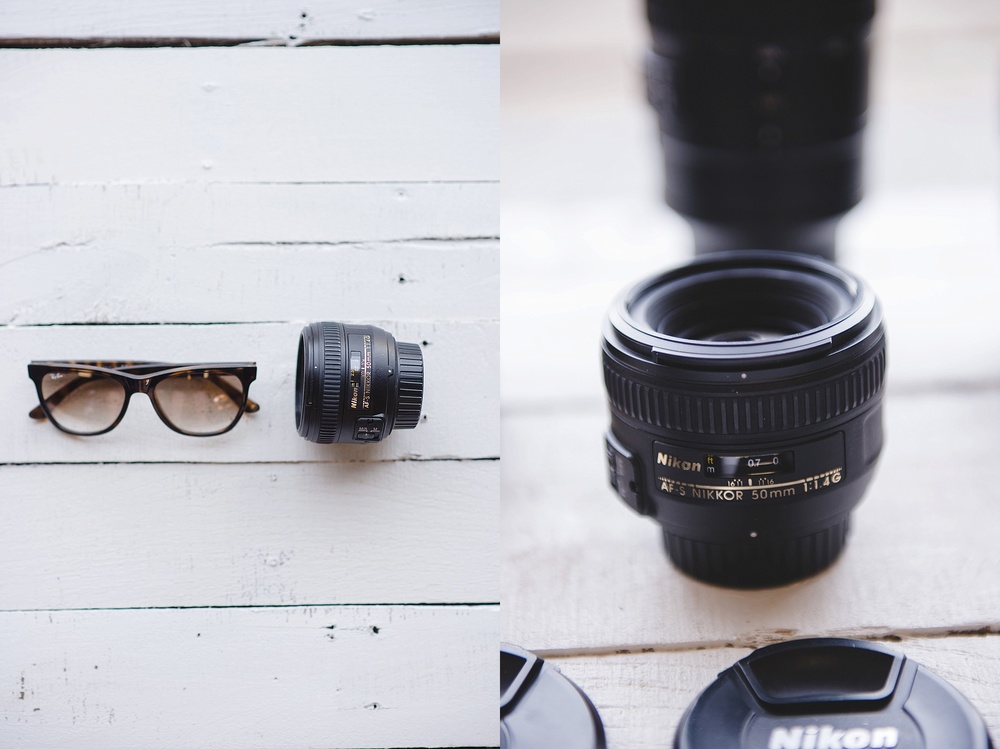
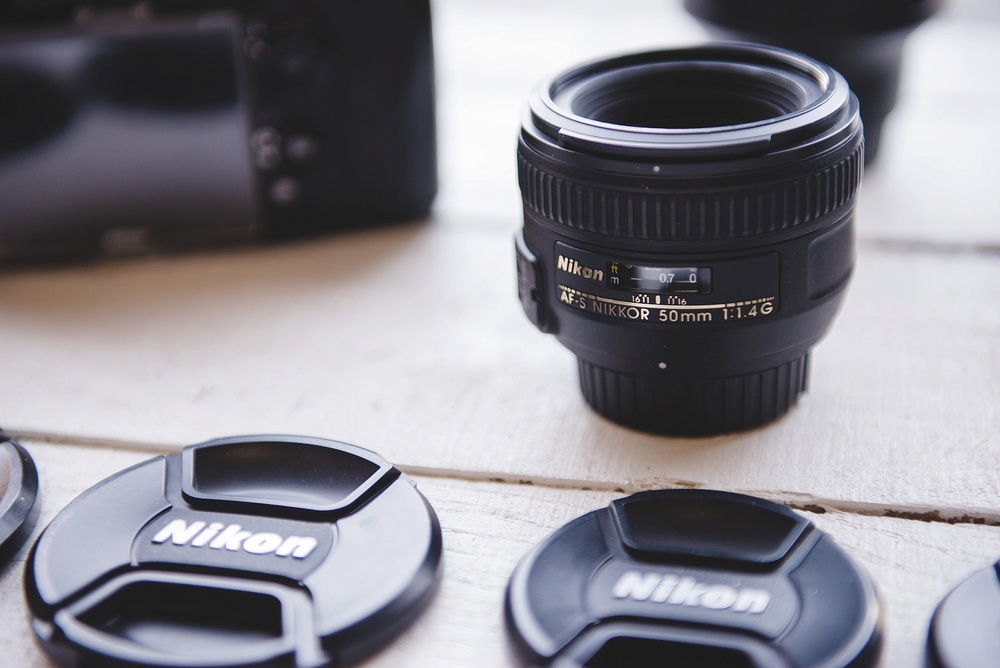
We decided that the best lens for our buck that would be versatile enough and give us the best return was the 50mm 1.8. This lens runs about $200, and where we were (a month after marriage about to begin graduate school), this was best for us. We slowly put a small portion the money I had made from shooting sessions in an envelope dedicated to this lens, and the return was incredible. We made back our $200 plus some very quickly and began to plan for our next lens. We did this by messaging other respected photographers for advice and continuing our own research. And by we, I mean….Jordan. We also used to find ourselves leaning over the countertop at Wolf Camera in Plano whenever we were in Dallas, because we enjoyed picking their brains and learning more about glass. Shout out to them, because they were incredible to us and our journey!
In my opinion
I love the 50mm. I love it for multiple reasons. I adore the low aperture of 1.8, because it’s best in low-light and creates beautiful bokeh in my images. I love how versatile it is (hence it’s nickname)—it’s not too wide and not too zoomed. What was hardest for me when I first put it on my camera was that it was a fixed lens, meaning it did not zoom in and out. Remember, my prior lens was the kit lens 18-55, which had the option to zoom. Once my feet quickly learned that they were the zoom, I was able to adjust better and compose the way I wanted. However, I had to keep in mind that the camera I was using this point was a very basic and inexpensive crop-sensor camera and that I needed to account for the crop it would put on my images.
Keep in mind that there’s a difference between using a crop-sensor camera versus a full-frame. This 50mm on a crop-sensor camera was actually acting as more of a 65mm. For example, if I composed by image with a subject standing upright with their feet and head showing in my viewfinder, after I take the image, it may crop the top of their head and their feet off if I didn’t plan ahead of time to scoot back an extra step. I’ll share more about when we decided to invest in a full frame camera later in the series.
When I use it
I use my nifty fifty (recently upgraded to 50mm 1.4) about 40-60% of the time during my engagement sessions. It’s such a great portrait lens aside from my favorite, the 85mm. I prefer to use it for detail shots at weddings and sometimes during the ceremony. This is the lens I pack for traveling, aside from my 35mm, because it’s light, small and “nifty”!
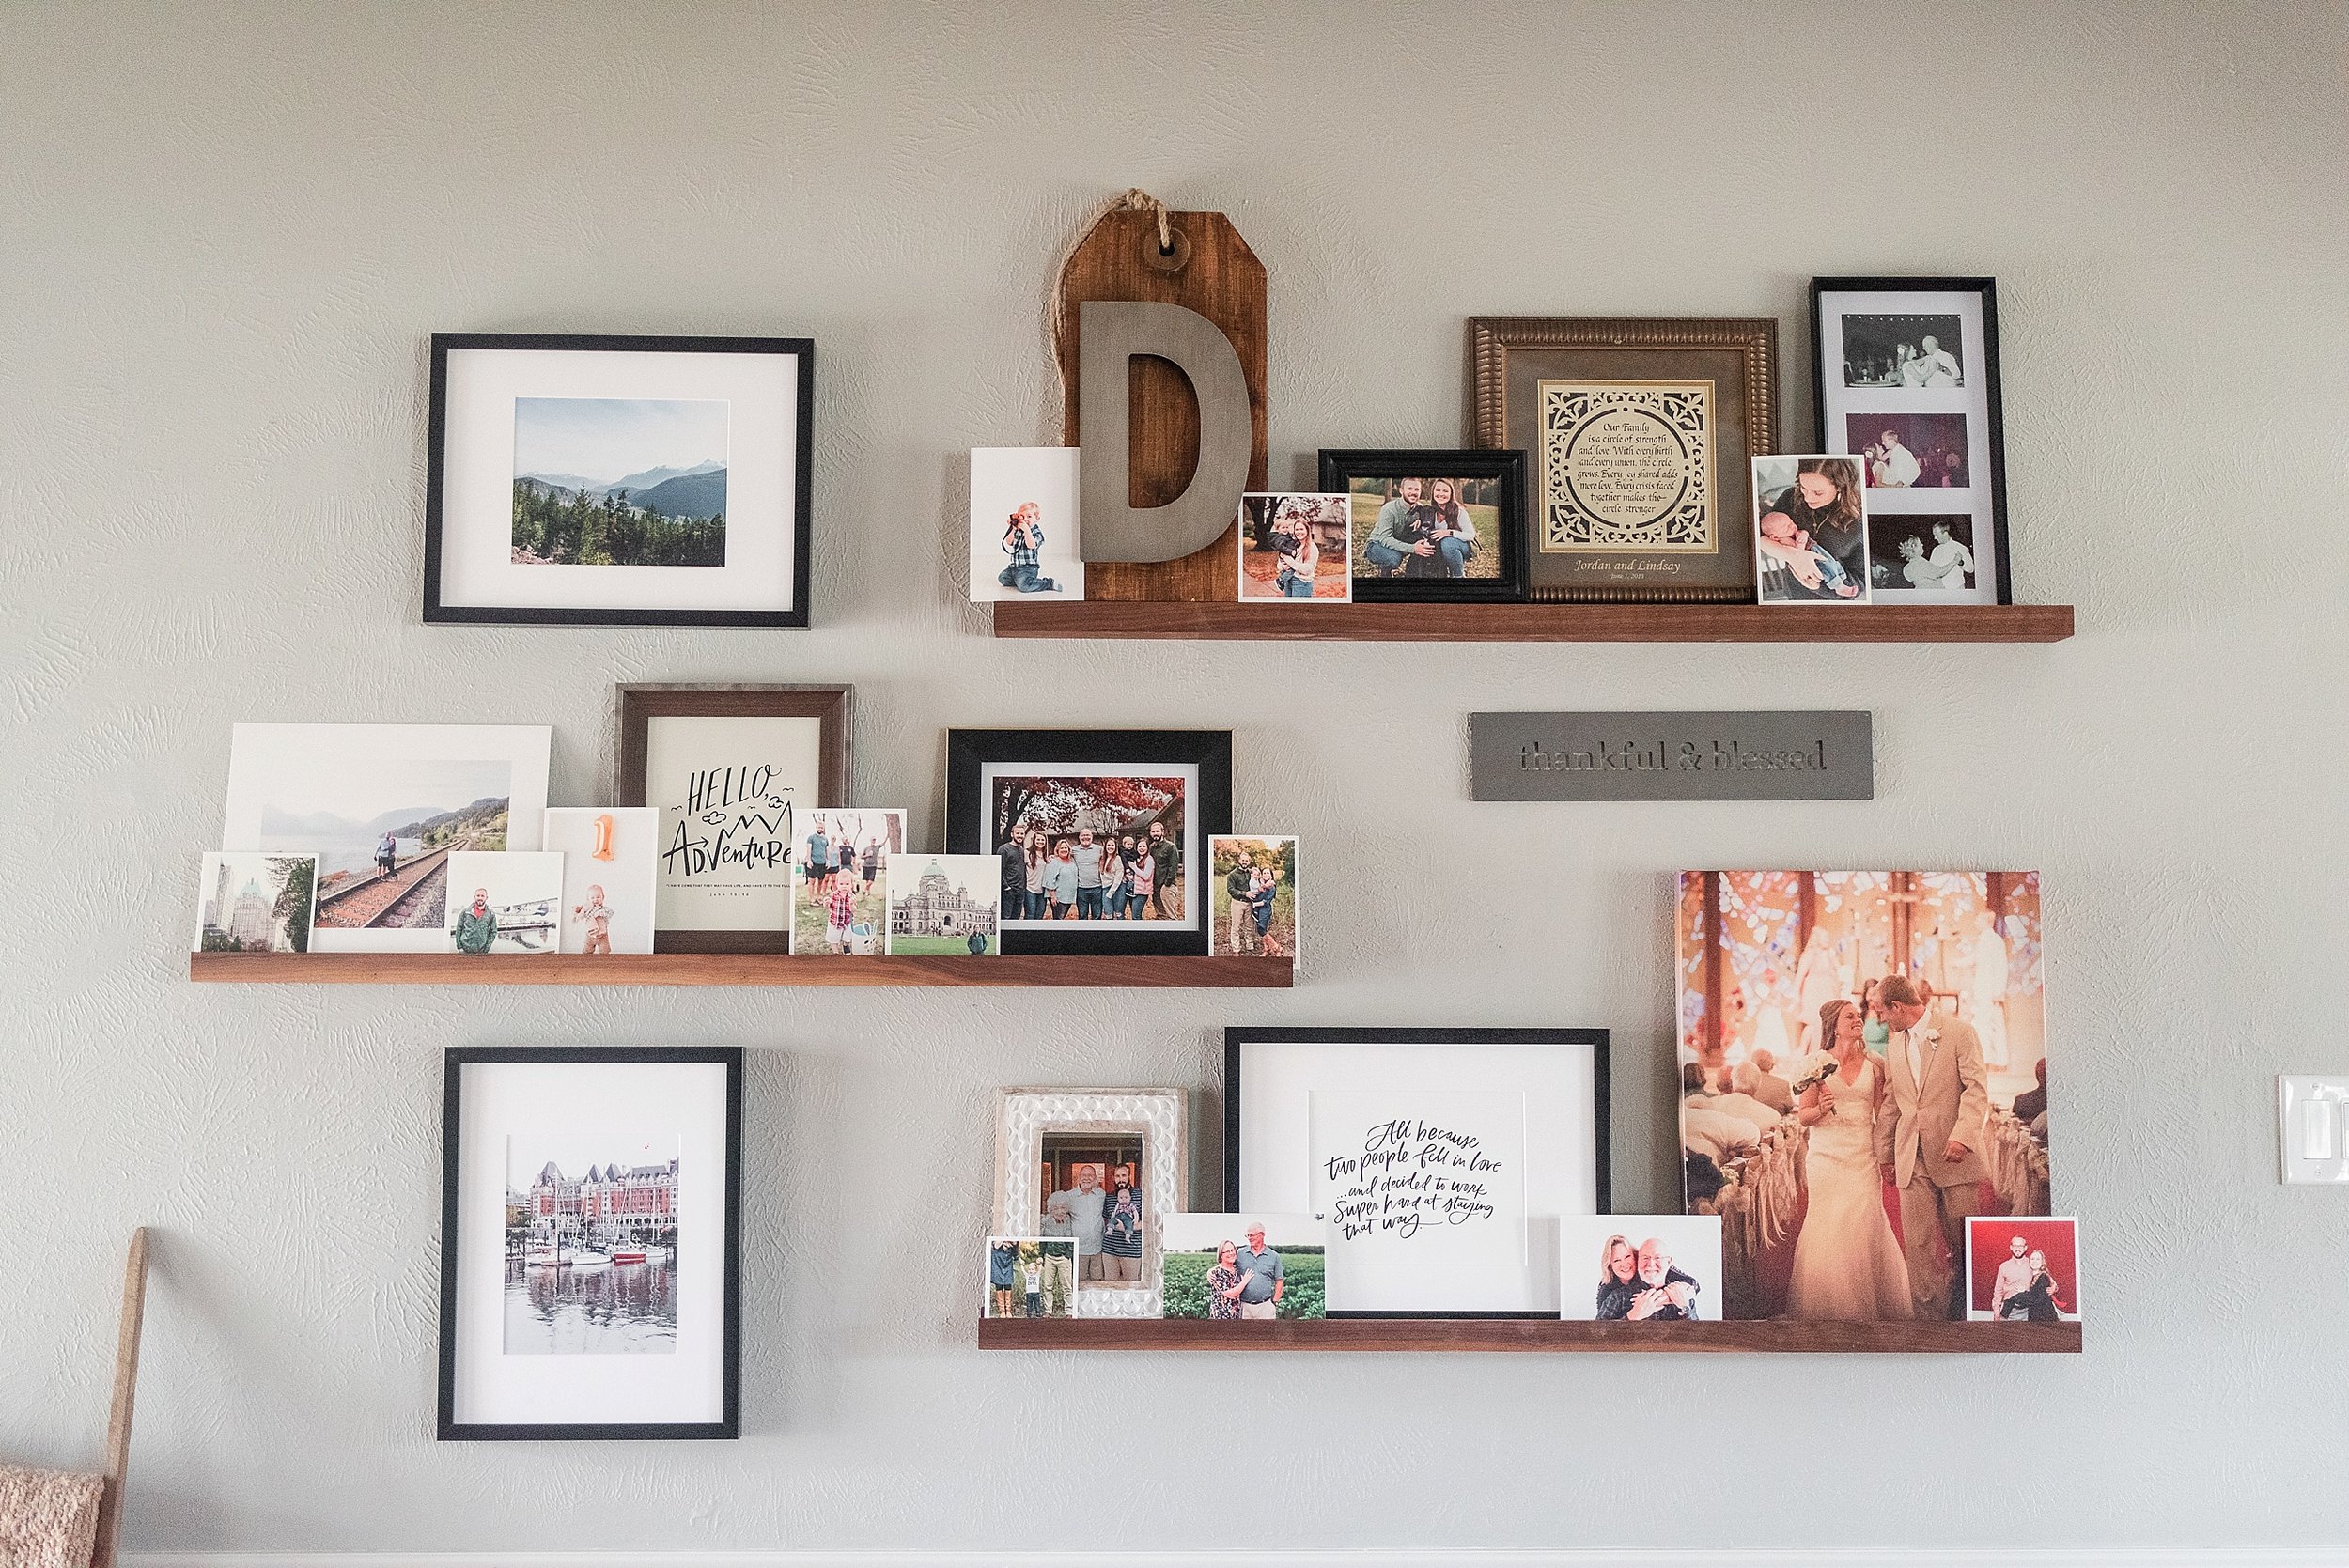
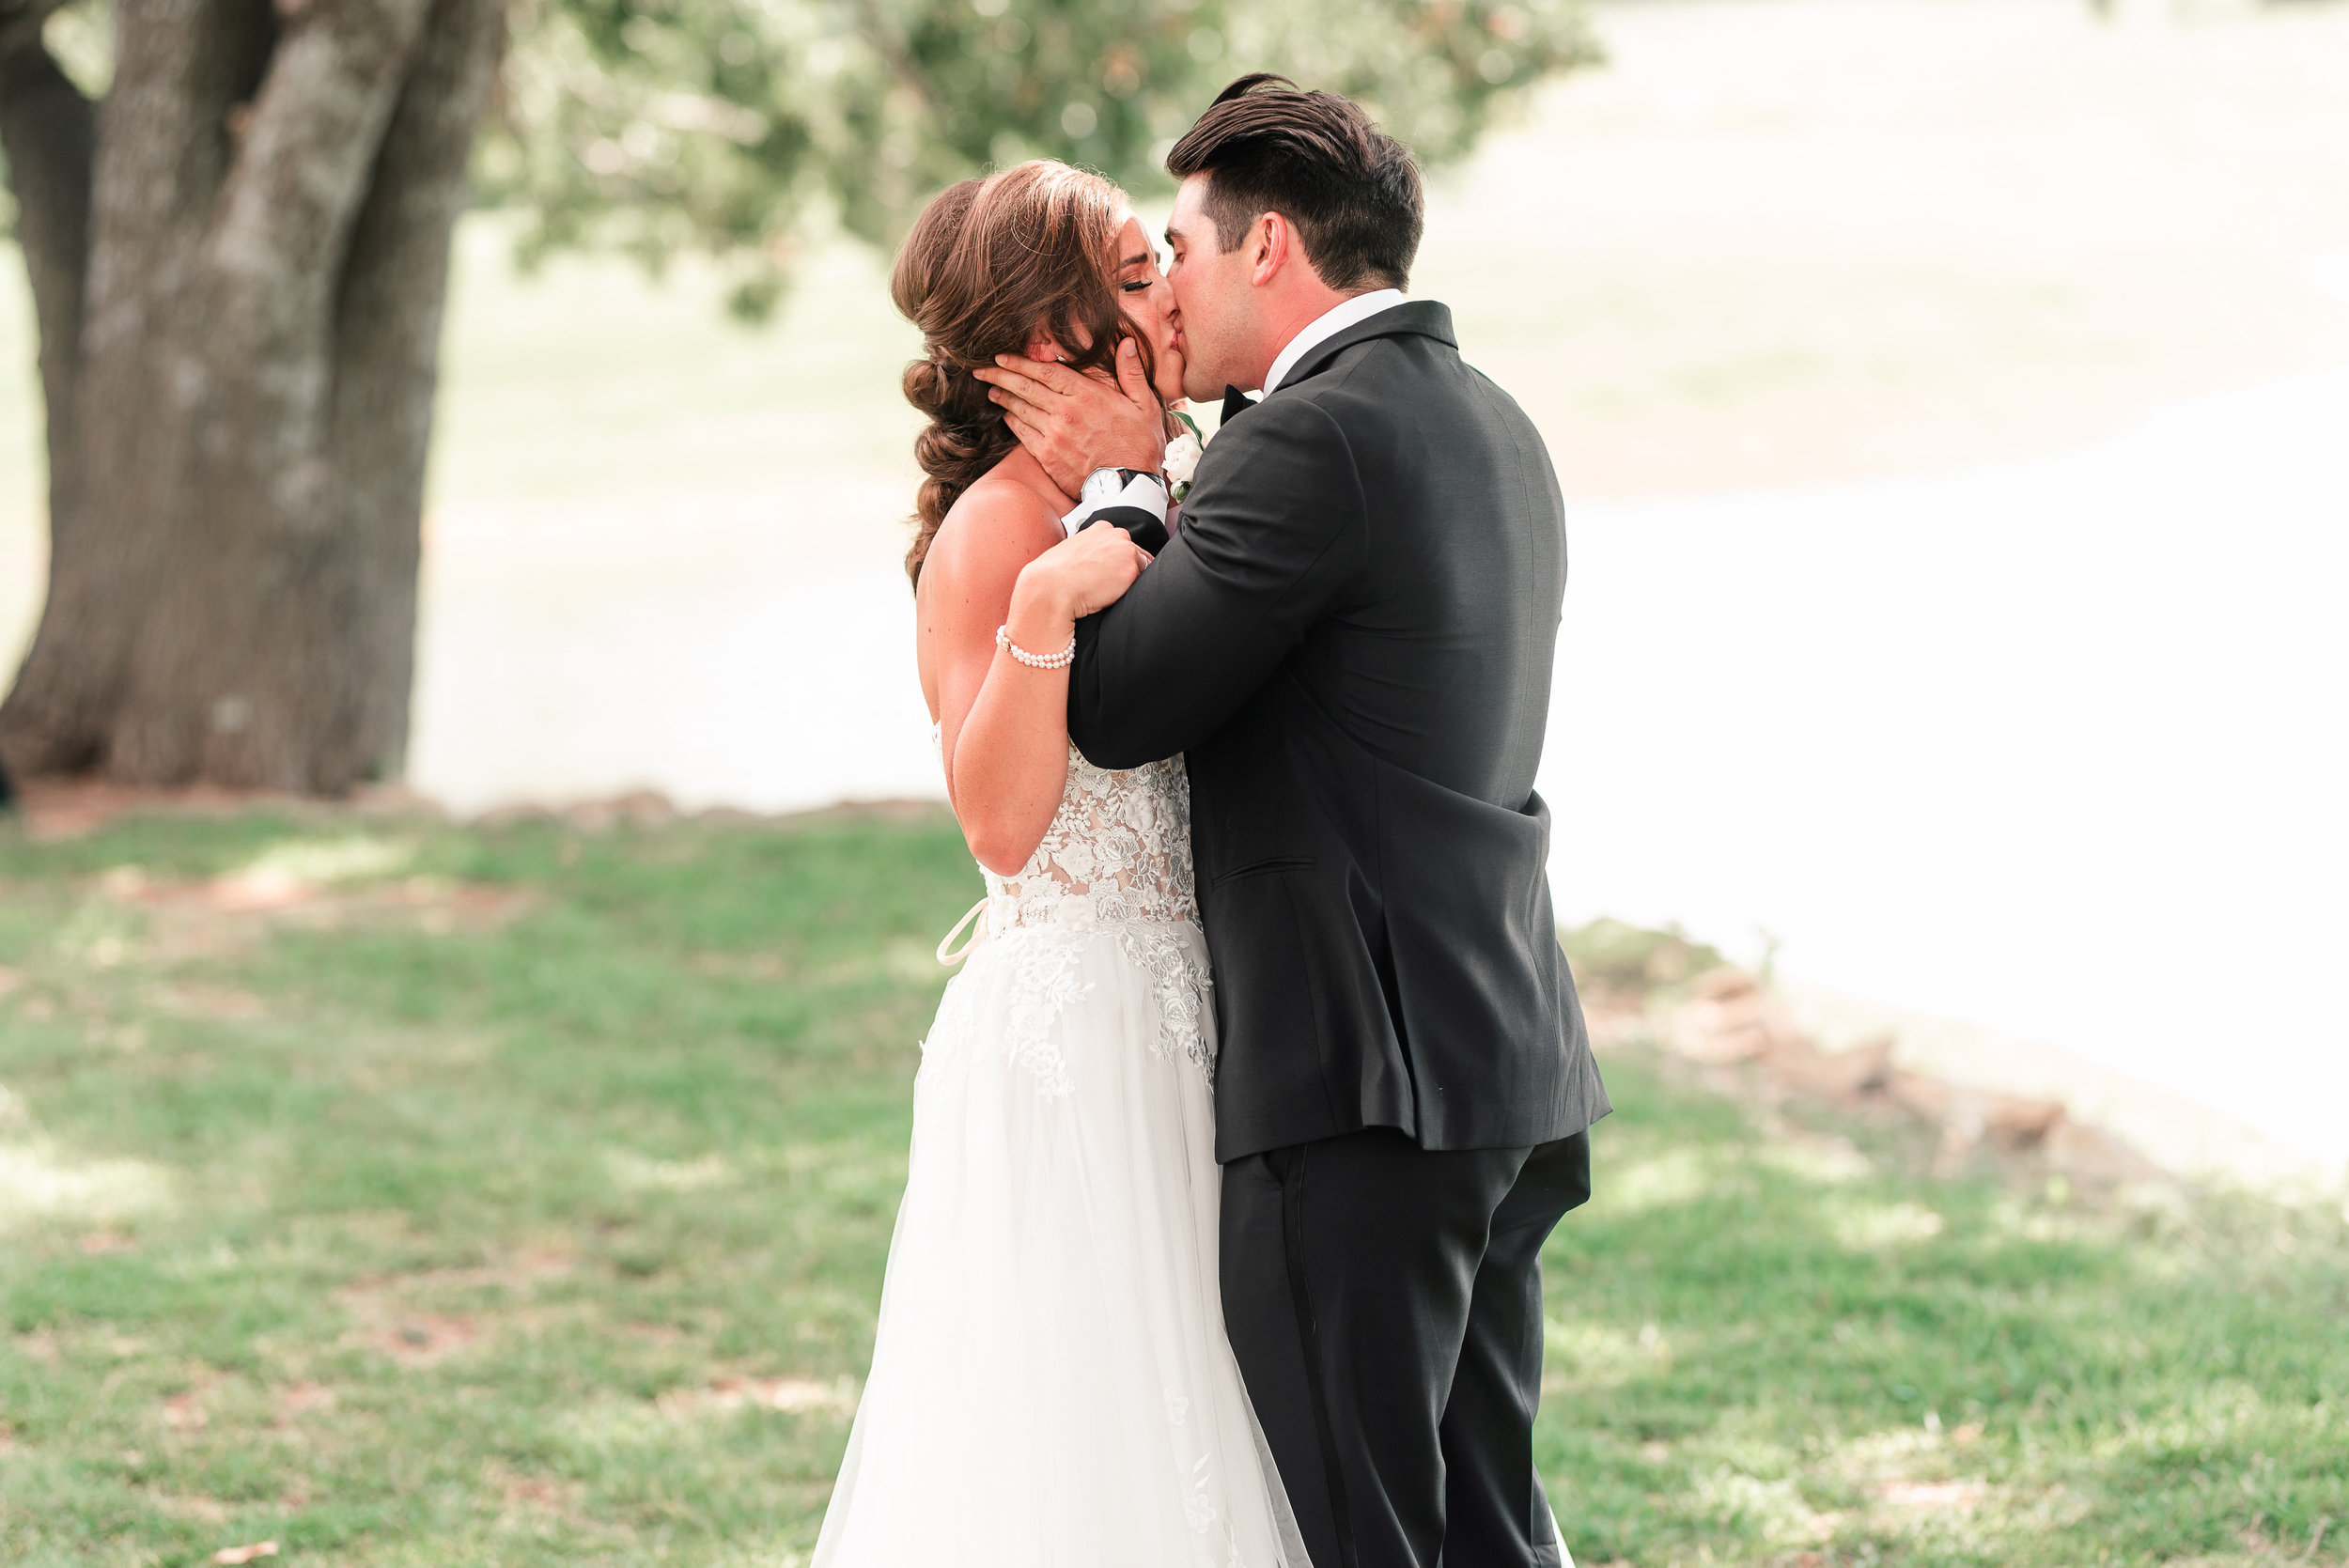
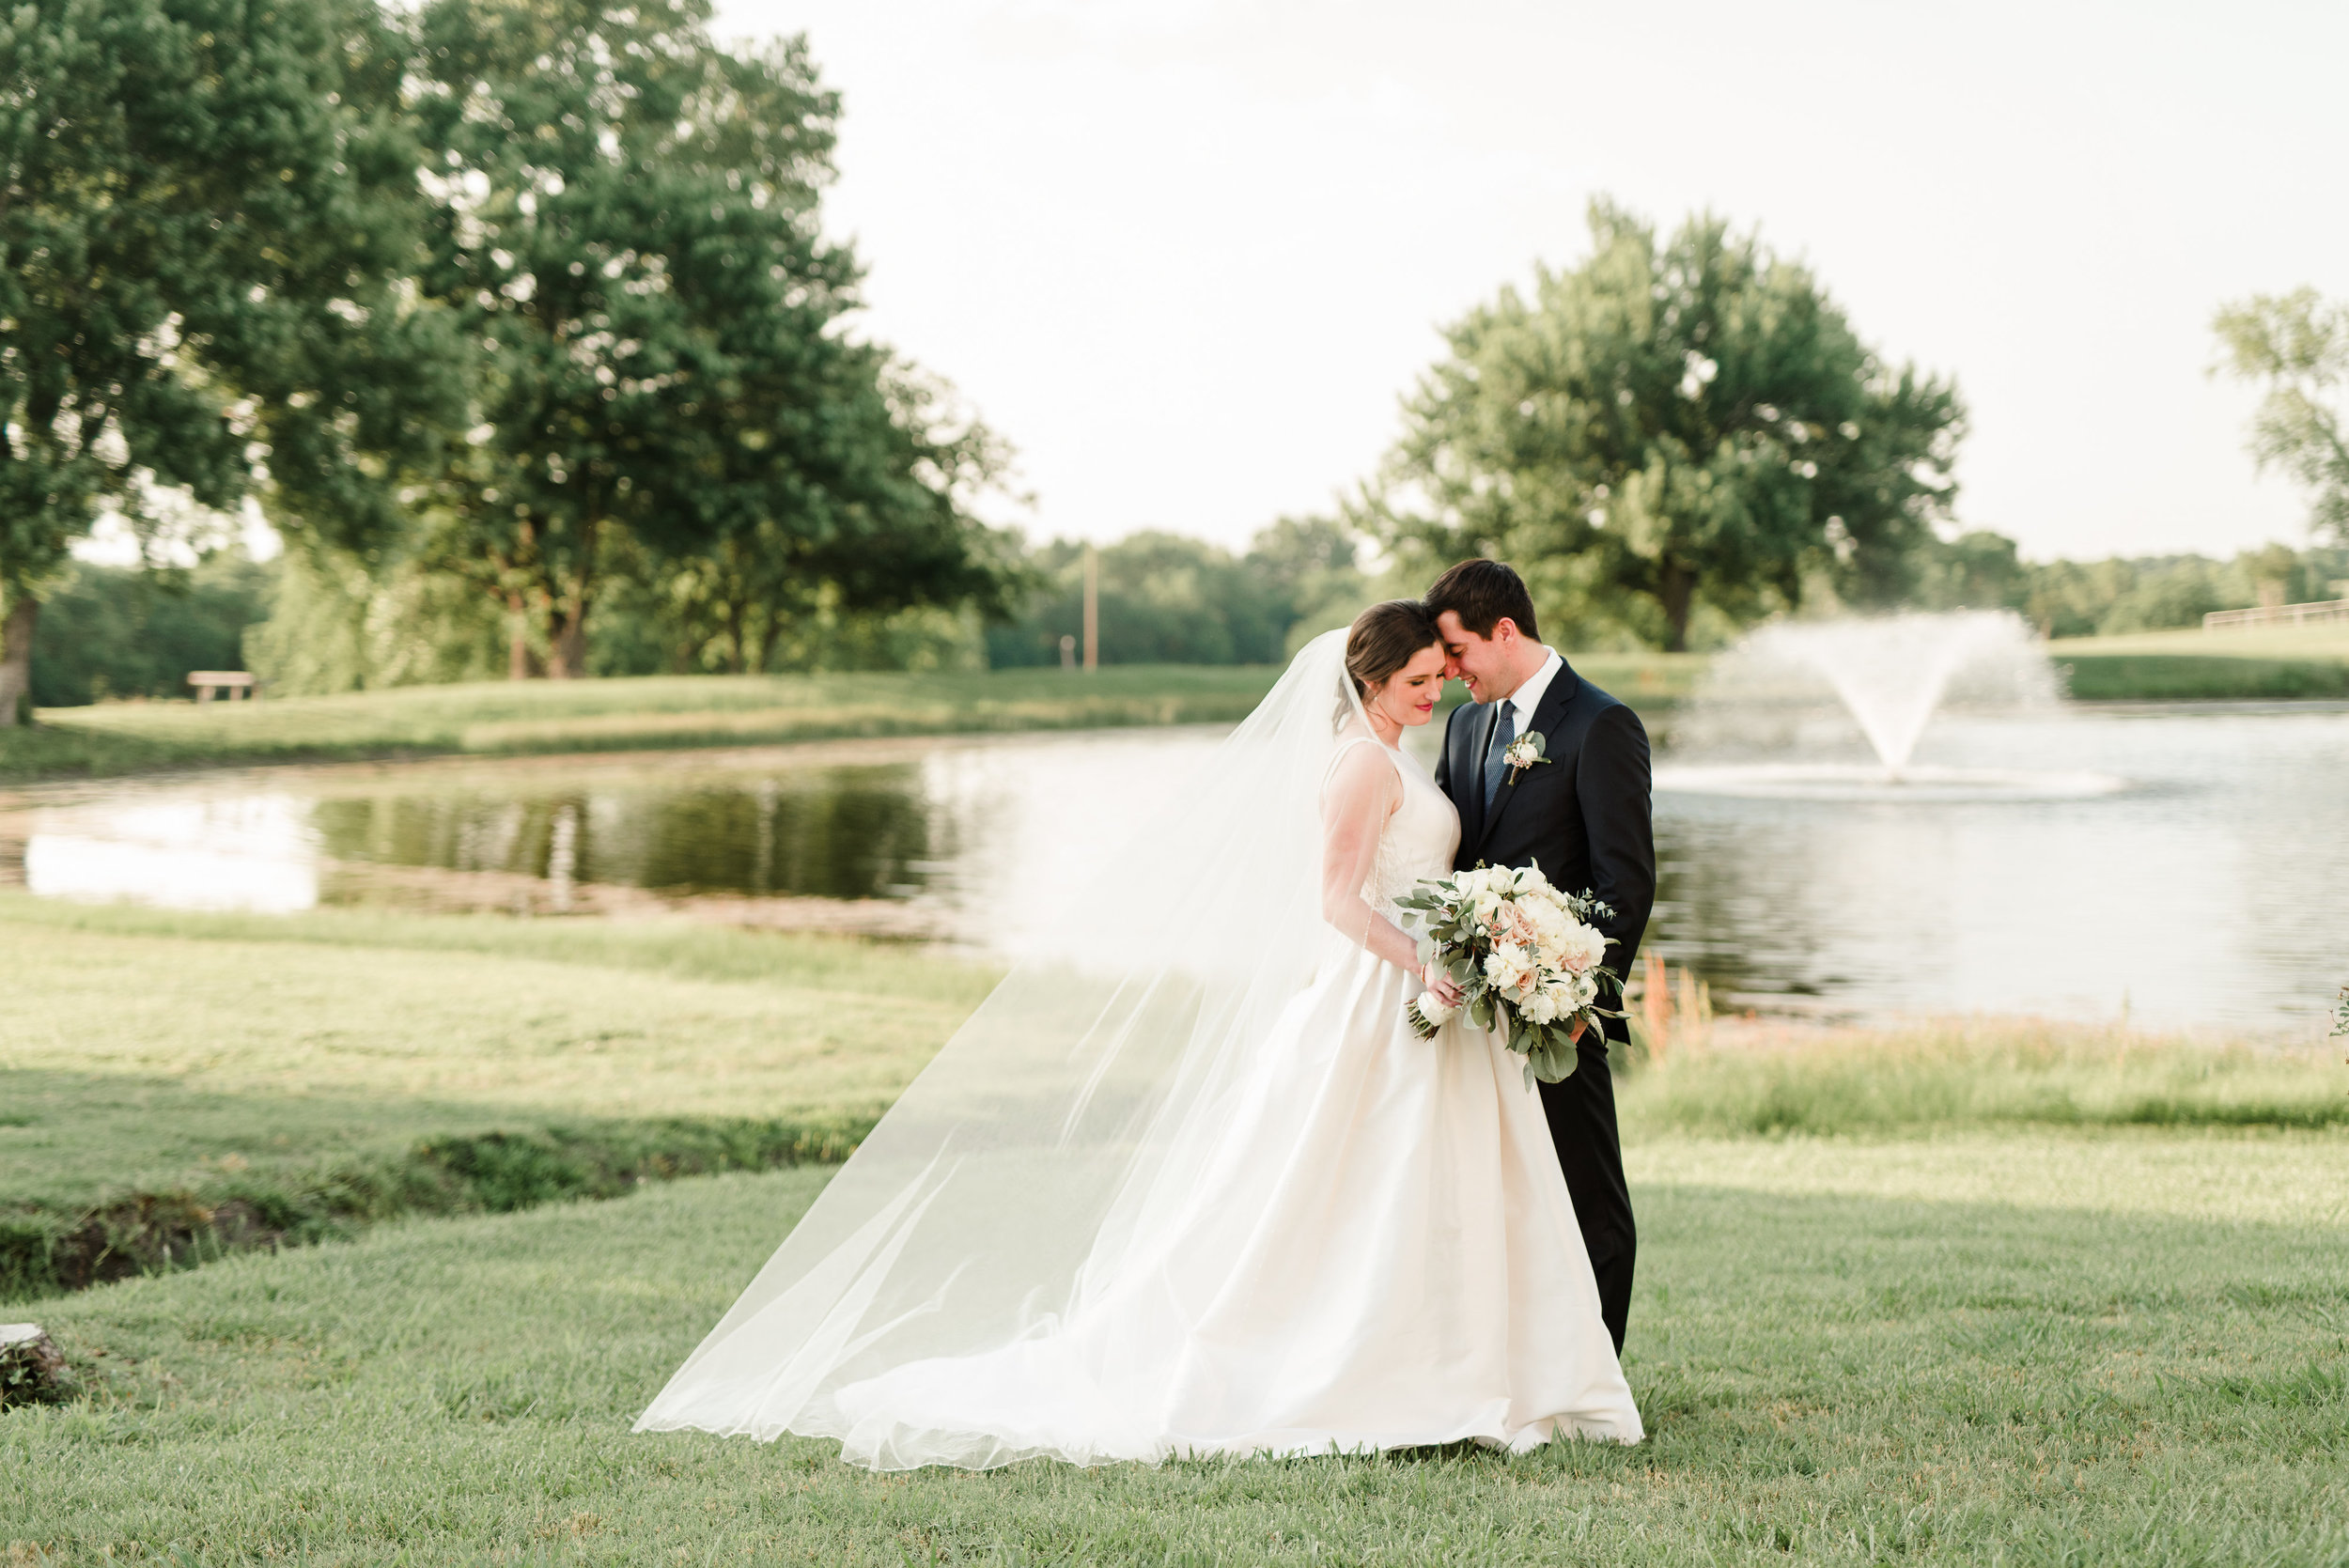
I used it in these two images below.
50mm ISO 320 f/2.5 SS 1/250

Go buy it
And there you have it. We feel that this is by far the best, most cost effective, and most versatile lens you can invest in first. Your return will come quickly, and your images will improve drastically when using this lower aperture. Set aside what you’re able so that you can invest in your next purchase we’d recommend: a full frame camera.
Catch our next post to learn more about why we recommend a full frame camera next!

Comments