September 22, 2017
Tip #5: Understand that the distance between your subject and its desired background has a purpose.
Did you miss Tip #1? Tip #3? Or the intro to the series?

I hear it all the time. “Oh, I love that door, wall, mural, greenery, you name it”!
My clients automatically start walking up as close to the pretty, desirable background as they can get, because 1) they love it so 2) why not stand right next to it?
This is where awareness and experience is so valuable.
If you posed your client up against a pretty wall, you might be surprised with your images when you return home to view them. Yes, they may be very lovely, but the image you had in your mind may not have been what you captured. Nor does it 100 % support the goal that your image is “client focused” with your client popping off the background.
Do you know why?
Because when you placed your subject up against this “pretty background”, it didn’t allow for much depth at all from the actual background, and depth is what we LOVE. Depth is what allows the wide open aperture (1.4, 1.8, 2.0, 2.5) to do its popular, desirable job, which is create “bokeh” and a subject that POPS off the image. So don’t lose me here: first, you need a lens that allow you to shoot at apertures as wide open as these. Next, pull them away from their background to create depth.
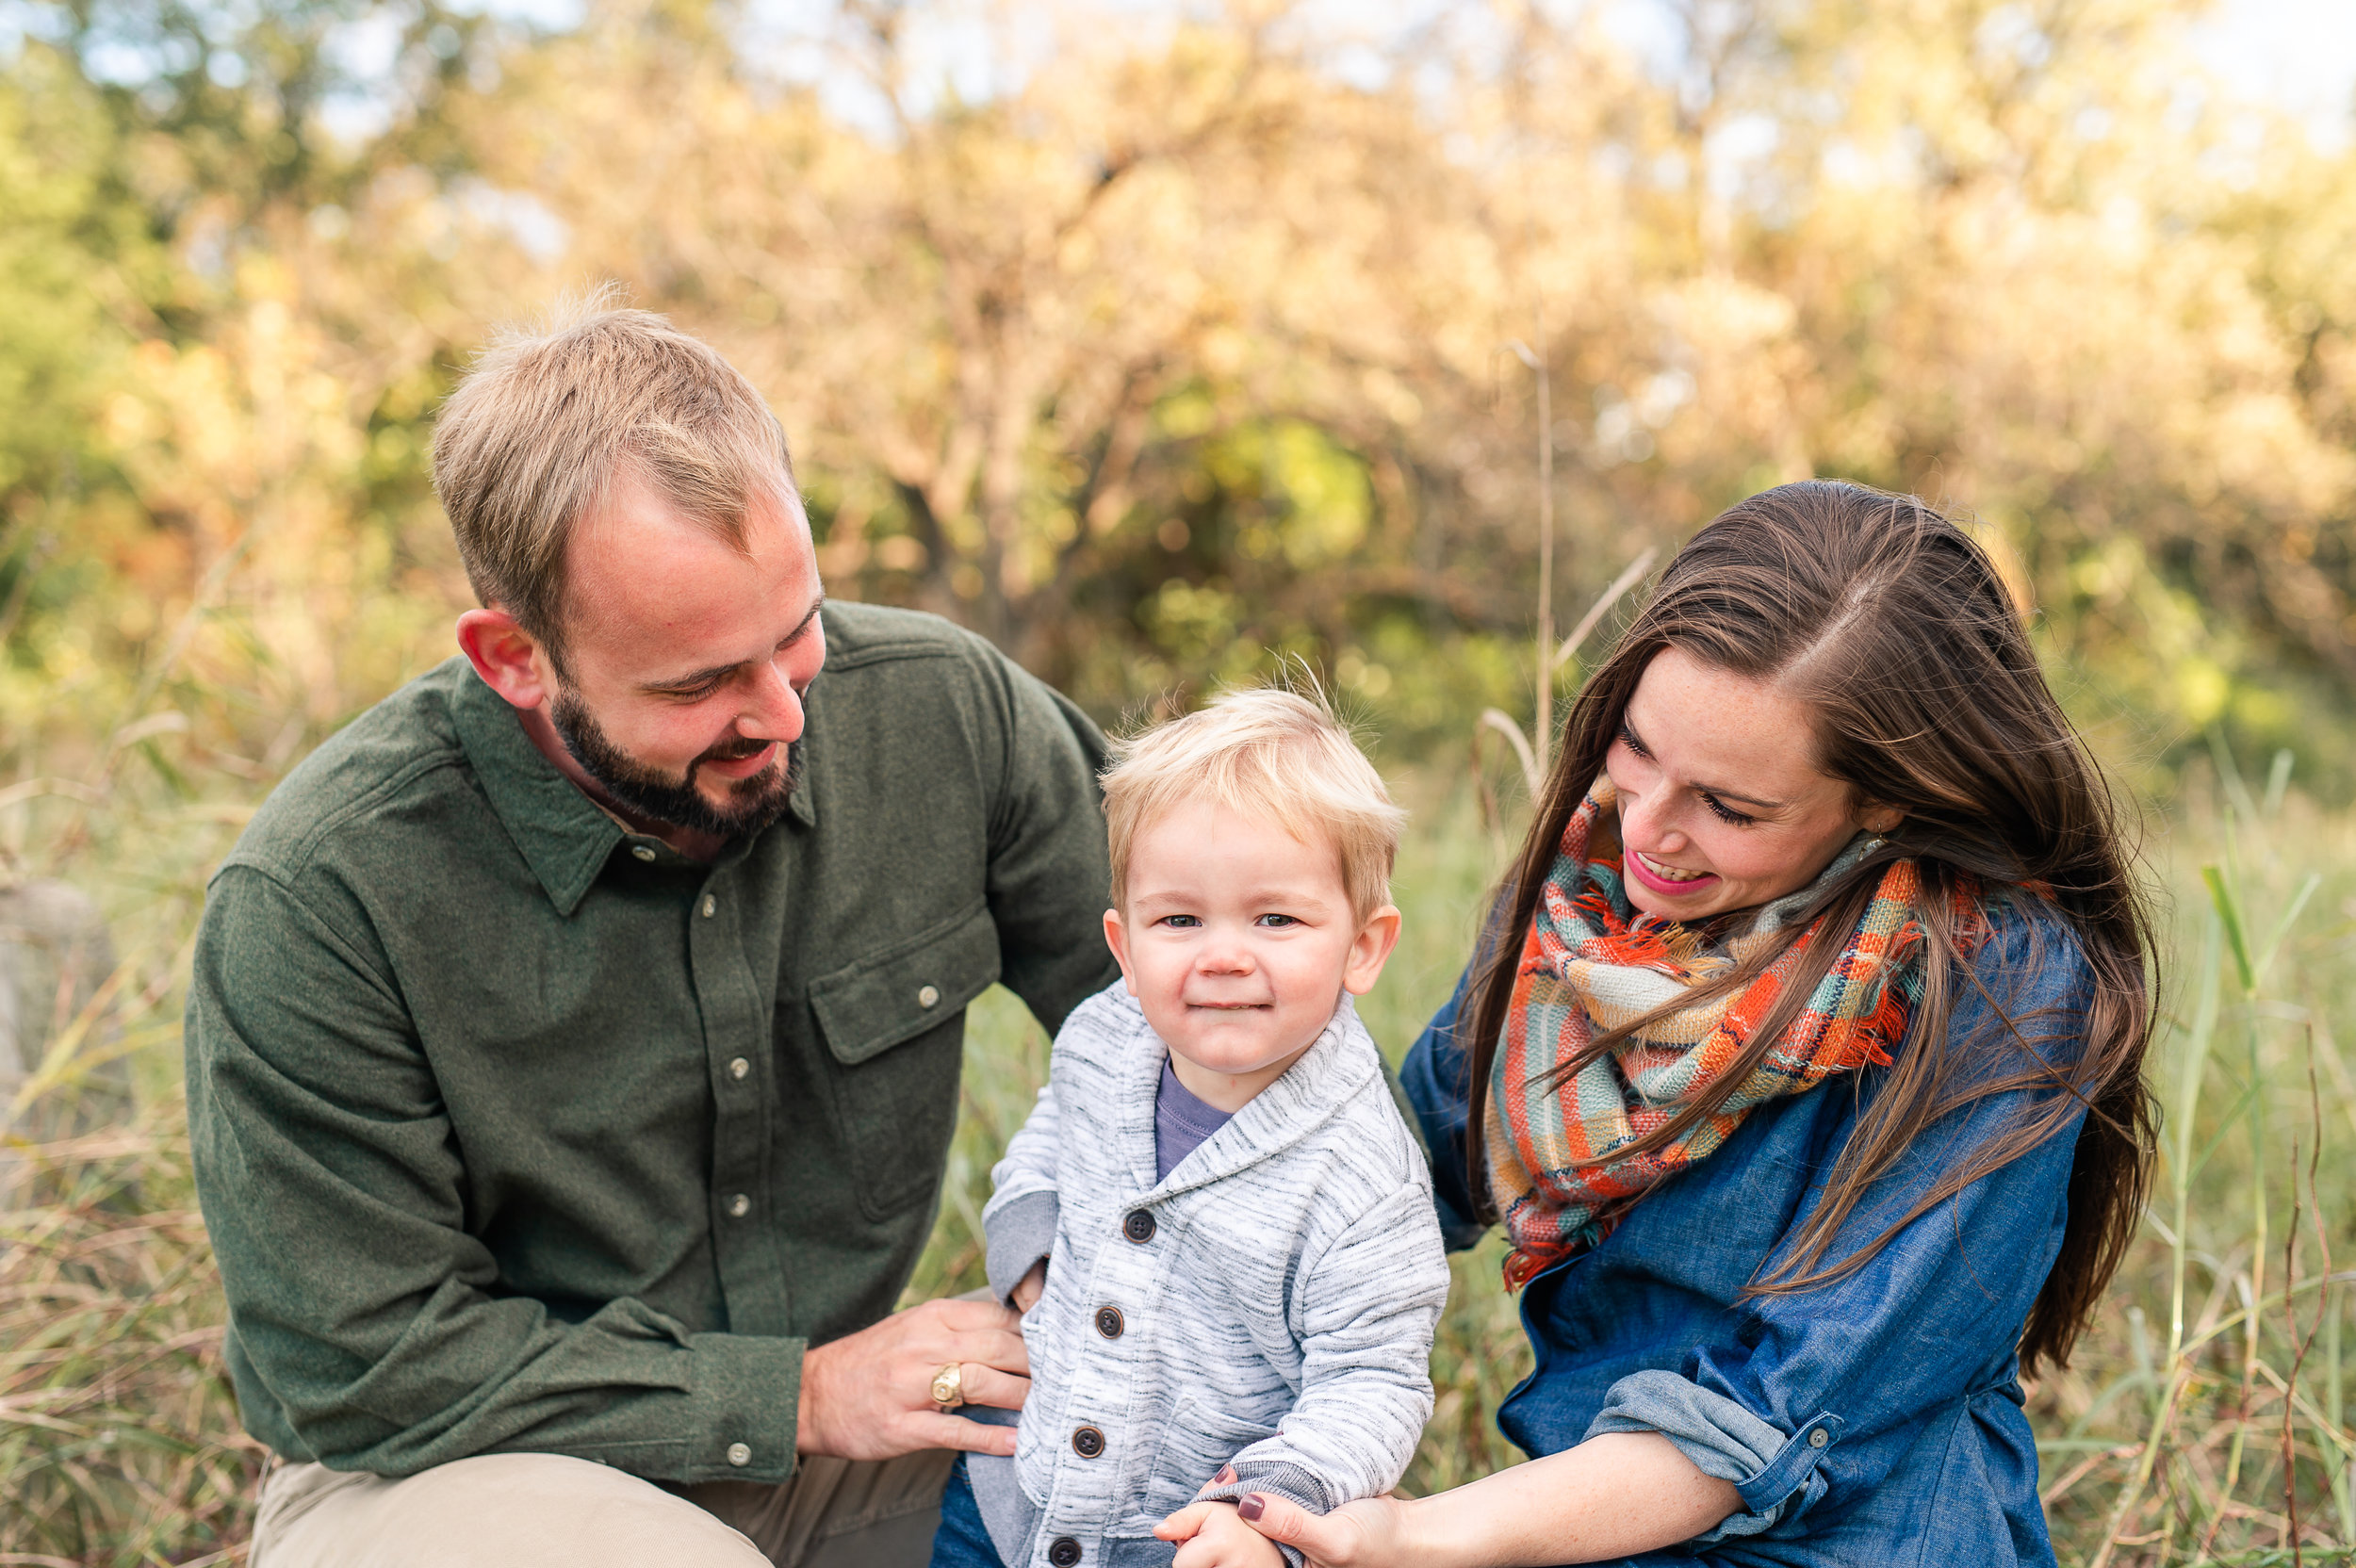
Your image is more “client focused” when you pull them forward a few feet (or several), because then they are completely in focus with a background completely blurred. And even more blurred than if they were standing closer to the background.
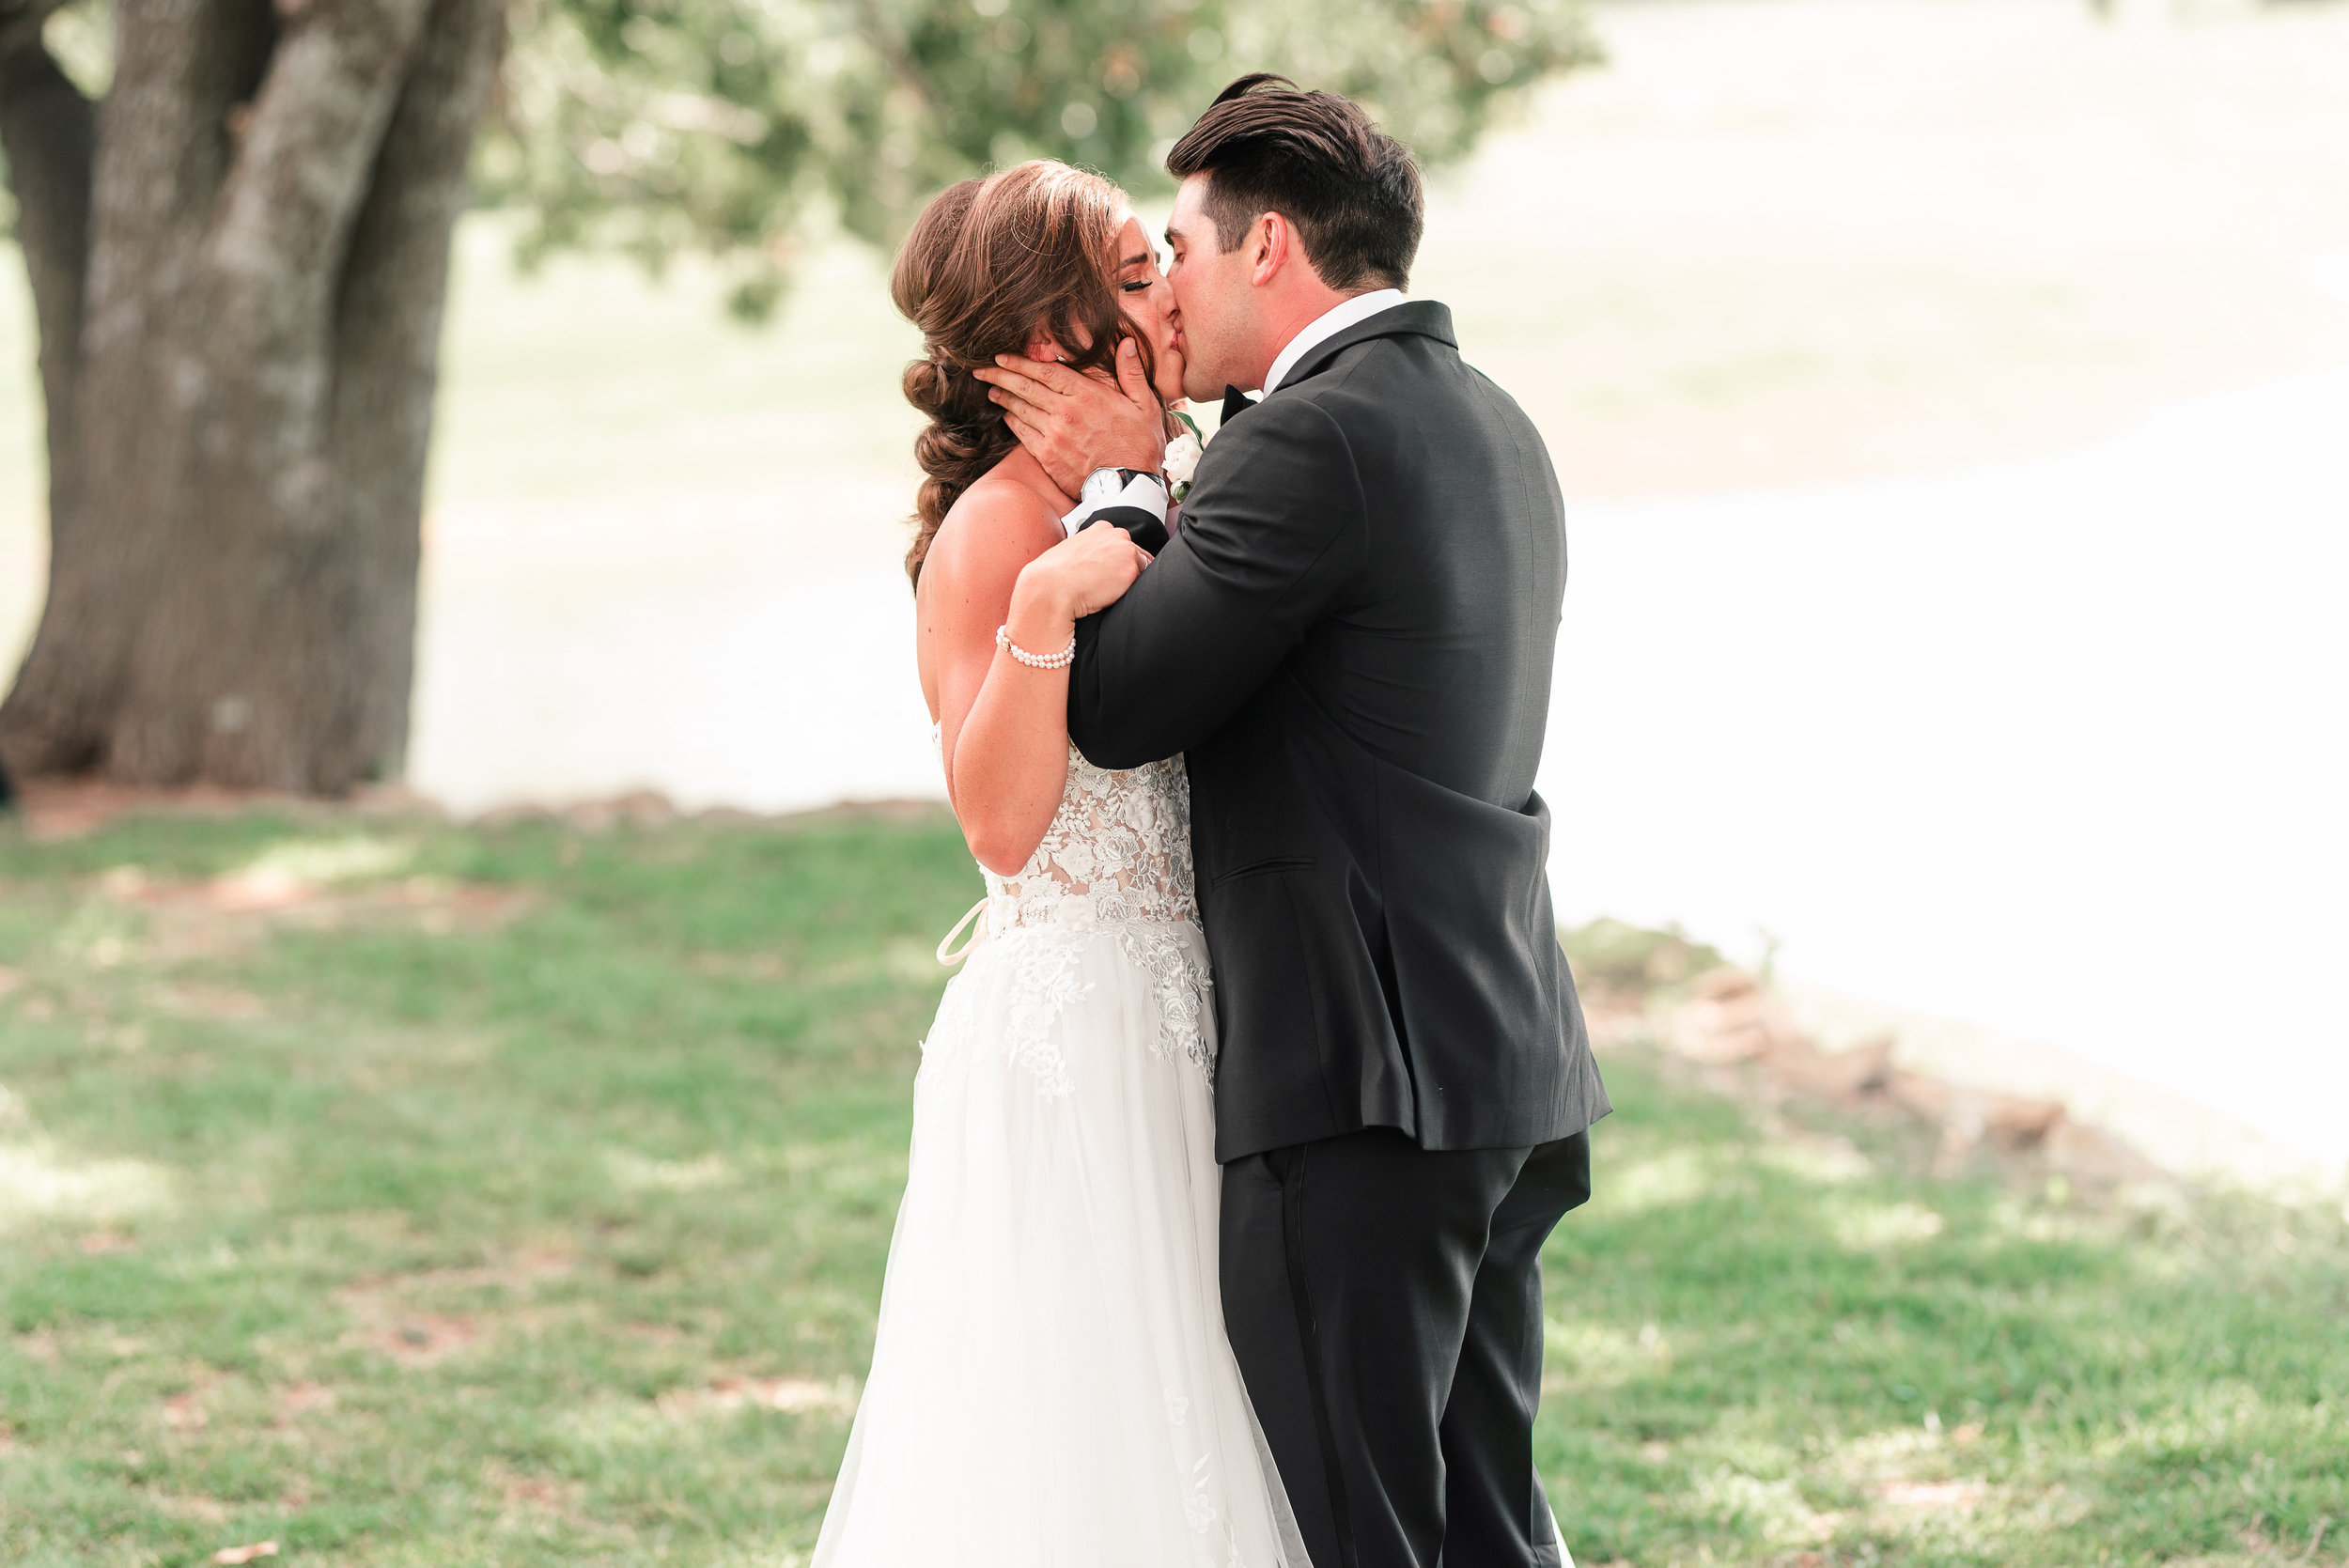
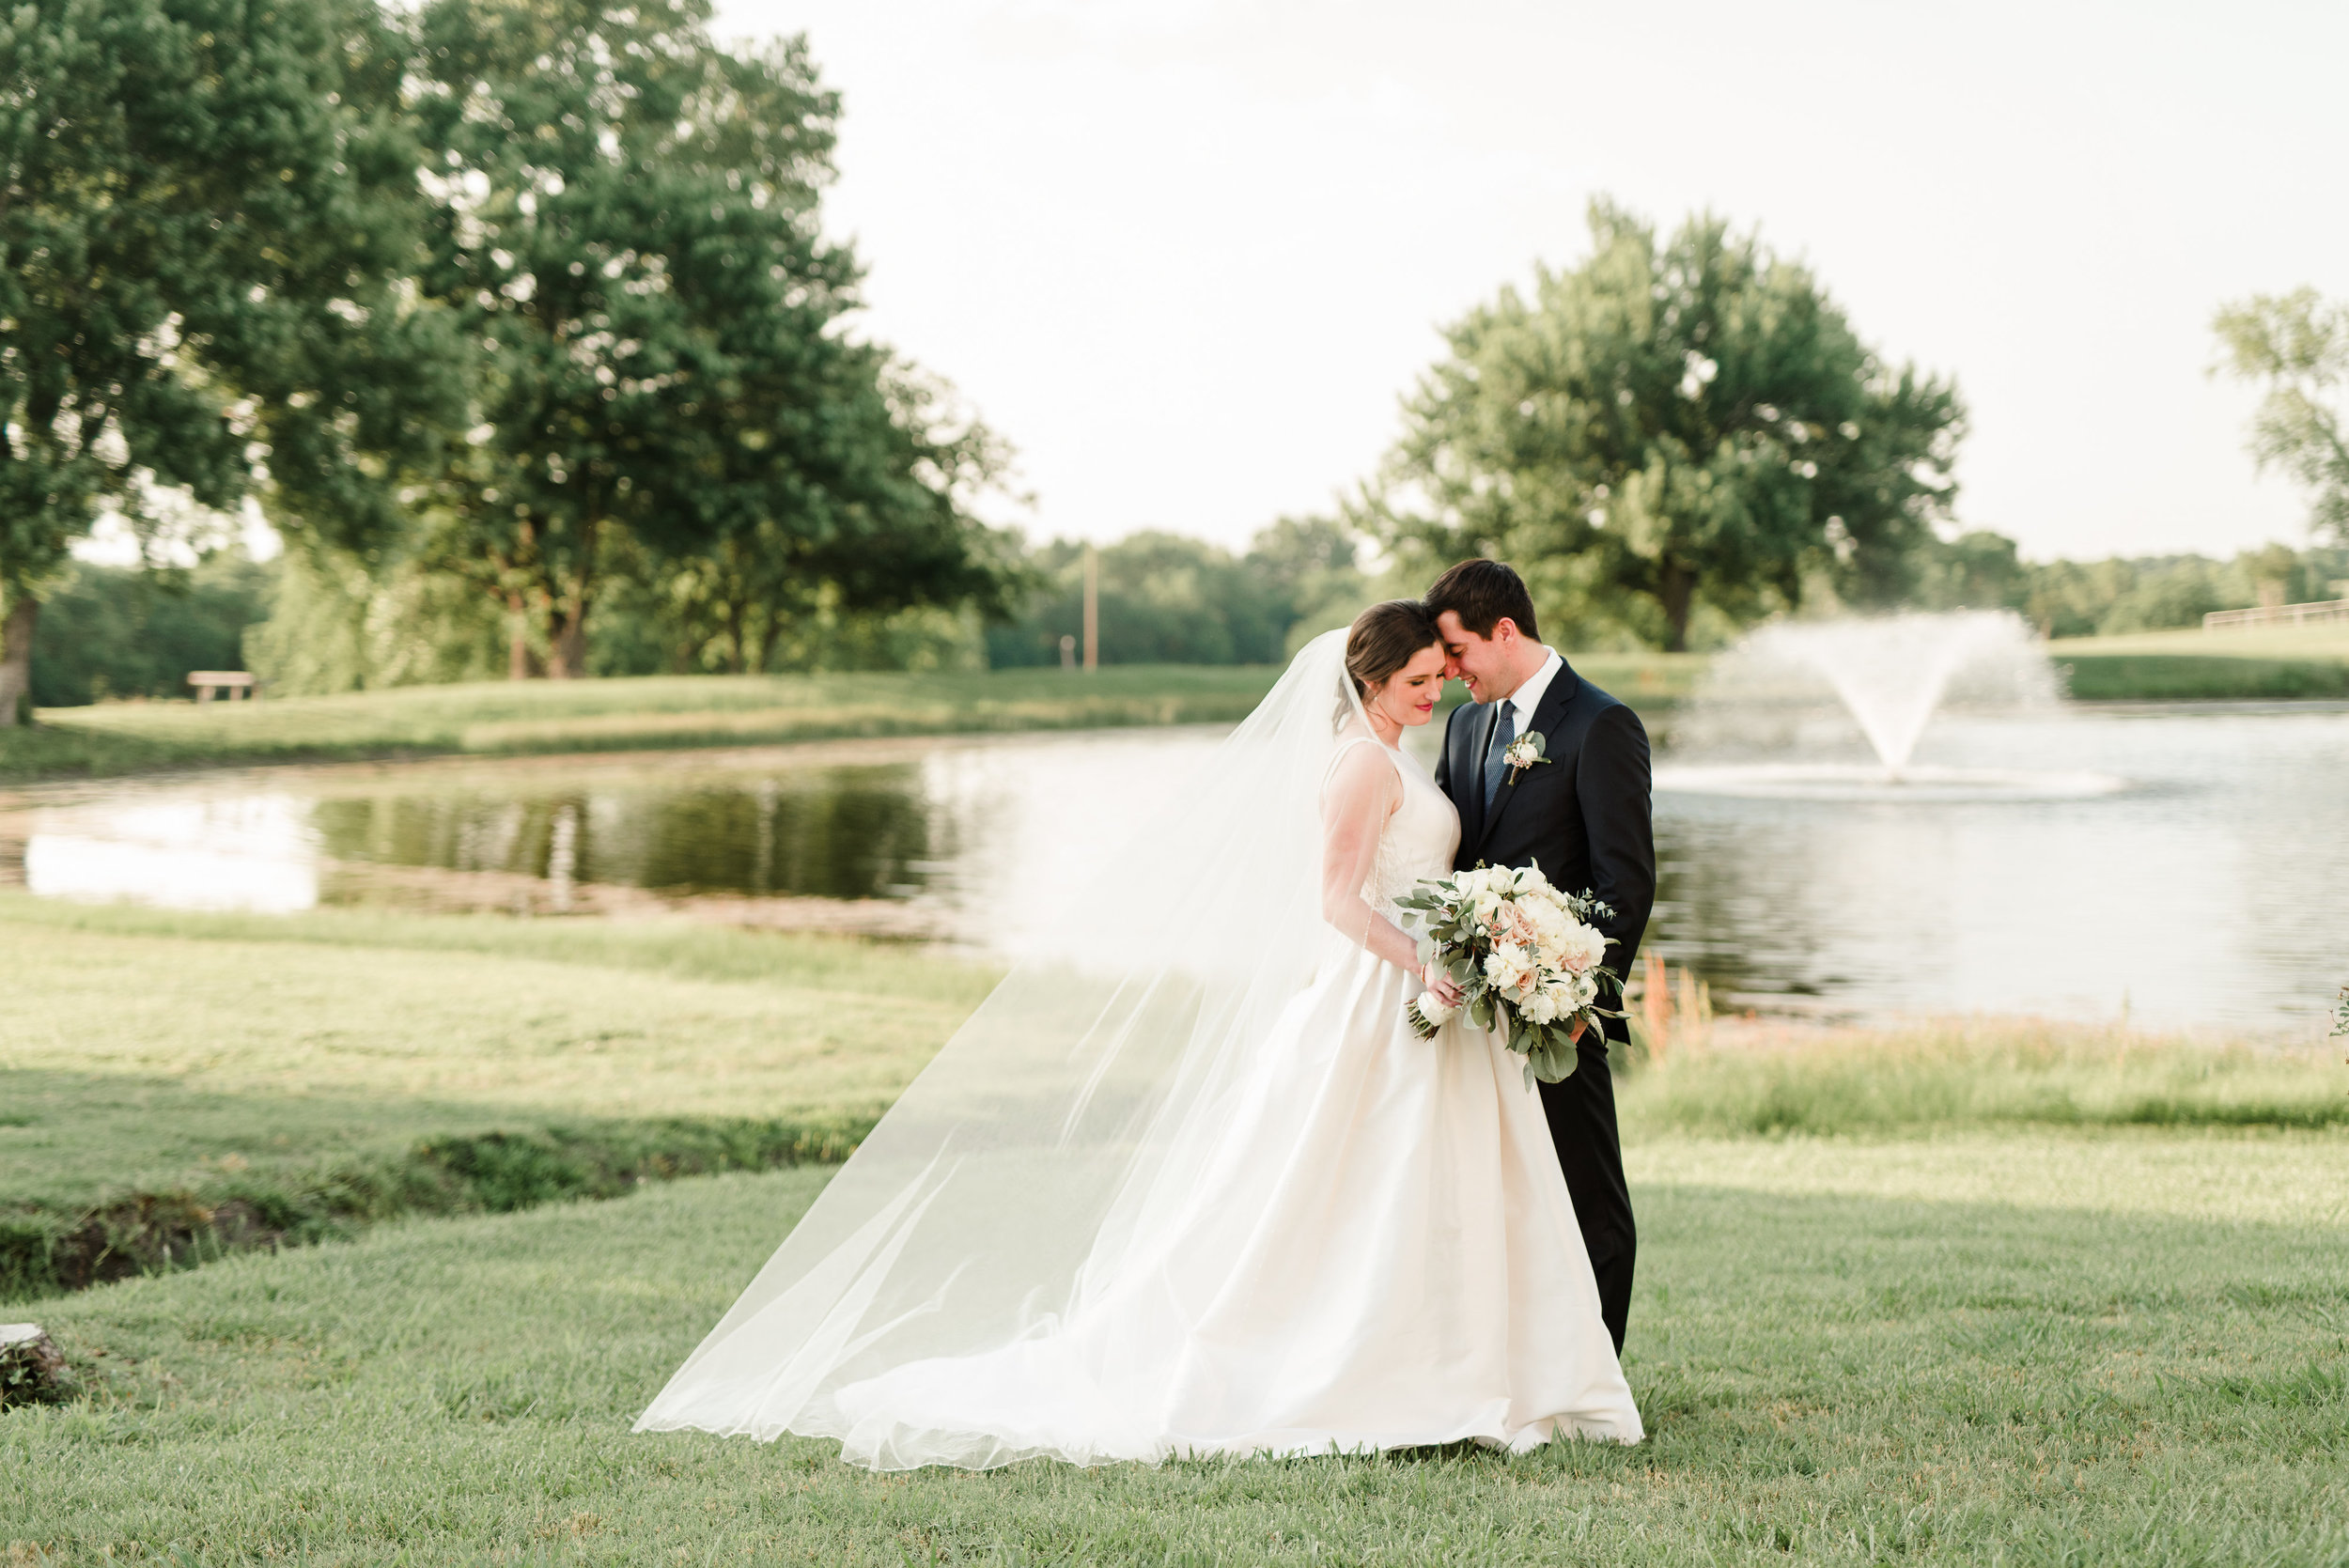
Notice this example here below. The desired background is the beautiful venue with the golden lighting reflecting off of it. Where I could have have them stand up closer to the building, instead, I pulled them forward drastically. Do you notice the effect with my client’s popping off the frame?

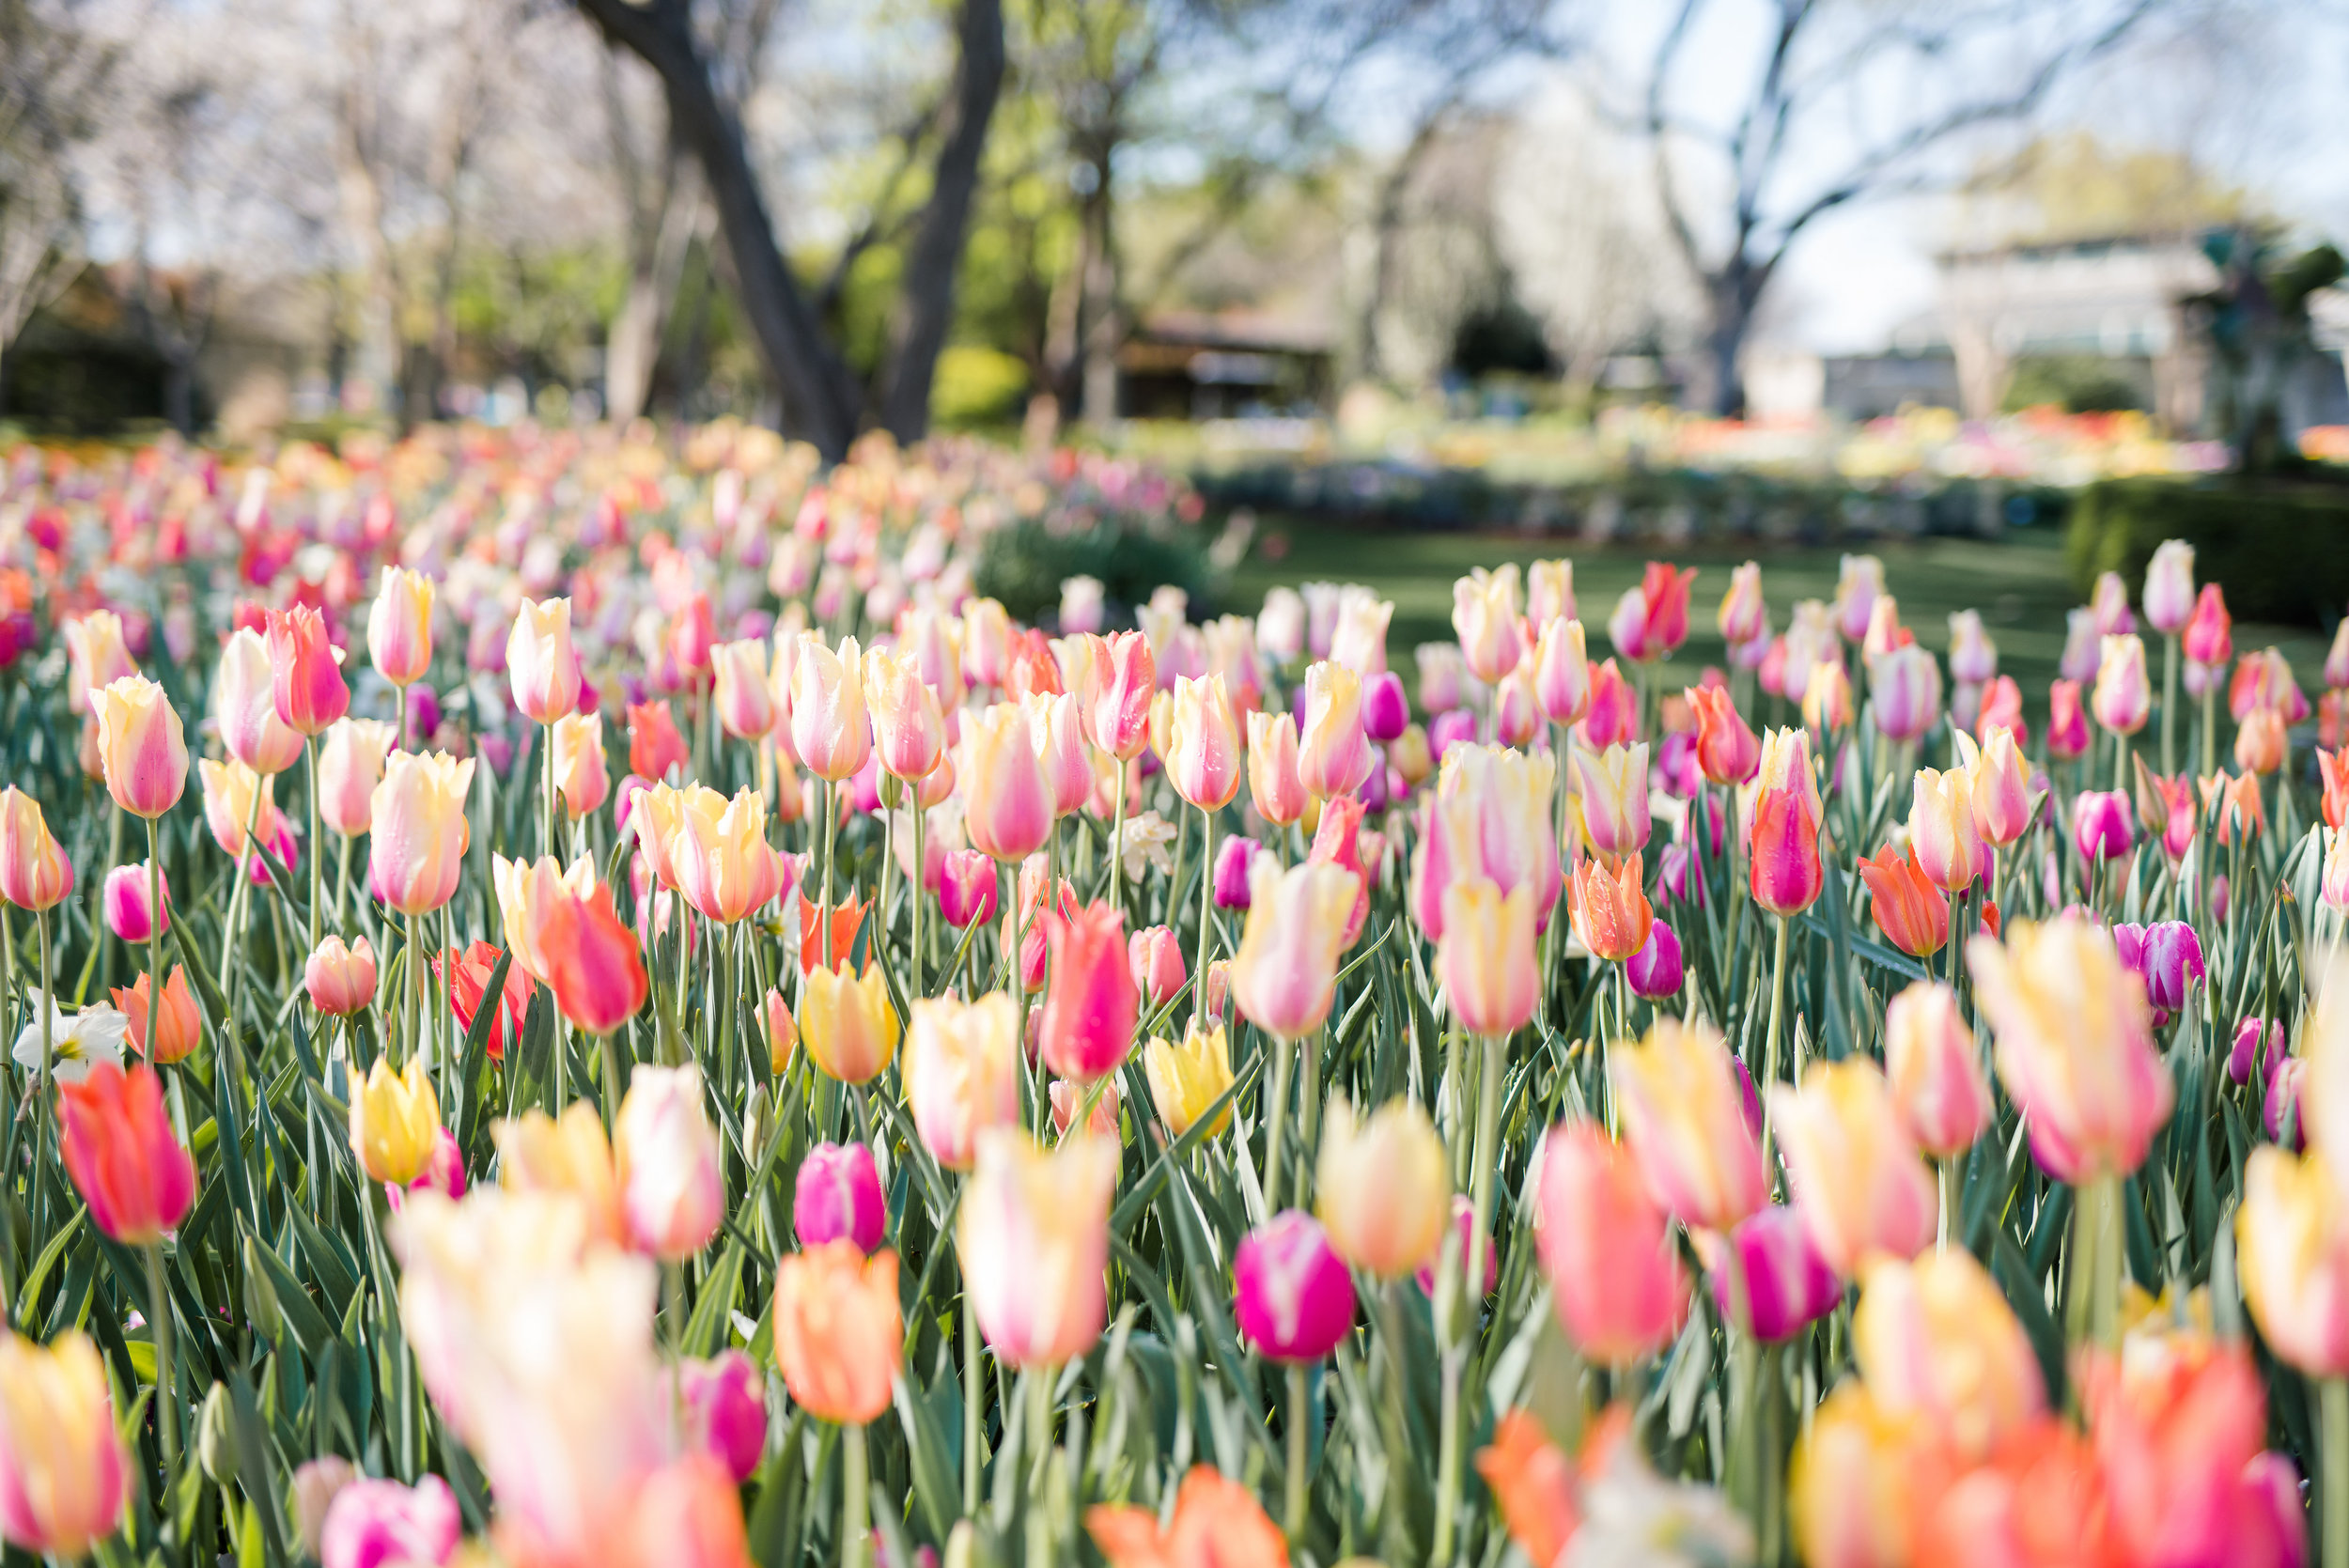
In this image below, we loved the succulents on the cinderblock wall. But instead of them standing up next to the wall, I pulled them forward a few feet and allowed for the depth and them to “pop” off the neat, unique background. Catching my drift?!

Your client can trust you when you explain that the background will be much more beautiful if they step forward as far as you instruct them, because they will pop off the image beautifully with the lovely background still present.
The distance between you and your subject can affect your bokeh, as well!
In the image below, I pulled my subjects maybe 5 feet away from the wall. So yes, there was depth. BUT, do you notice that the picture on the left has more blur or bokeh behind it? In the same token, the distance between you and your subjects can create a beautiful depth effect, as well. While both of these images have the clients standing in the same place, I was standing maybe 3 feet away from them (closer) in the left image and maybe 10 feet away (farther) in the right image.
While I love both images, there is more depth and “pop” in the left image, because I was closer to my subject (that was pulled forward from the desired background).

So with that being said, there are two ways to create dreamy depth: 1) being the distance between your subject and the background and 2) being the distance between you and your subject.
I must say that, like all of these suggestions, this comes with experience. Your eyes will be refined as you continue to browse locations or places around your house to place items or subjects, and you will continually build confidence. There is always room to grow in this category, and I try to challenge myself with this often when the time allows!
Comments