


October 3, 2017
Tip #7: Turn your subjects toward the sun when it’s cloudy or after the sunset.
Did you miss Tip #1? Tip #3? #5? Or the intro to the series?

Wait, what!? This is going against what you’ve taught, Lindsay! And yes, I literally just shared the opposite on my newsletter yesterday.
Okay, so hear me out! Yes, you always want your clients’ backs toward the sun so that they aren’t looking into it and to backlight them with proper exposure. You’re right! BUT it changes when the sun is juuuuust about to cross the horizon OR when it already has. This applies to both sunrise and sunset. Imagine: those few minutes right before/after the sun sets, and the light is lessening. It’s even. Not harsh. OR riiiight before the sun rises in the morning. THIS light is what I’m talking about.
Sunrise/Sunset
When I shoot at a particular nature preserve called Arbor Hills, I always have my clients’ backs toward the sun, but the last 10-15 minutes of the session, I am watching the sun very closely so that when it’s appropriate, I’m able to turn my clients 180-degrees to actually face the sun’s softest rays as it crosses the horizon.
At this point, the amount of sunlight coming from behind them 1) would not be sufficient enough to properly expose the front of them (it would give them grayish skin tones due to the lack of light if you did) 2) when turned toward the sun, the softness of the light is just enough to finish the session. You’ll know it’s the right time to turn them when 1) they aren’t squinting and 2) when just looking at them, they don’t seem “blown out” or too bright to your naked eye.
When turning your subject to the sun, it should create an evenly-exposed, client-focused image that is crisp due to the amount of light being sufficient.
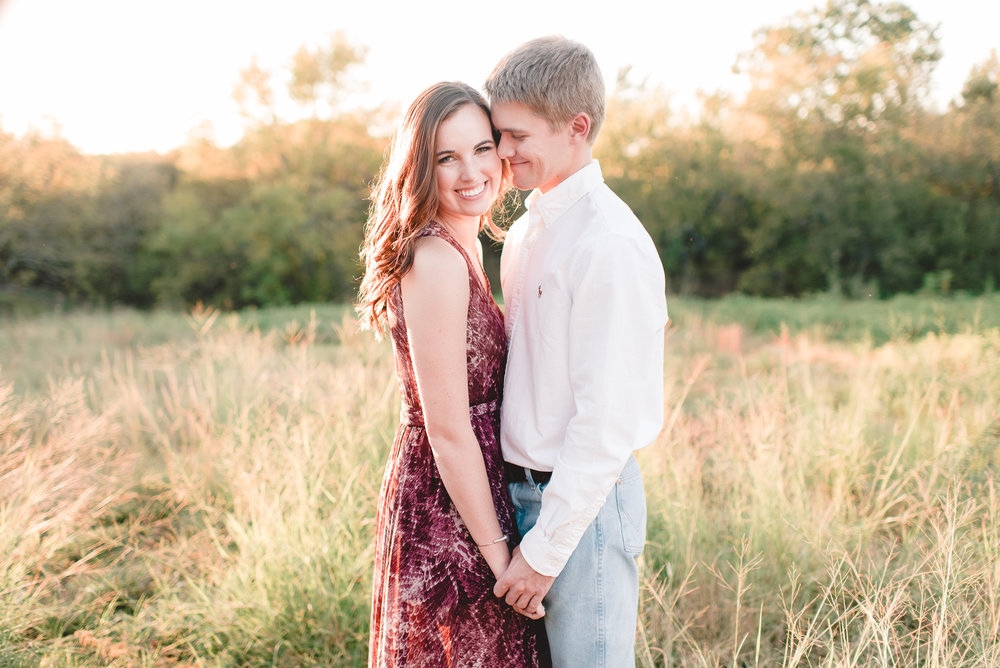
This is at Arbor Hills with the sun behind them before the sun has set.
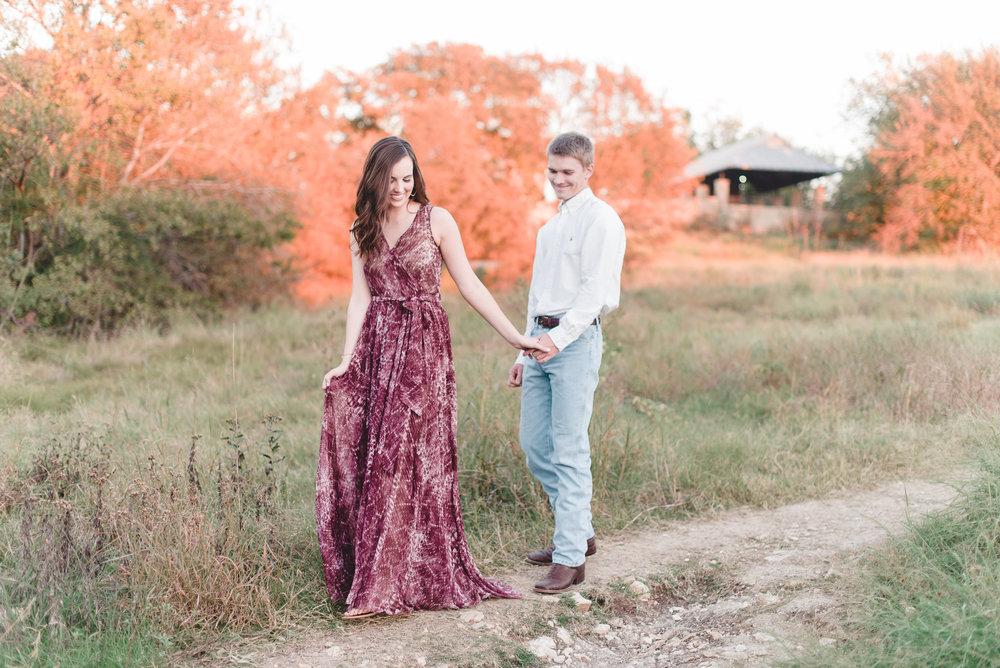
And this is us switching places with the sun facing them. You can tell that it has gone beneath the trees that are behind me, evenly exposing their faces. Notice that the sun is hitting behind them, so it hasn’t completely set beneath the horizon yet. Also, the light-colored gravel in front of them acts as a natural reflector, bouncing up more light. This is another topic for another blog post though!
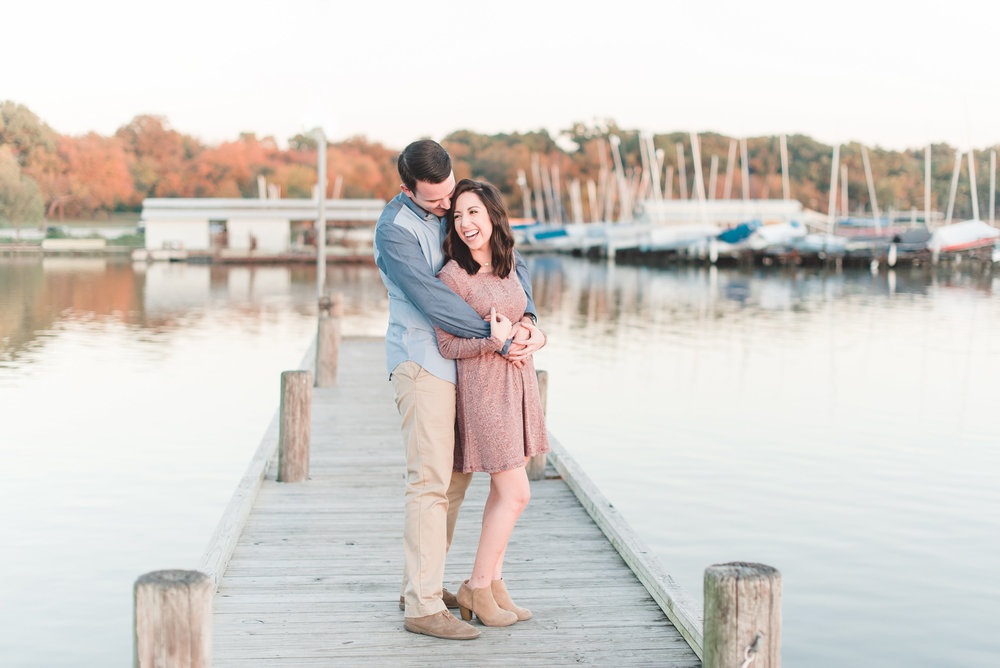
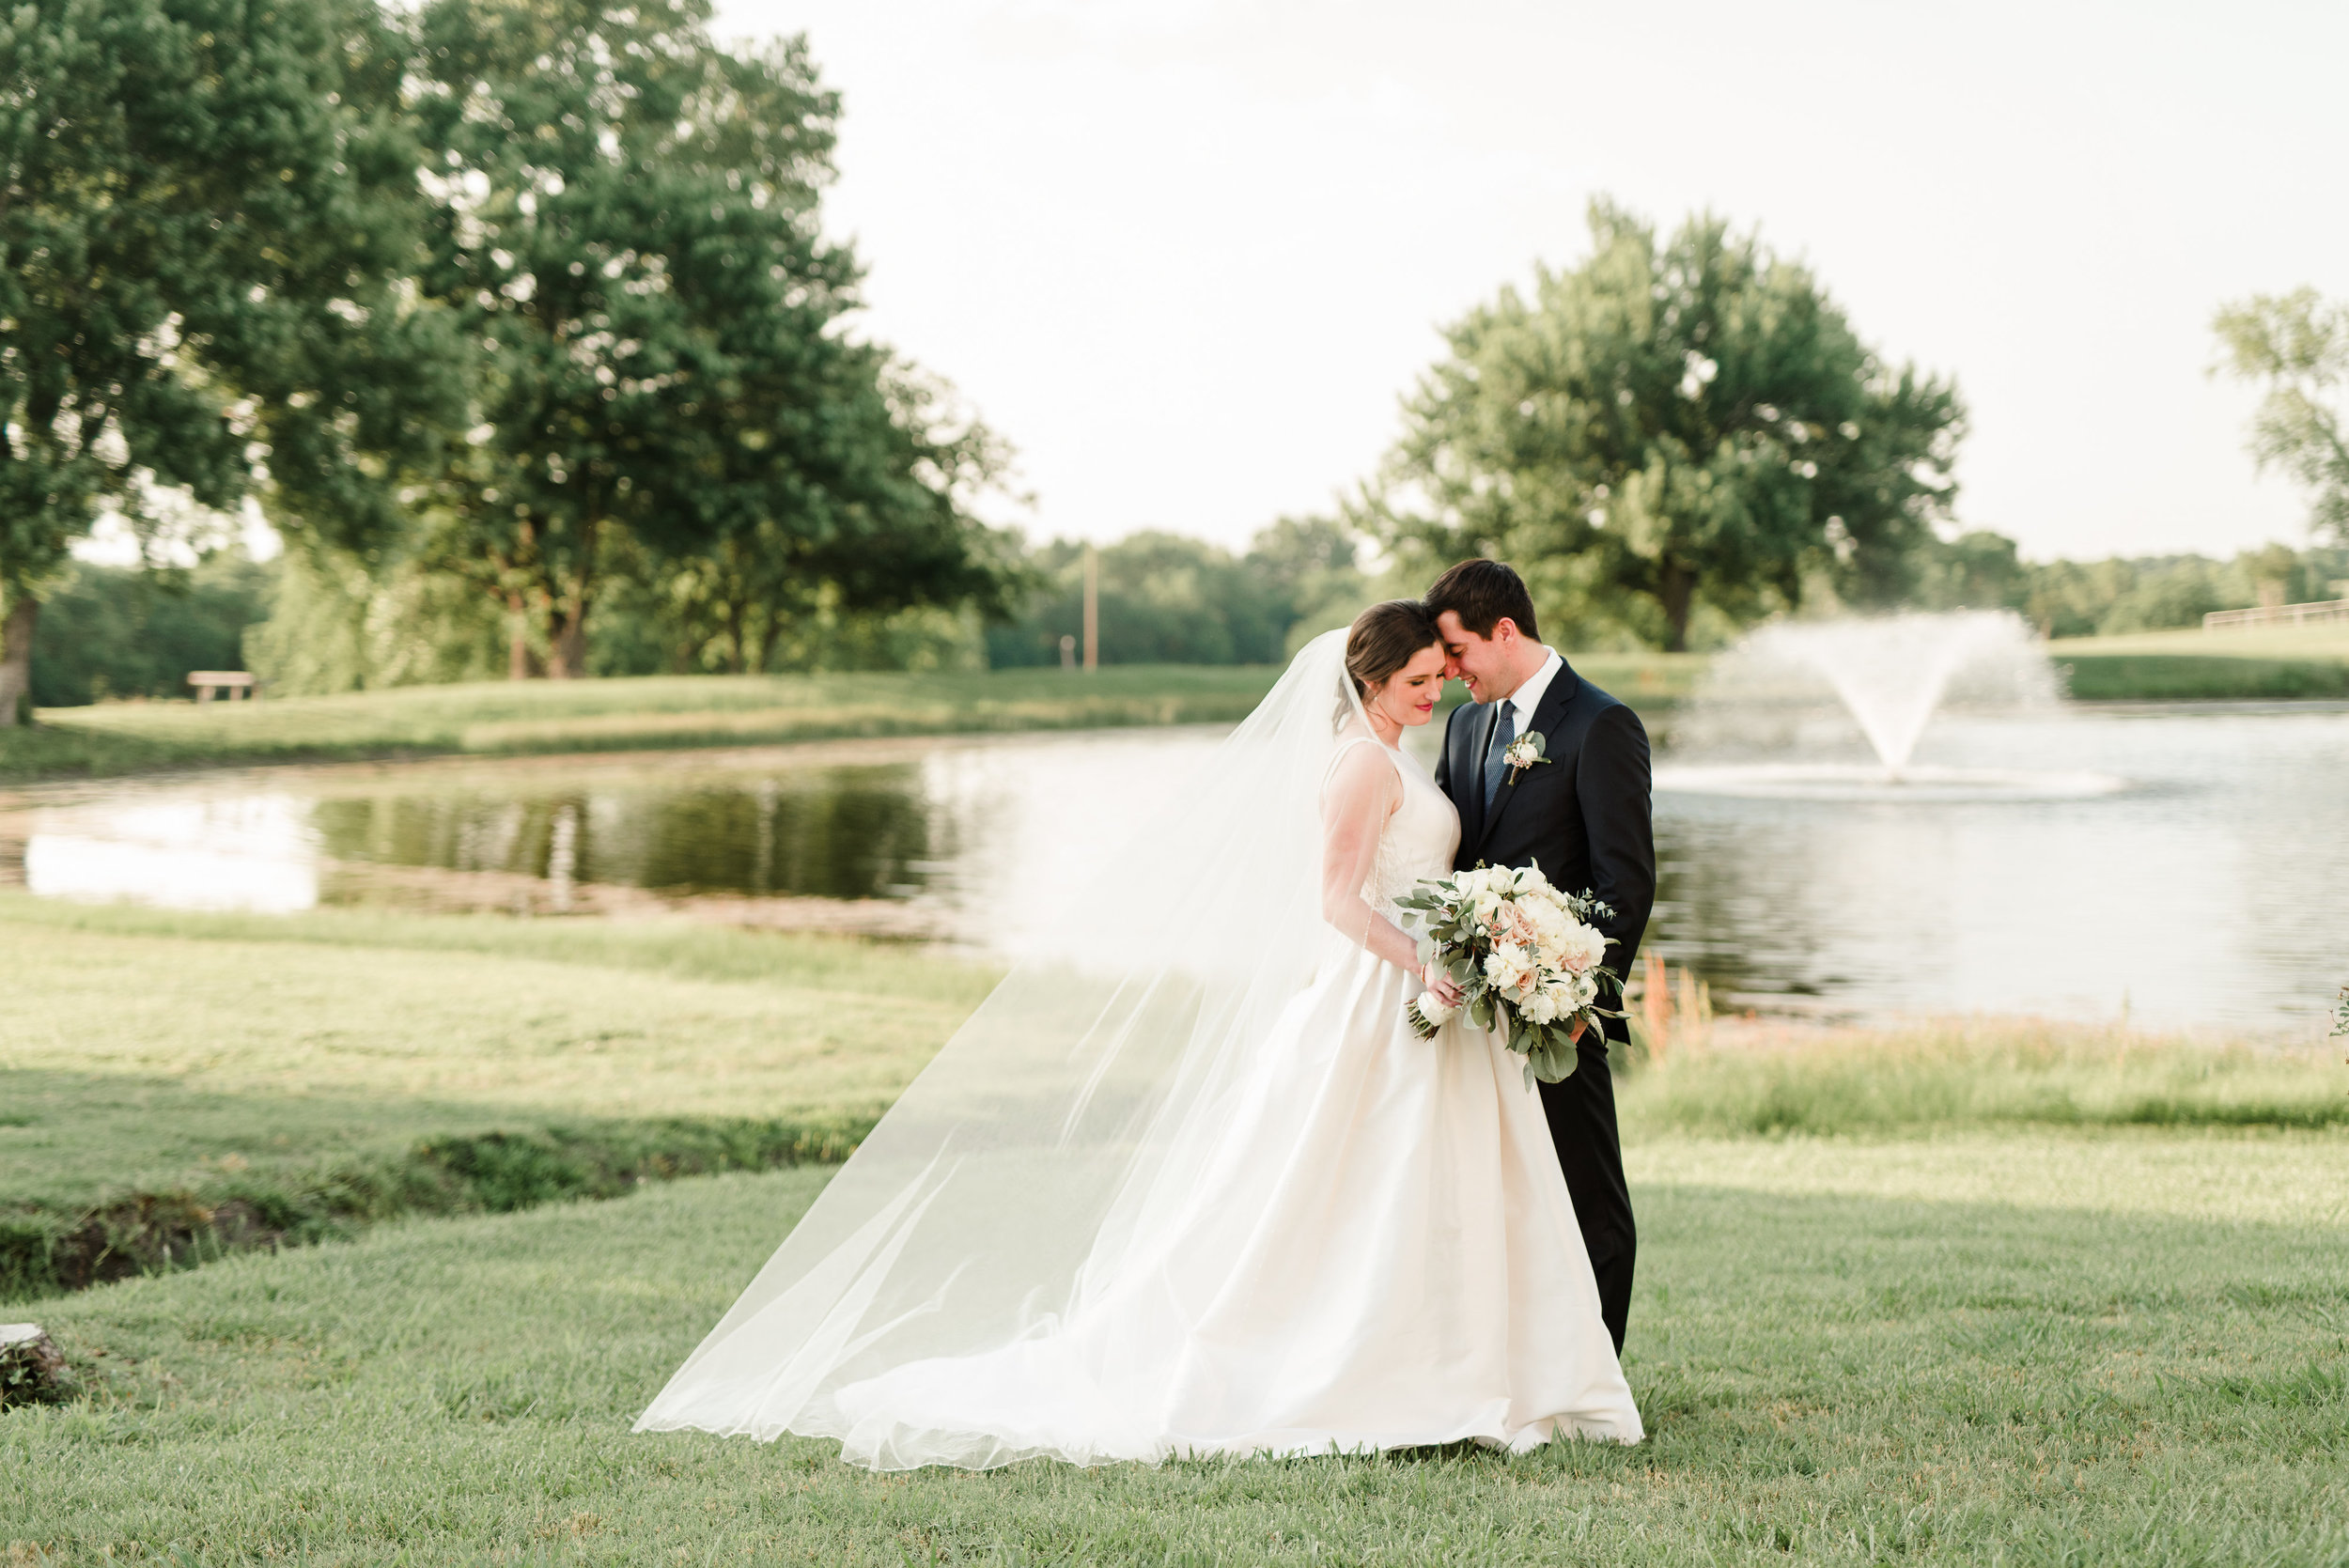
White Rock Lake is another PERFECT example! Whenever I photograph there, I always make sure we have 10-15 minutes AFTER sunset, so that way I can photograph my clients on the dock with them FACING the direction that the sun set. But notice how evenly exposed their faces are? It’s not harsh. It’s perfect. The same is true RIGHT before the sun rises. I’ve done a sunrise session at White Rock with the same circumstances.
Cloudy Days
This also applies greatly to cloudy days, and I wish I had learned this sooner than I did! Instead, I would return from sessions thinking, “why are their faces so dark, have shadows under their eyes or not as crisp?”
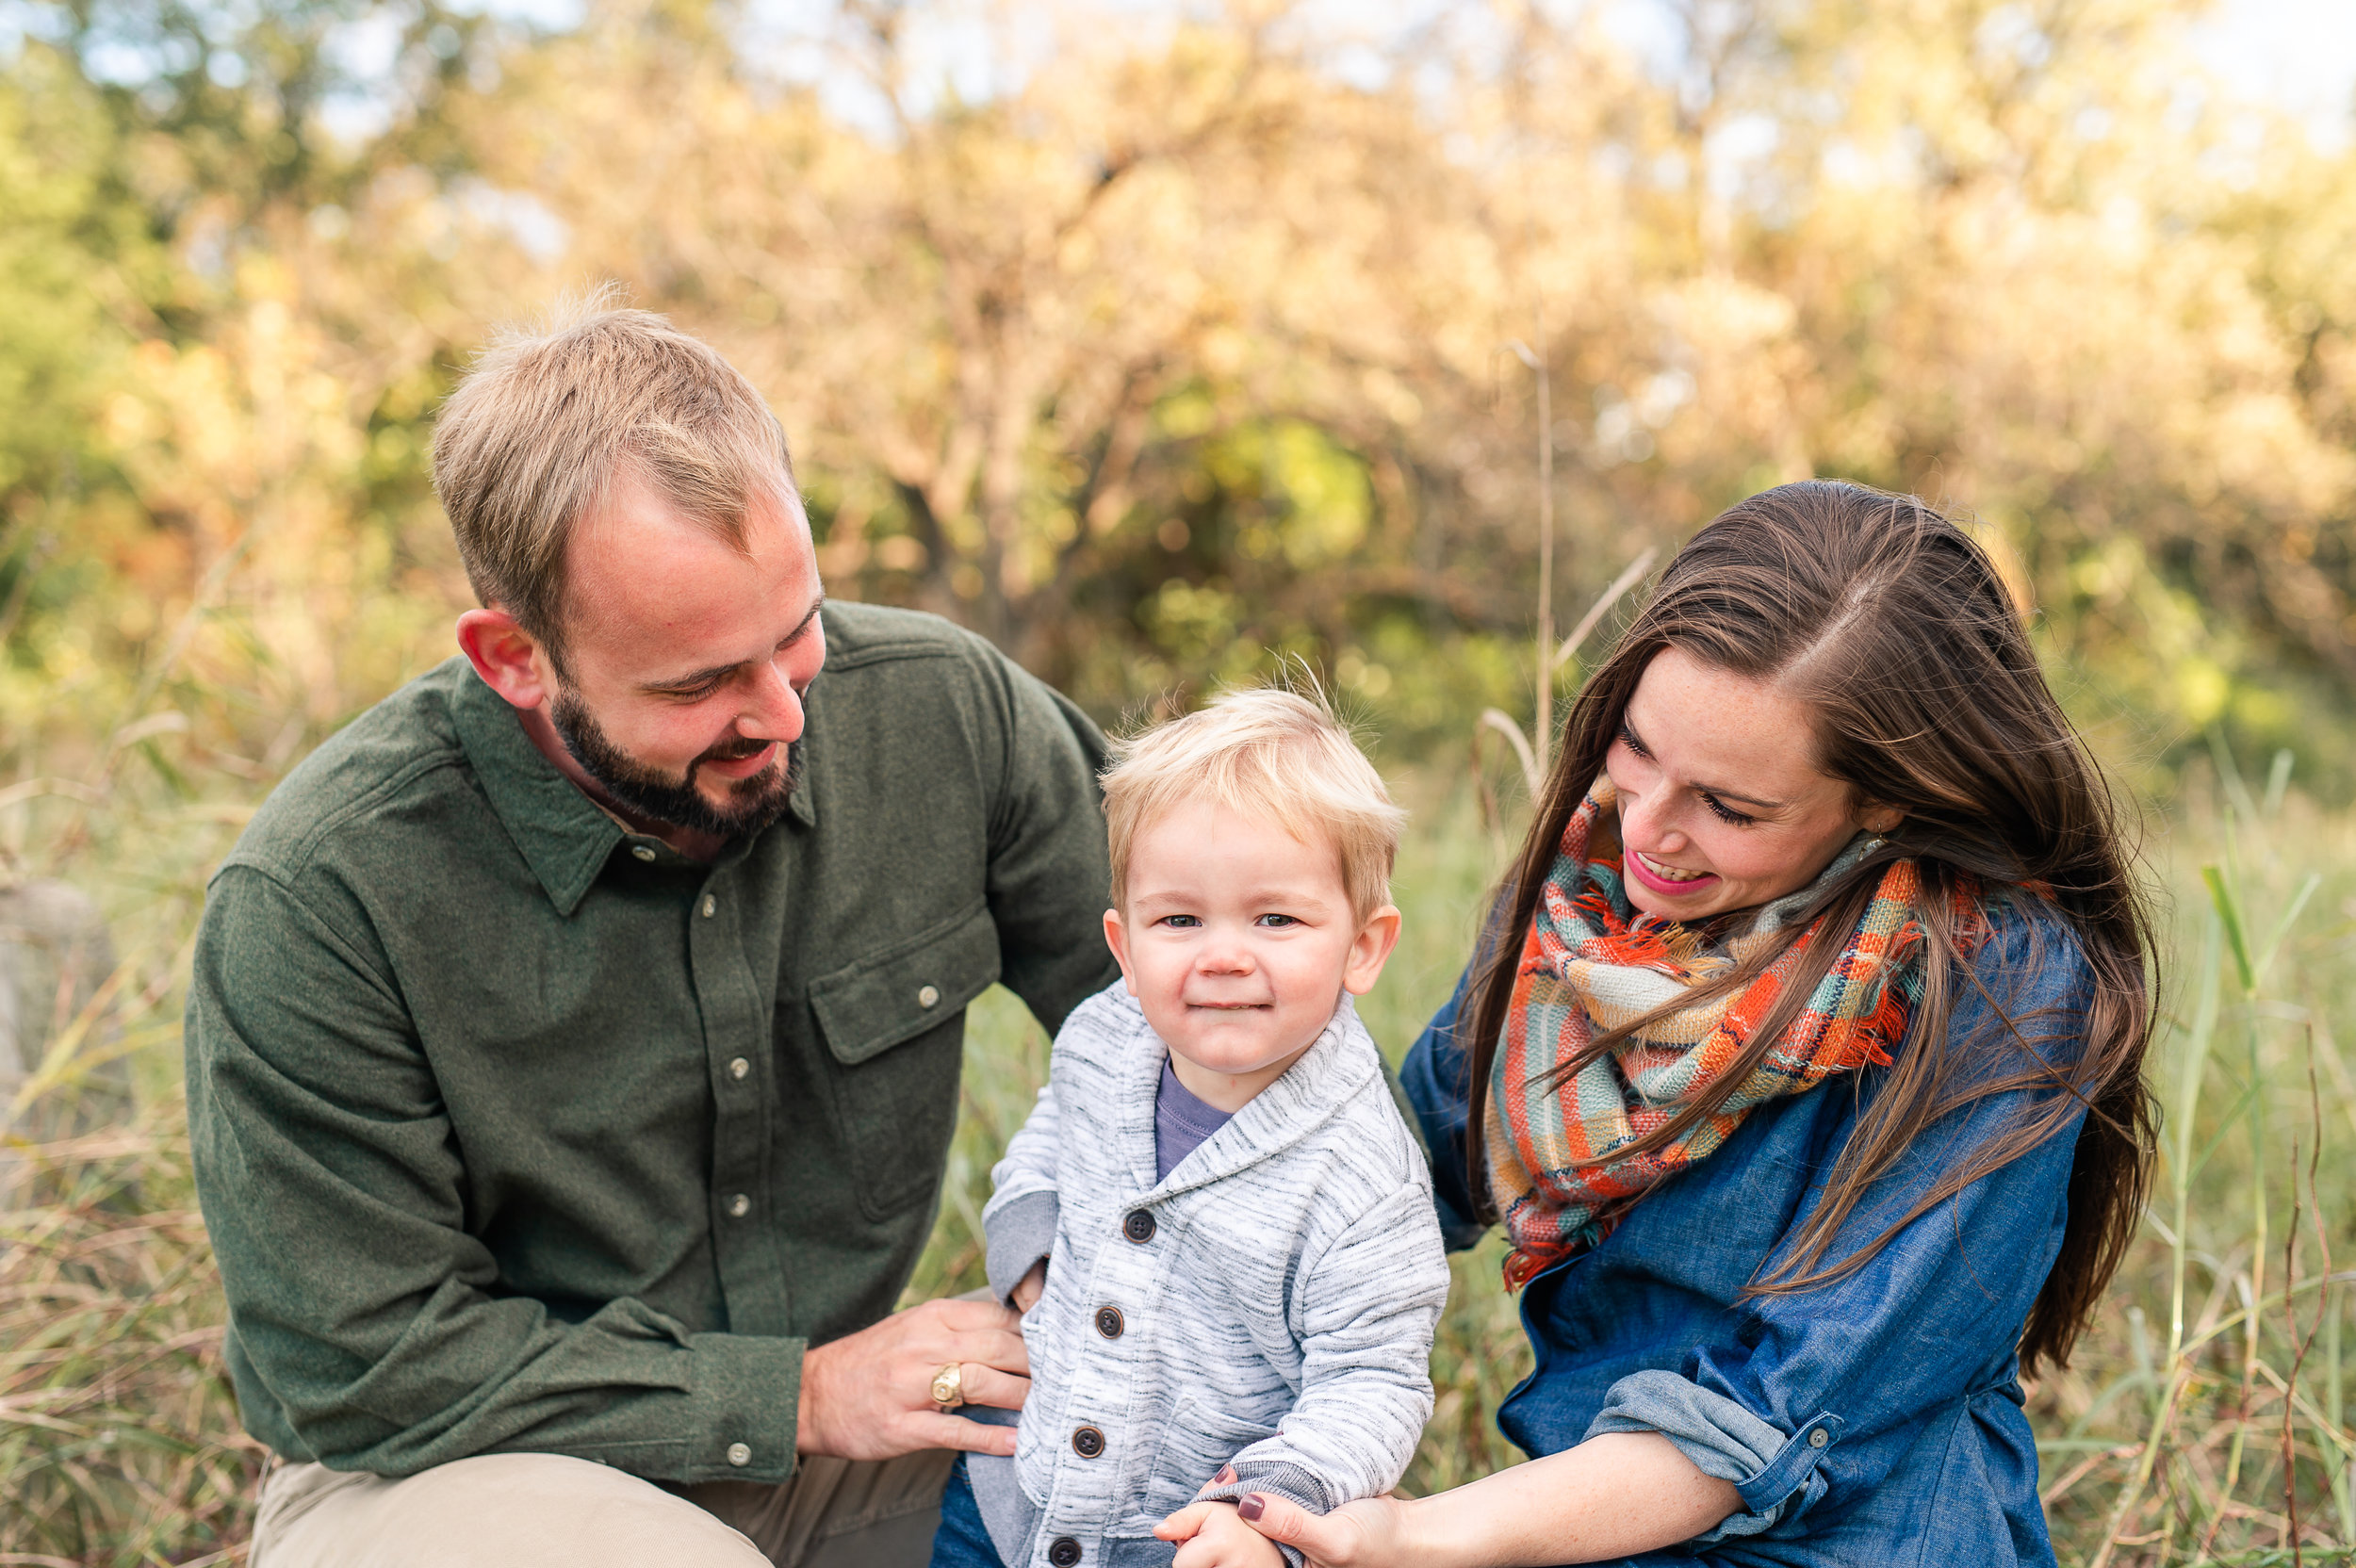
Firstly, I love shooting on overcast days, because it does allow me to pose my subject in any direction (facing the sun, away from the sun), and it doesn’t matter. It creates an even lighting that allows you to do so!
BUT because you’re aware of this, next time you’re shooting on an overcast day, be very wary of either 1) how dense the clouds are and 2) how close to sunrise/set you are. If the clouds are very dense or the sun is almost about to rise/set, then the amount of light needed to expose your client may be deficient. In this situation, be aware, and try changing the direction your clients are facing so that they are looking into the direction of the sun. No, the sun will not be seen, because it’s cloudy, but the amount of light escaping through the clouds will be more plentiful in that direction, allowing for better exposure of light to their faces.
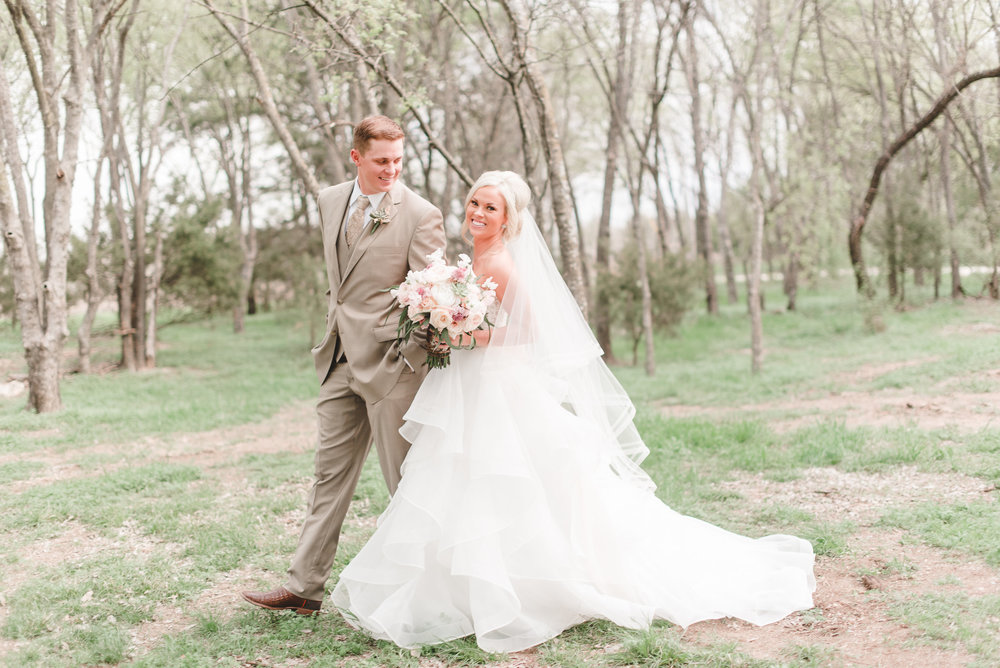
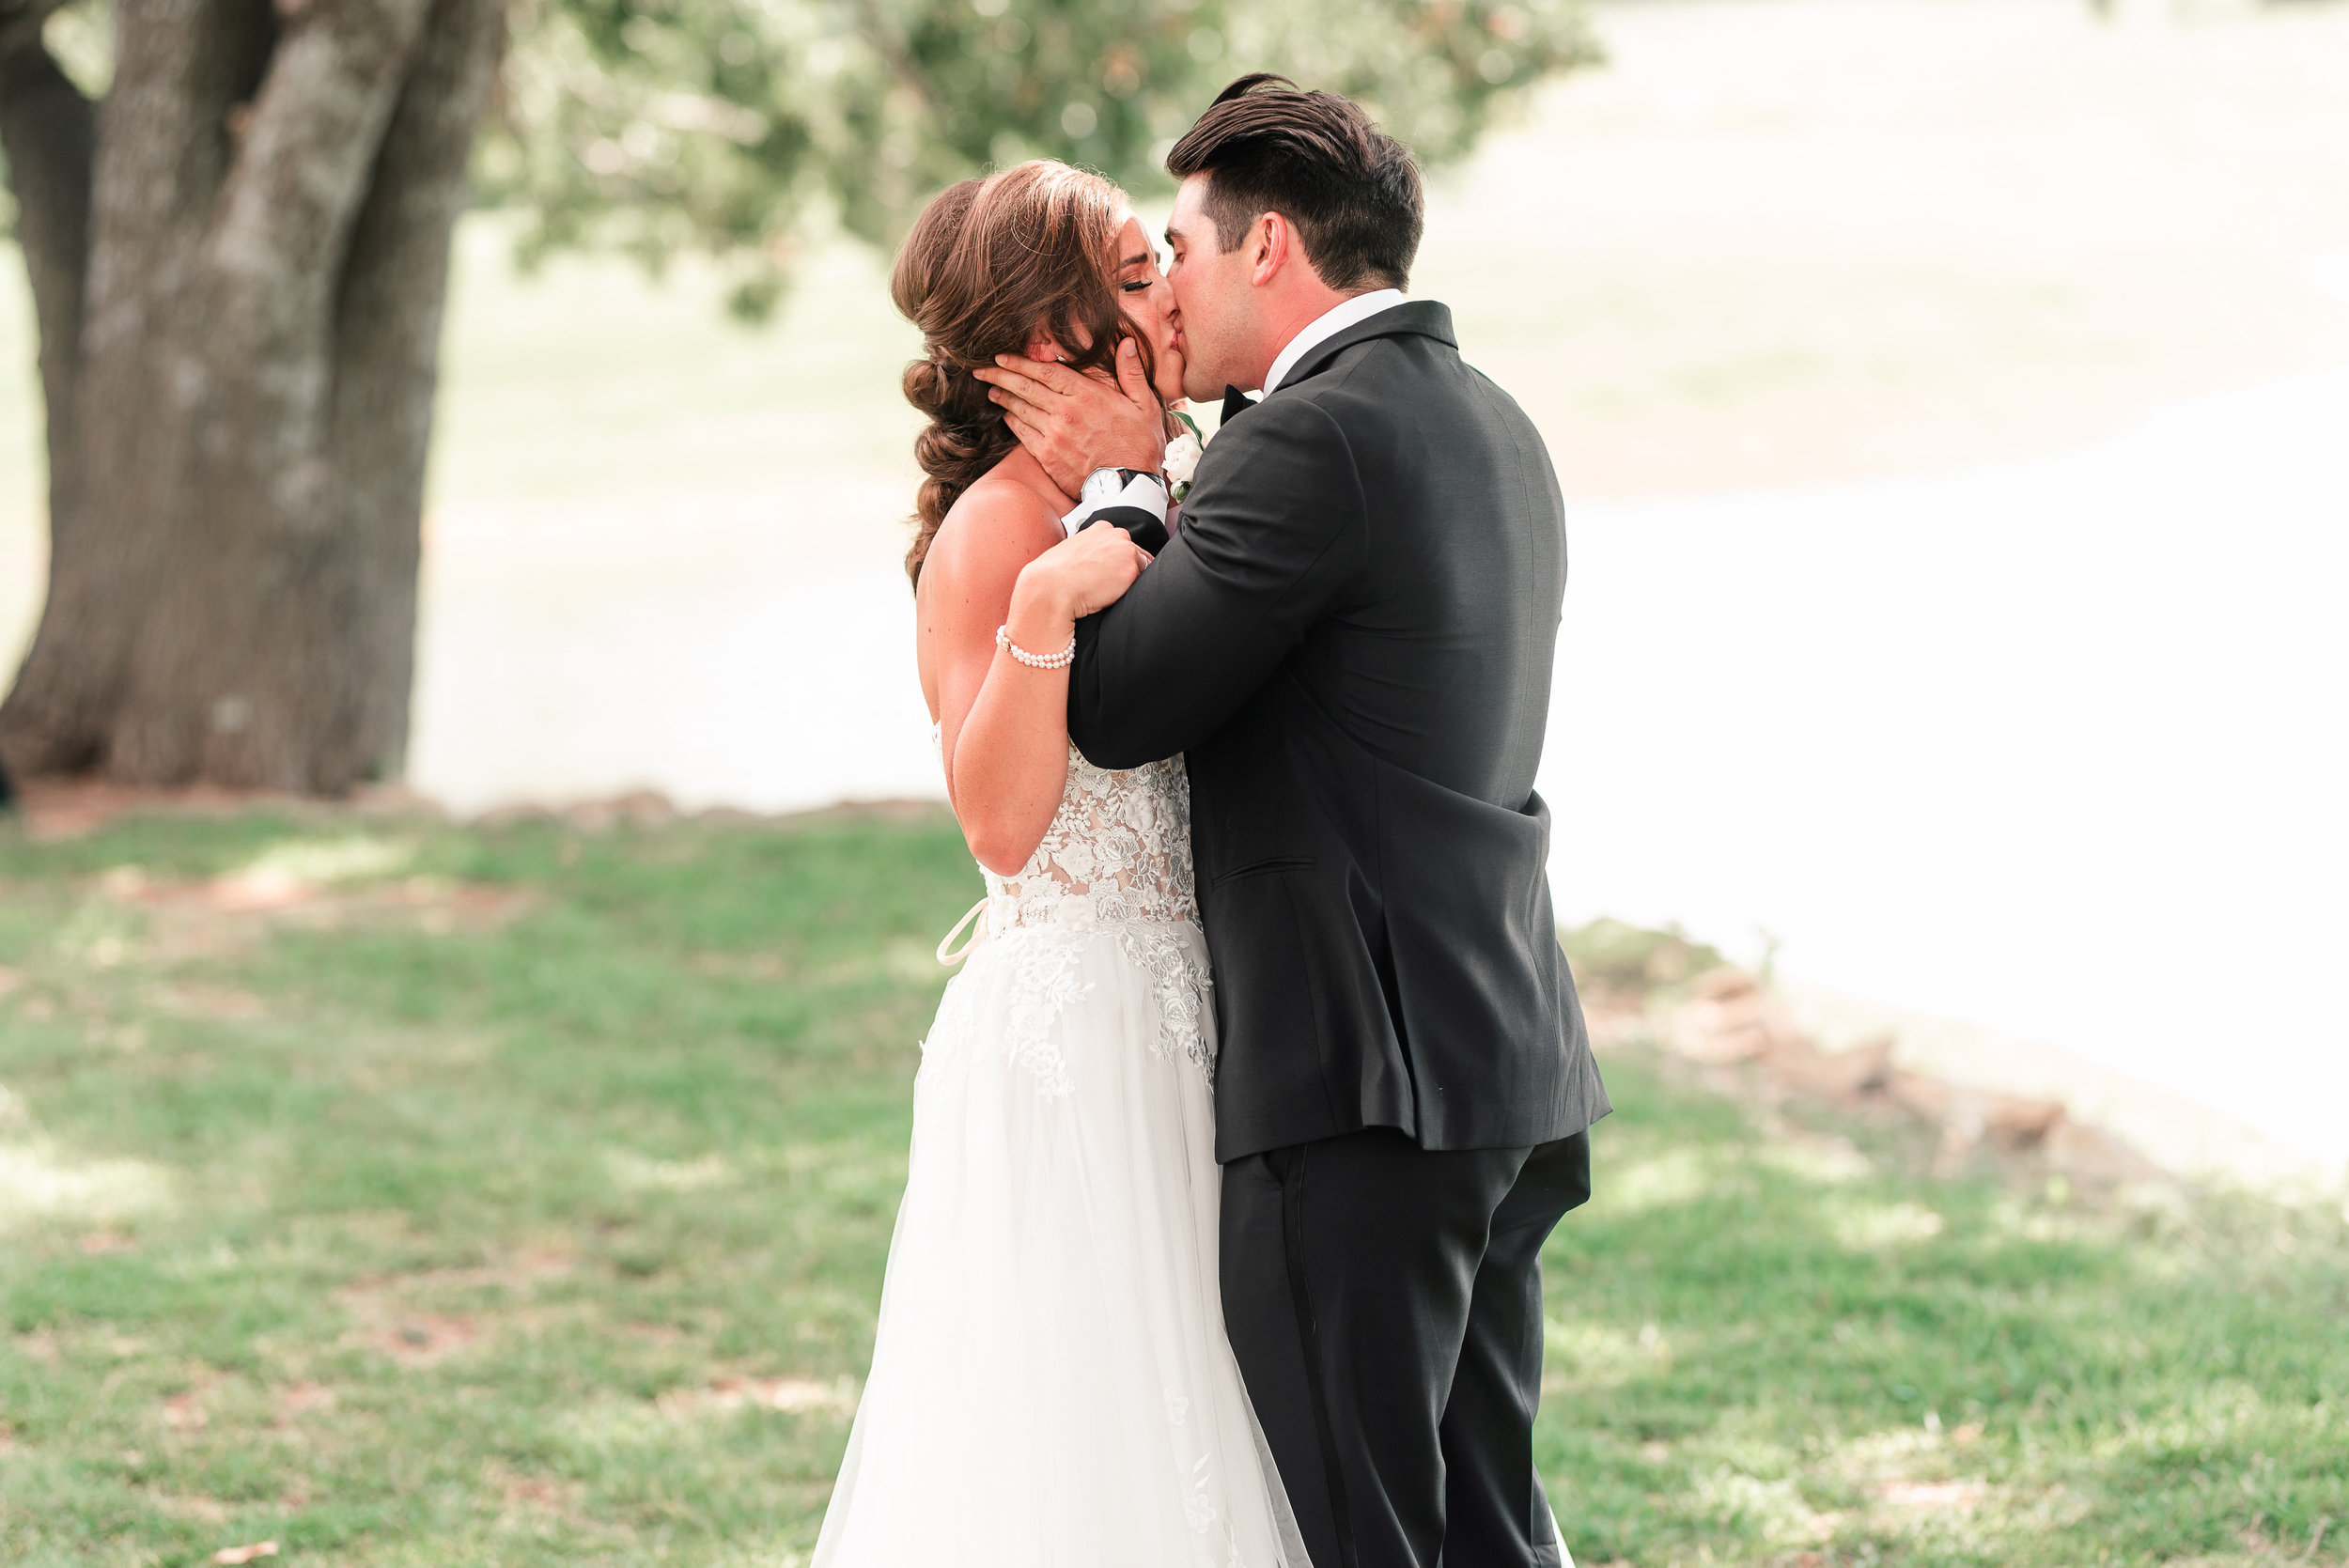
The husband and wife portraits on this wedding day were riiiight before sunset, AND it was cloudy. This meant that the light was low, and to maximize what was left, I needed to turn my clients TOWARD the light source, the sun. This allowed for more light to hit their faces. For more light, placing them on a lighter-colored surface (like cement, which we did later), would naturally reflect more light on to their faces, as well. But again, more on “natural reflectors” later!!
Shaded Areas
You guessed it! I love shaded areas, as well, for the exact reason I mentioned above: it’s even lighting! Quite simply, just be aware of the direction your client is facing. For example, are they in the shade AND facing a wall/tree/dark area? The absence of light coming from the wall or dark area may eliminate your availability of light so much so that it’s actually too dark. In this situation, try 1) staying in the shade but 2) turning them outward toward an open area where more light is present.


Comments